I can honestly say that I don’t remember when my car’s clutch pedal was ever working properly. It has been years since I have felt my clutch pedal push back when pressed upon. I have also ruined countless shoes lifting my clutch pedal up because something was off in the hydraulic clutch system and it would always drop down or sag eventually. This year however I decided to try to fix this gremlin plaguing my sweet little S13. Stay tuned in the future, as any other tweaks or upgrades done to this car will be shared here.

The guys at work and I decided to install a DIF Fire Sleeved Clutch Line, but in the process also replaced my Clutch Master Cylinder and Slave Cylinder, as we later found out one of them was out.
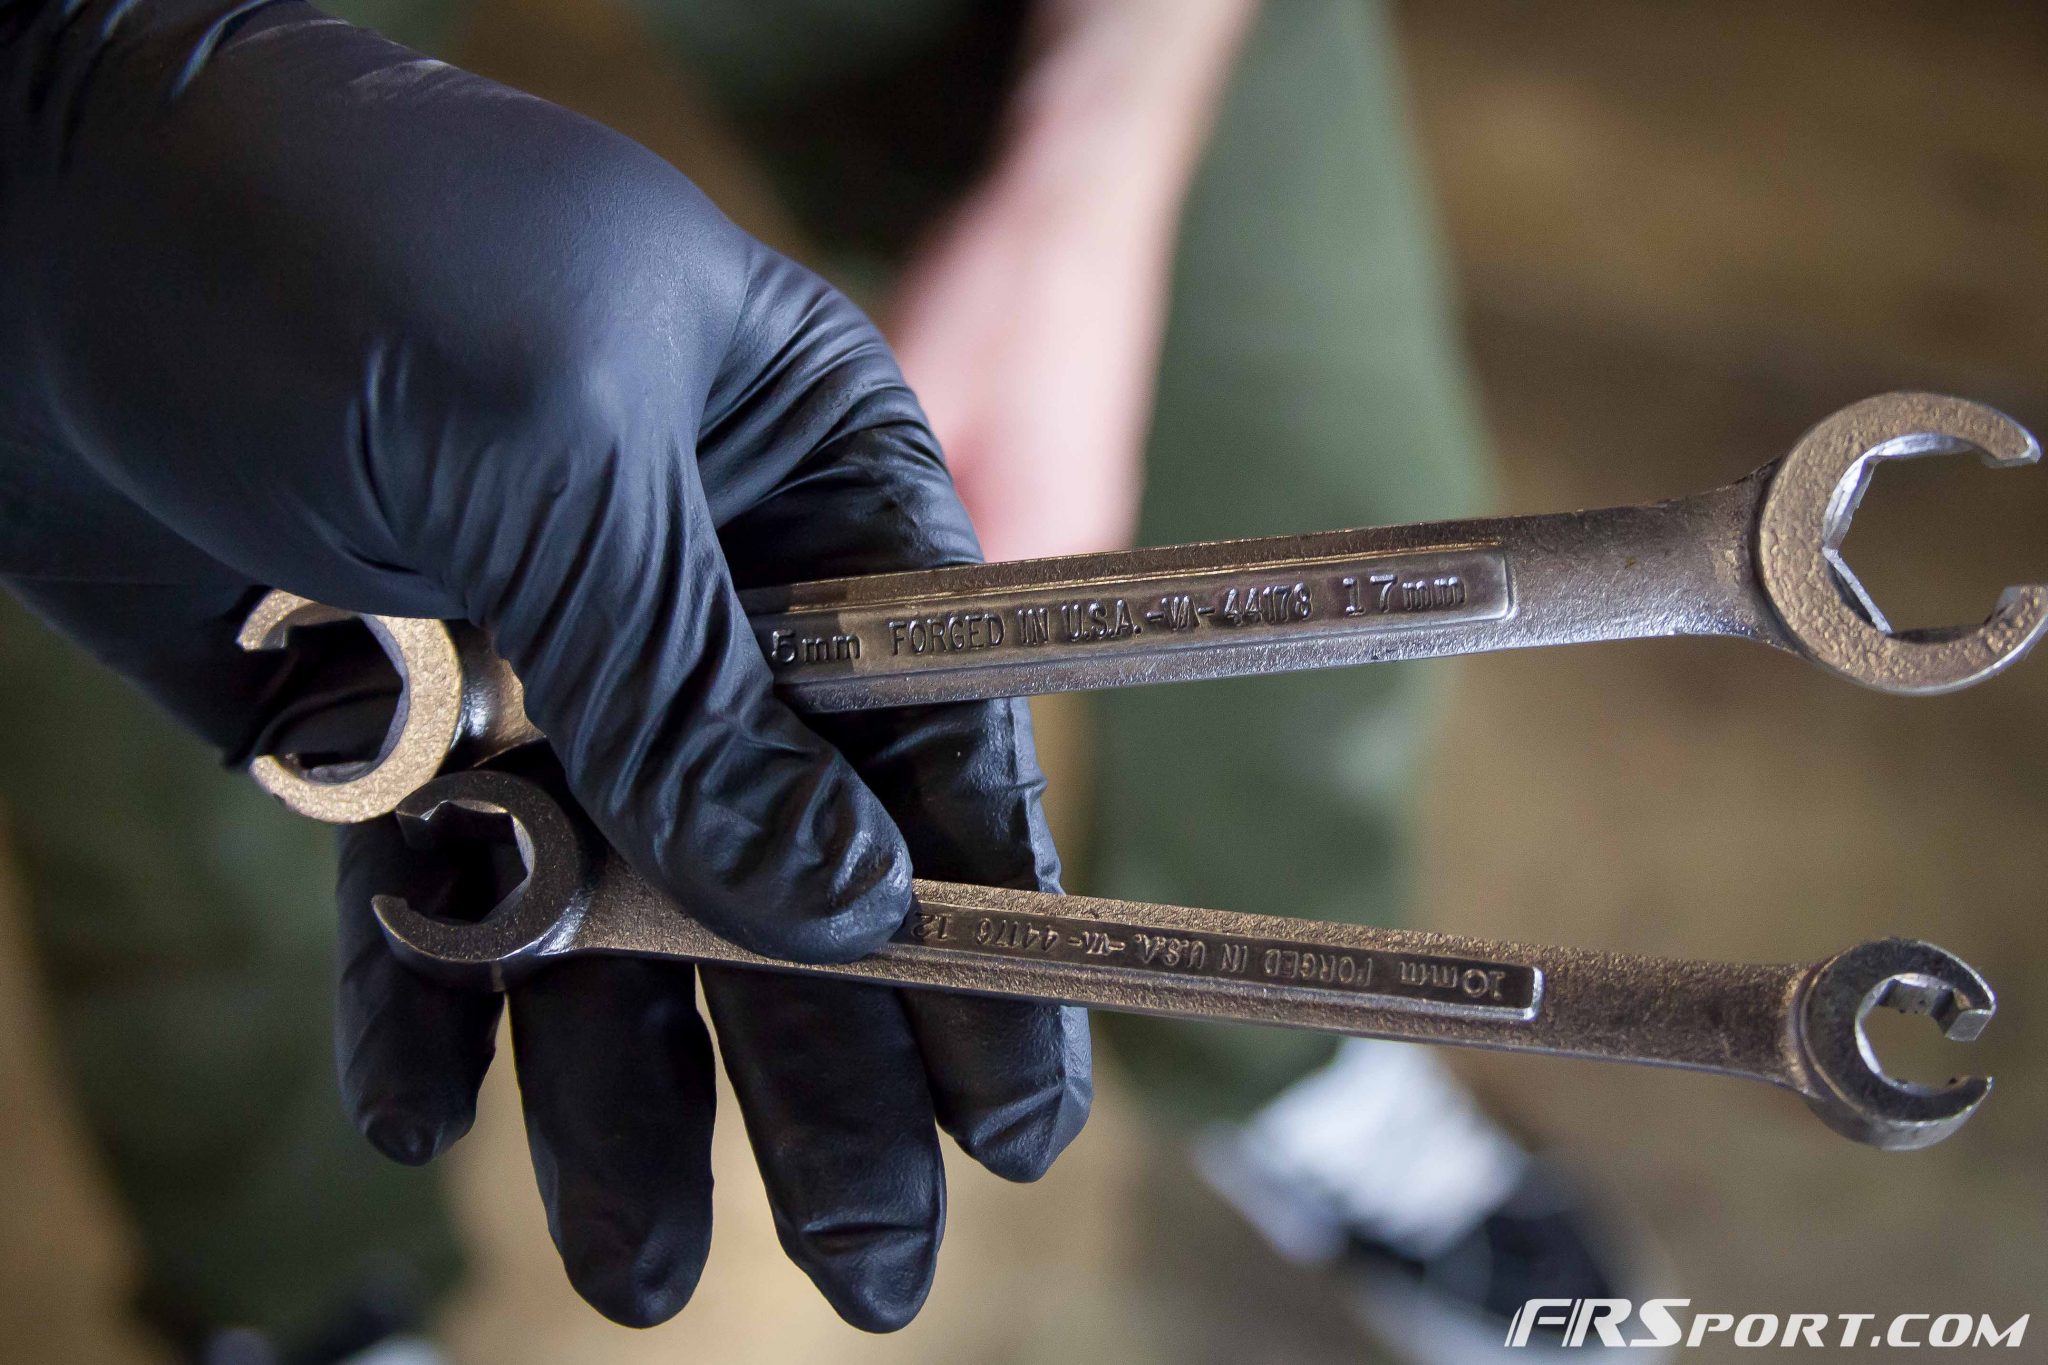
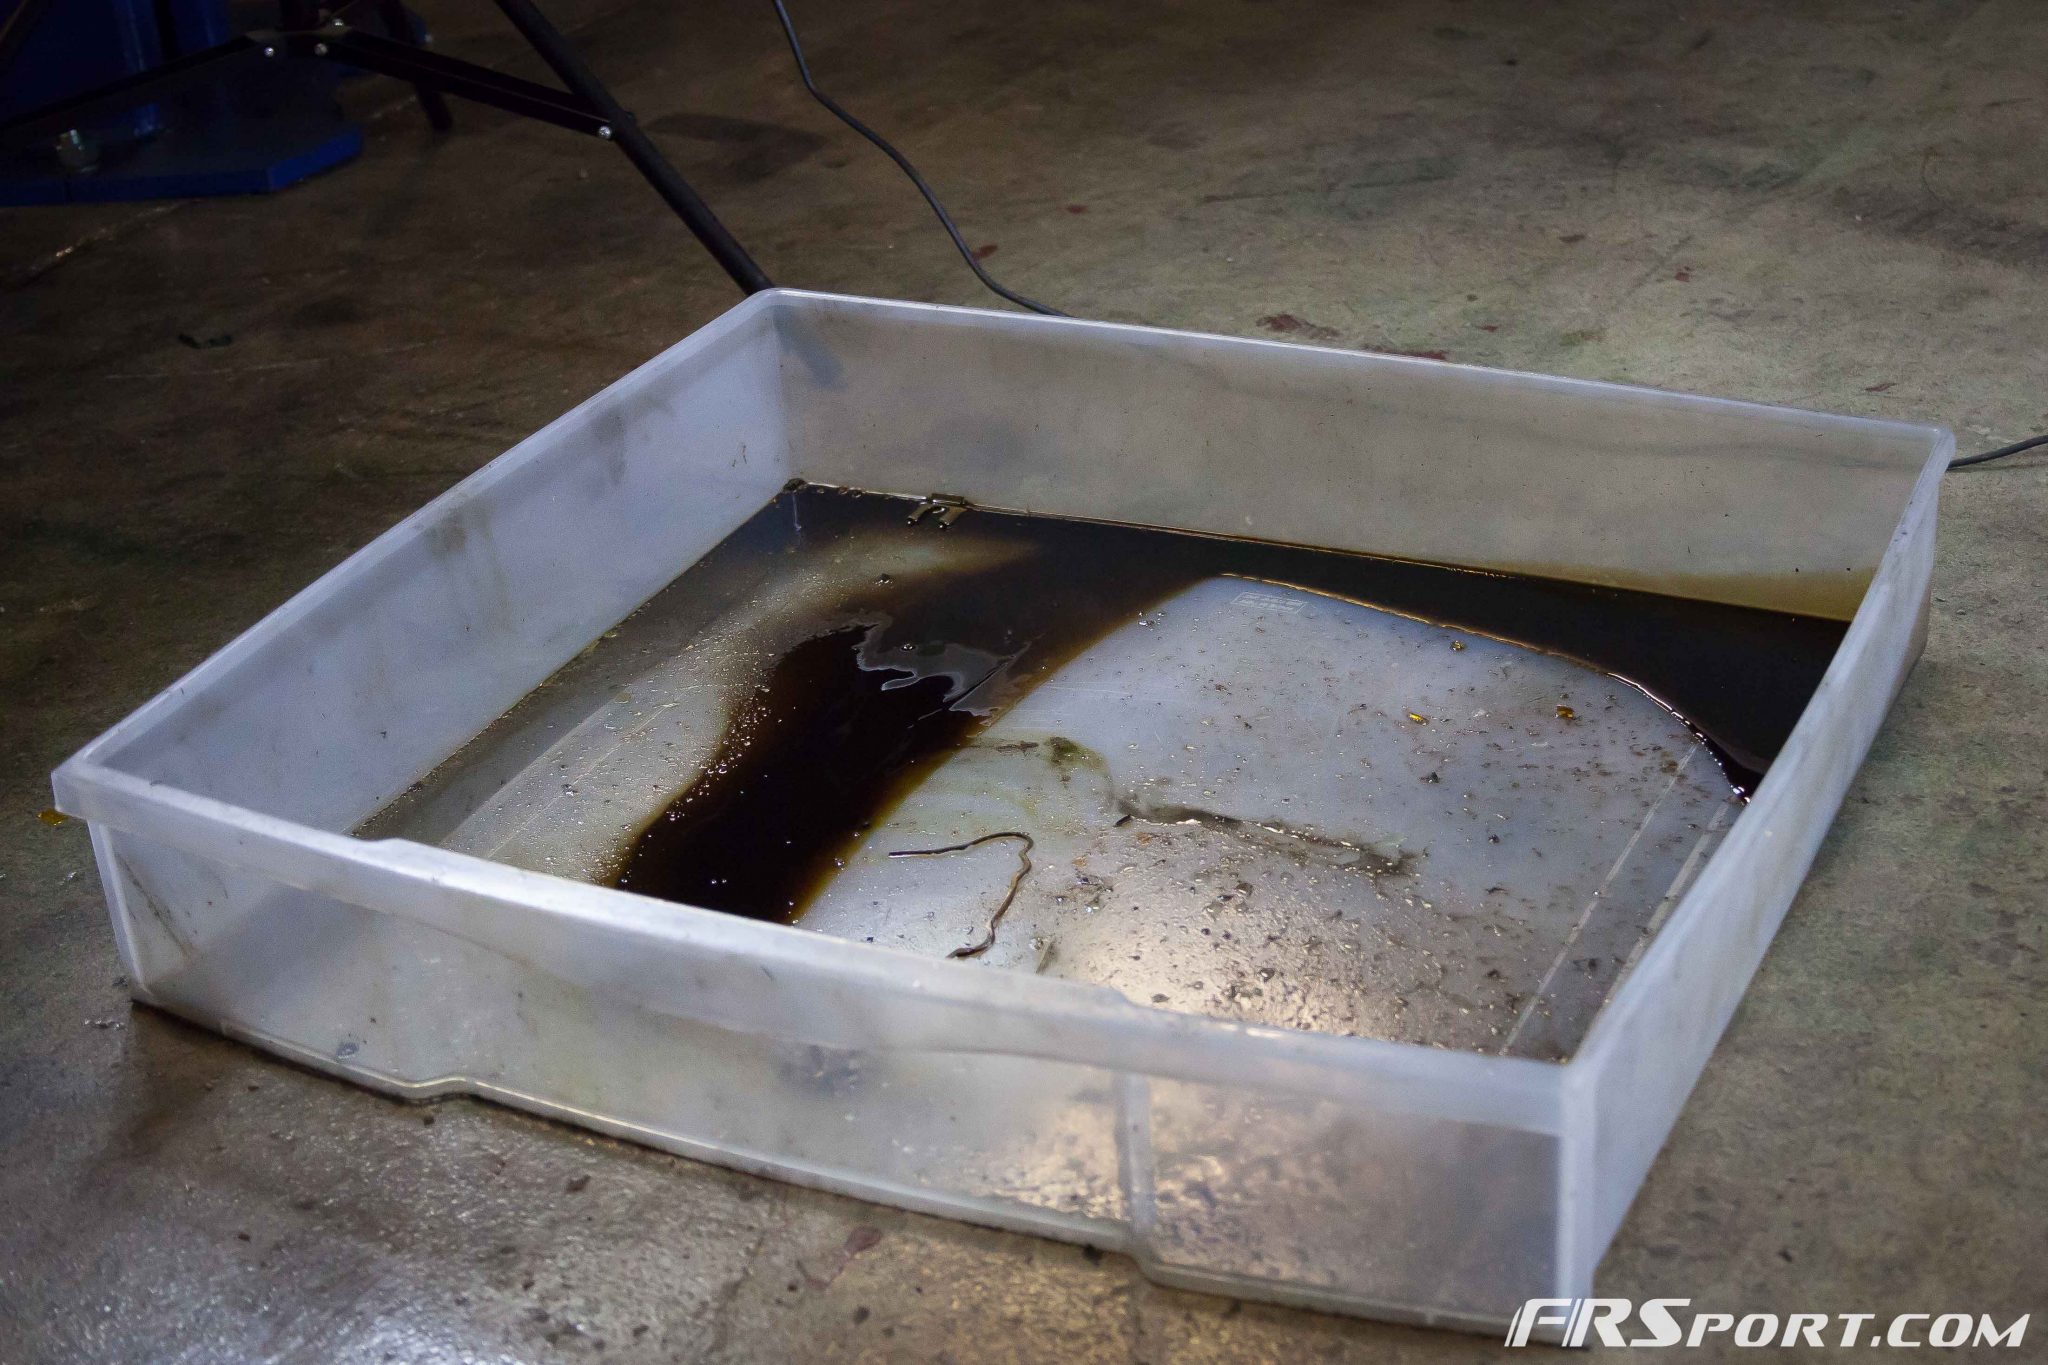
We first began the project by getting everything ready. We sourced the necessary tools; some 17 and 10 mm Hose End Line Wrenches (so as to not thread any sensitive hose ends) and a fluid collector that would retain all the fluid we would be discarding of or bleeding.
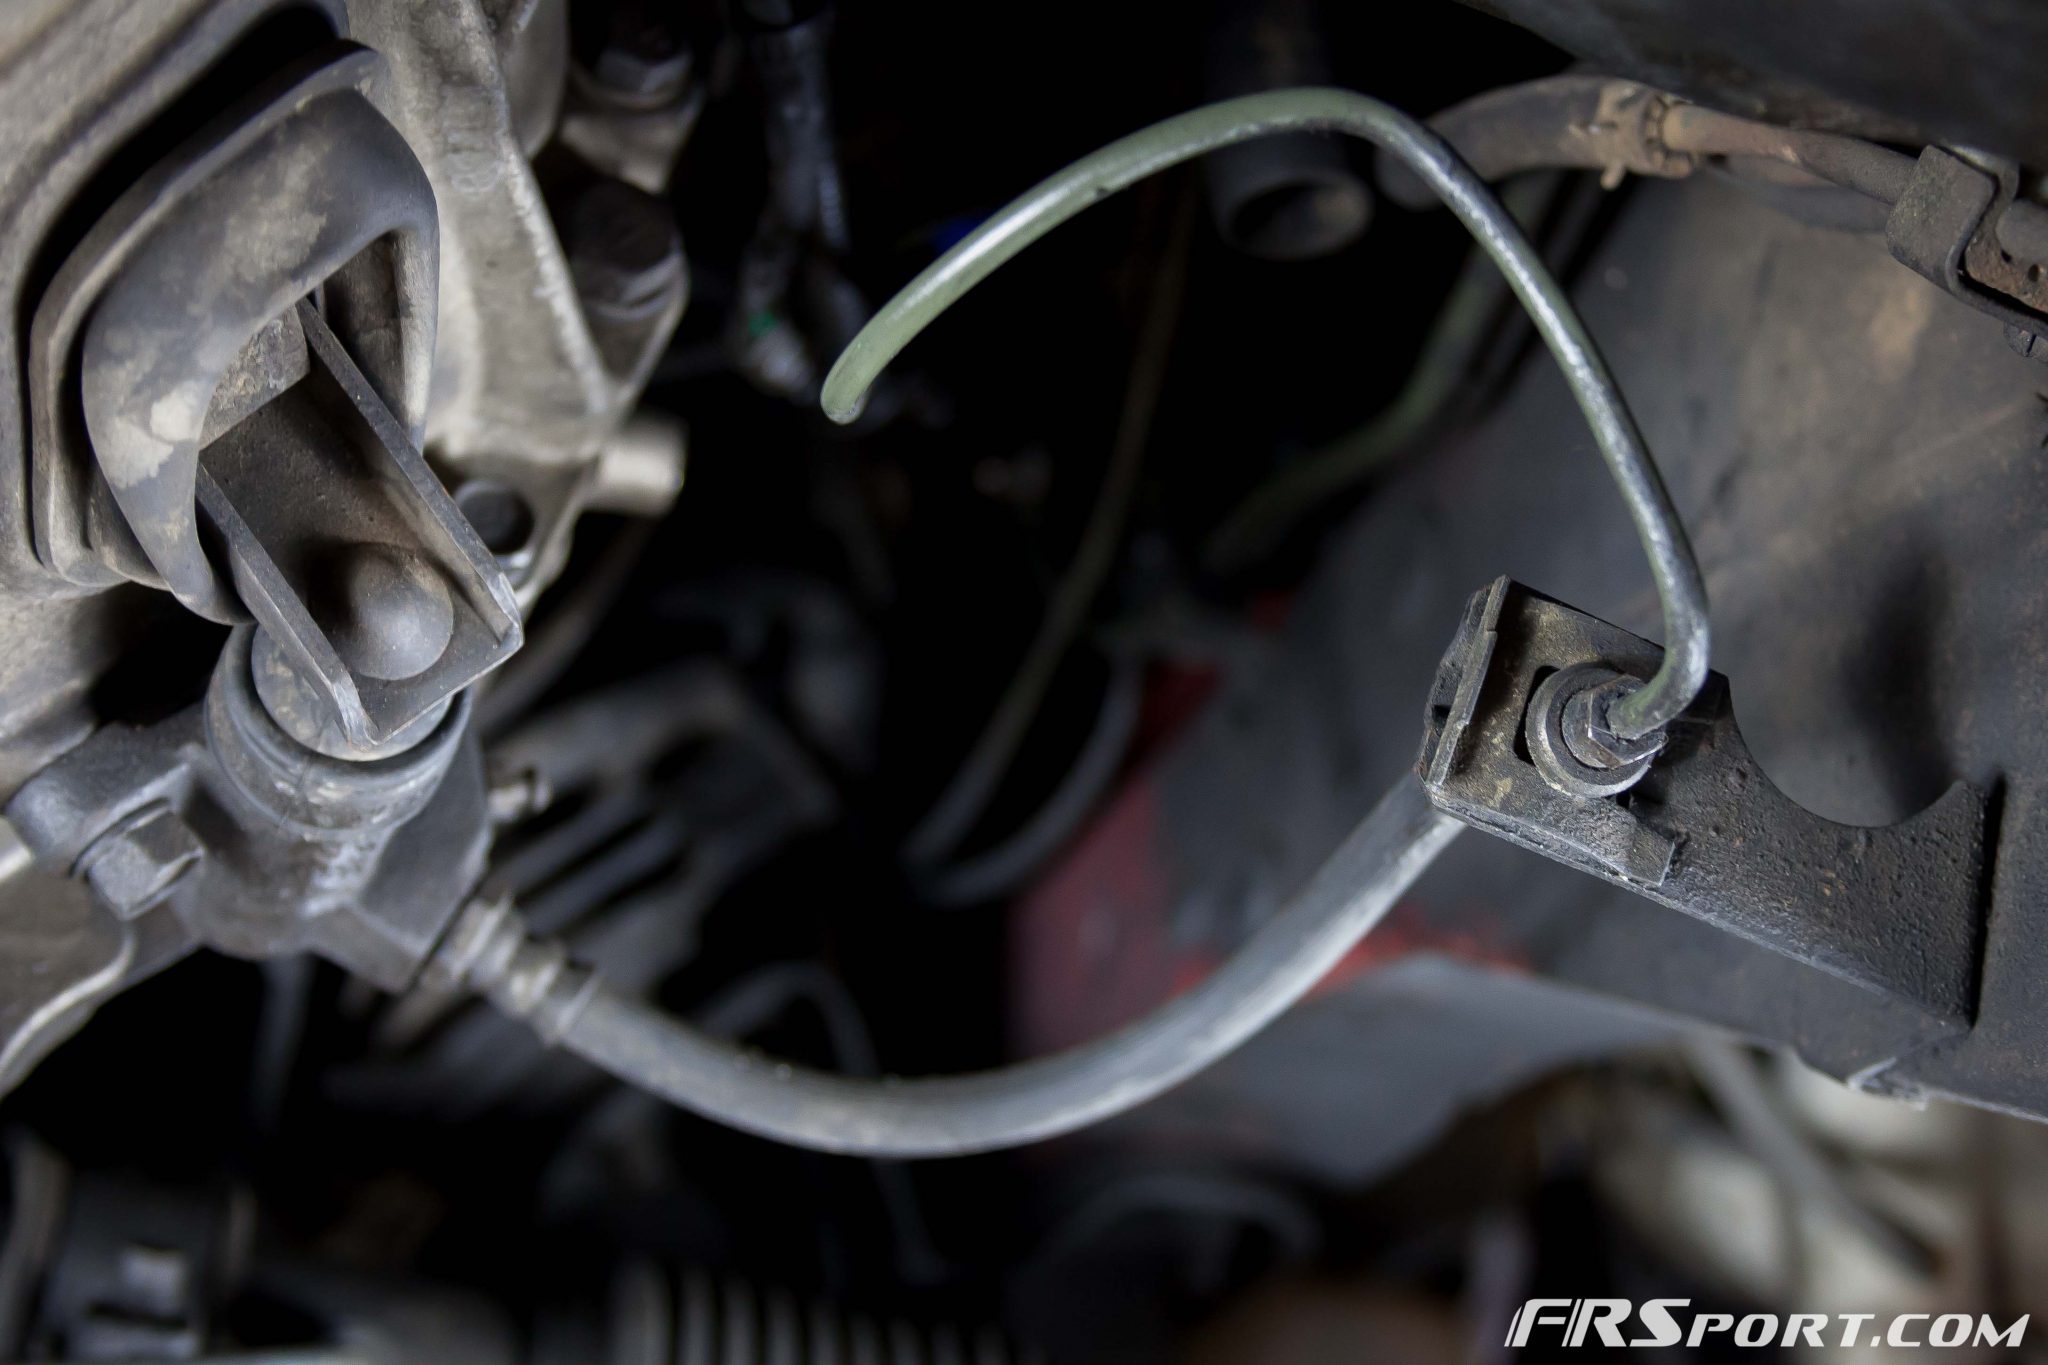
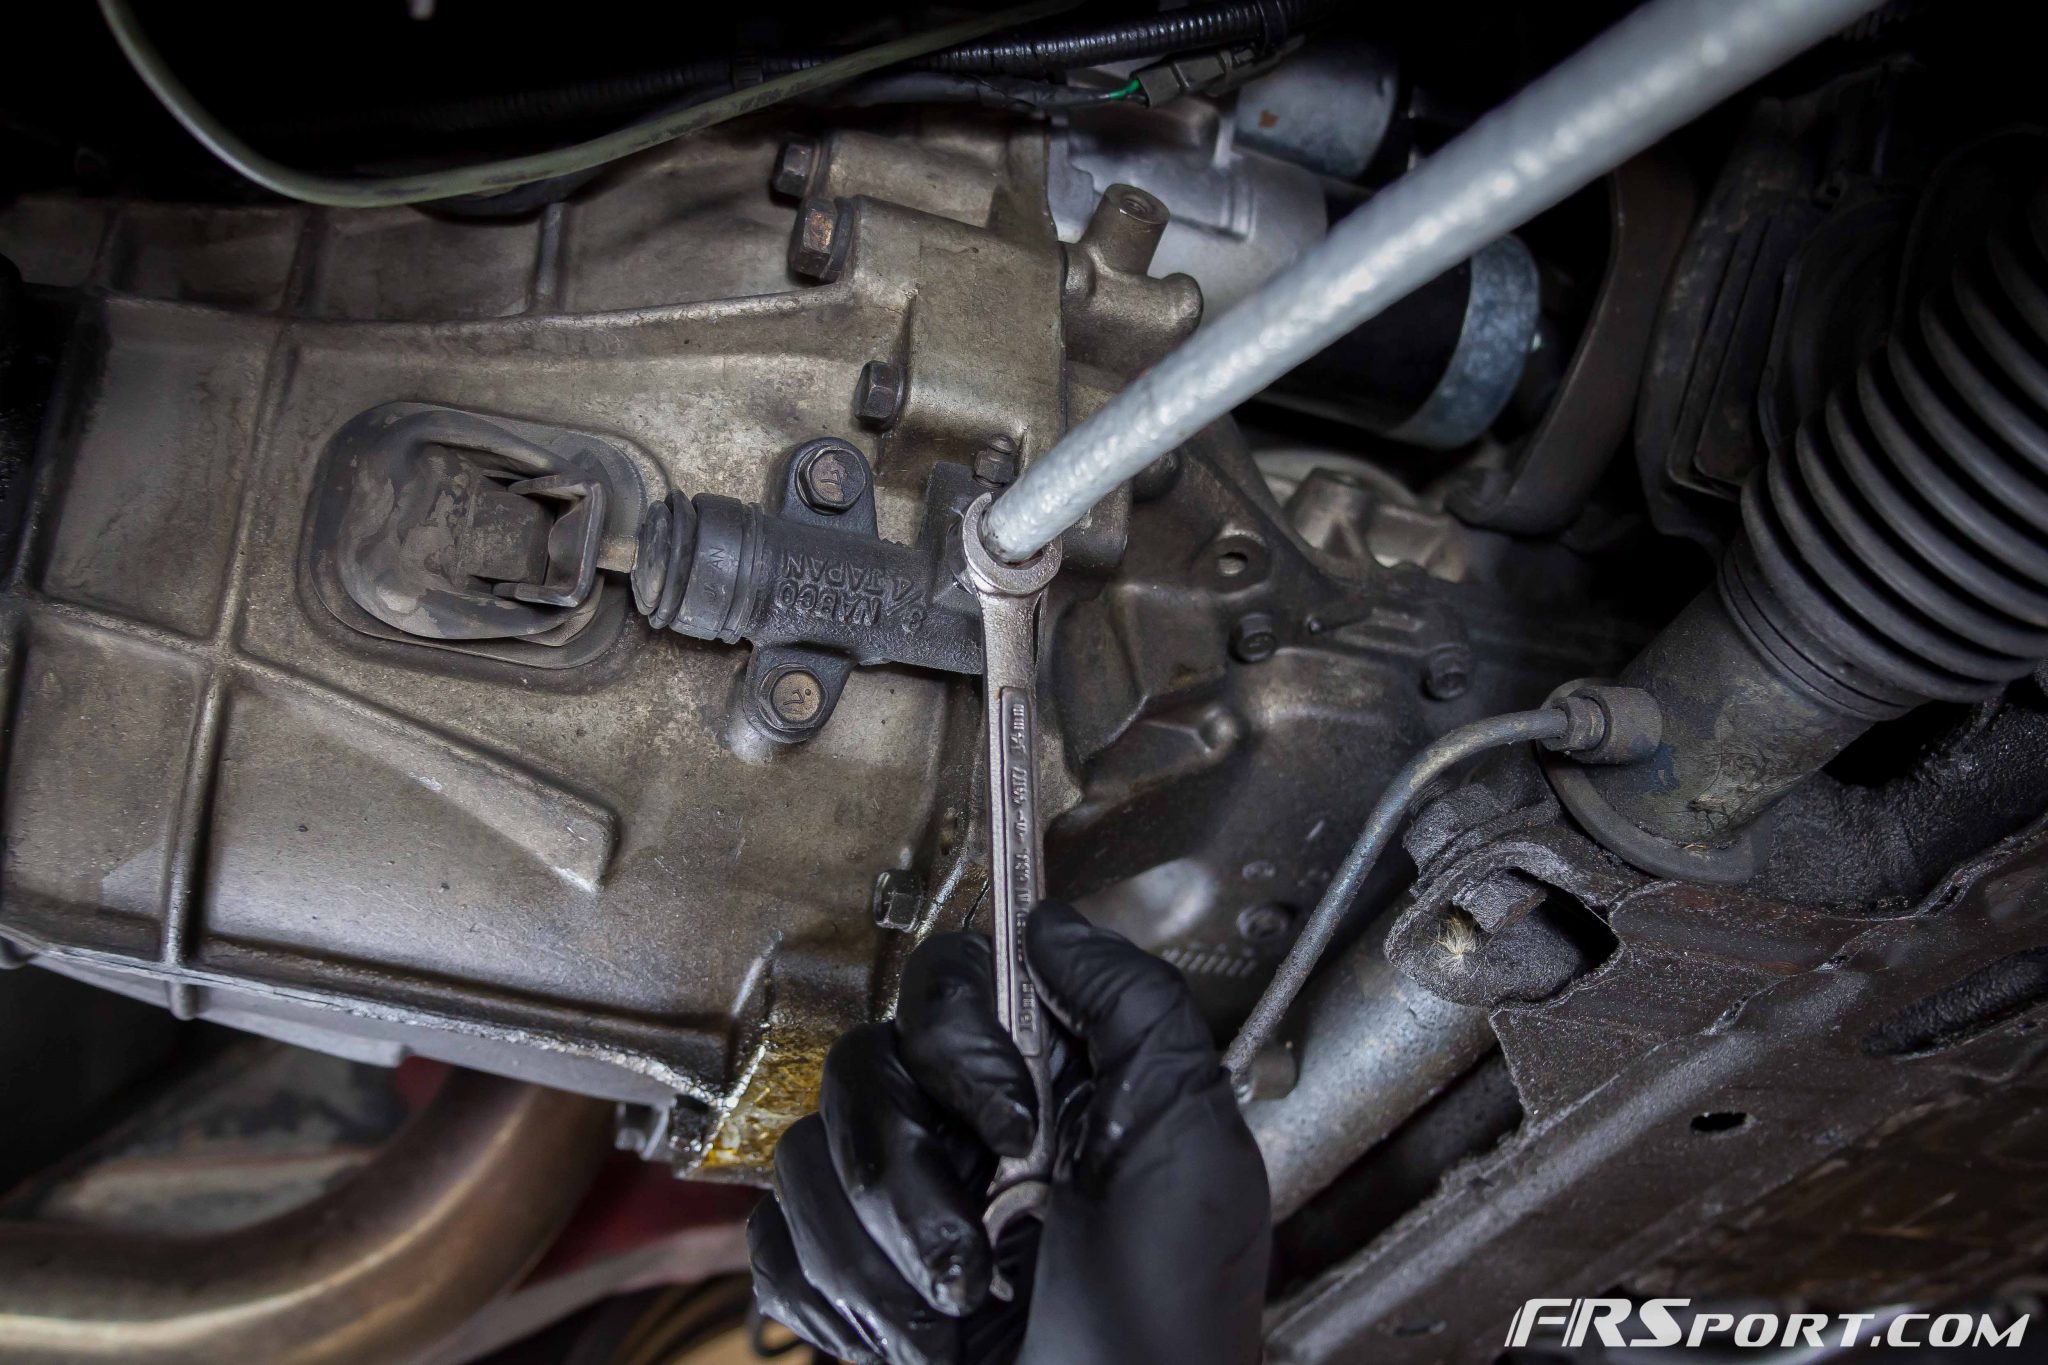
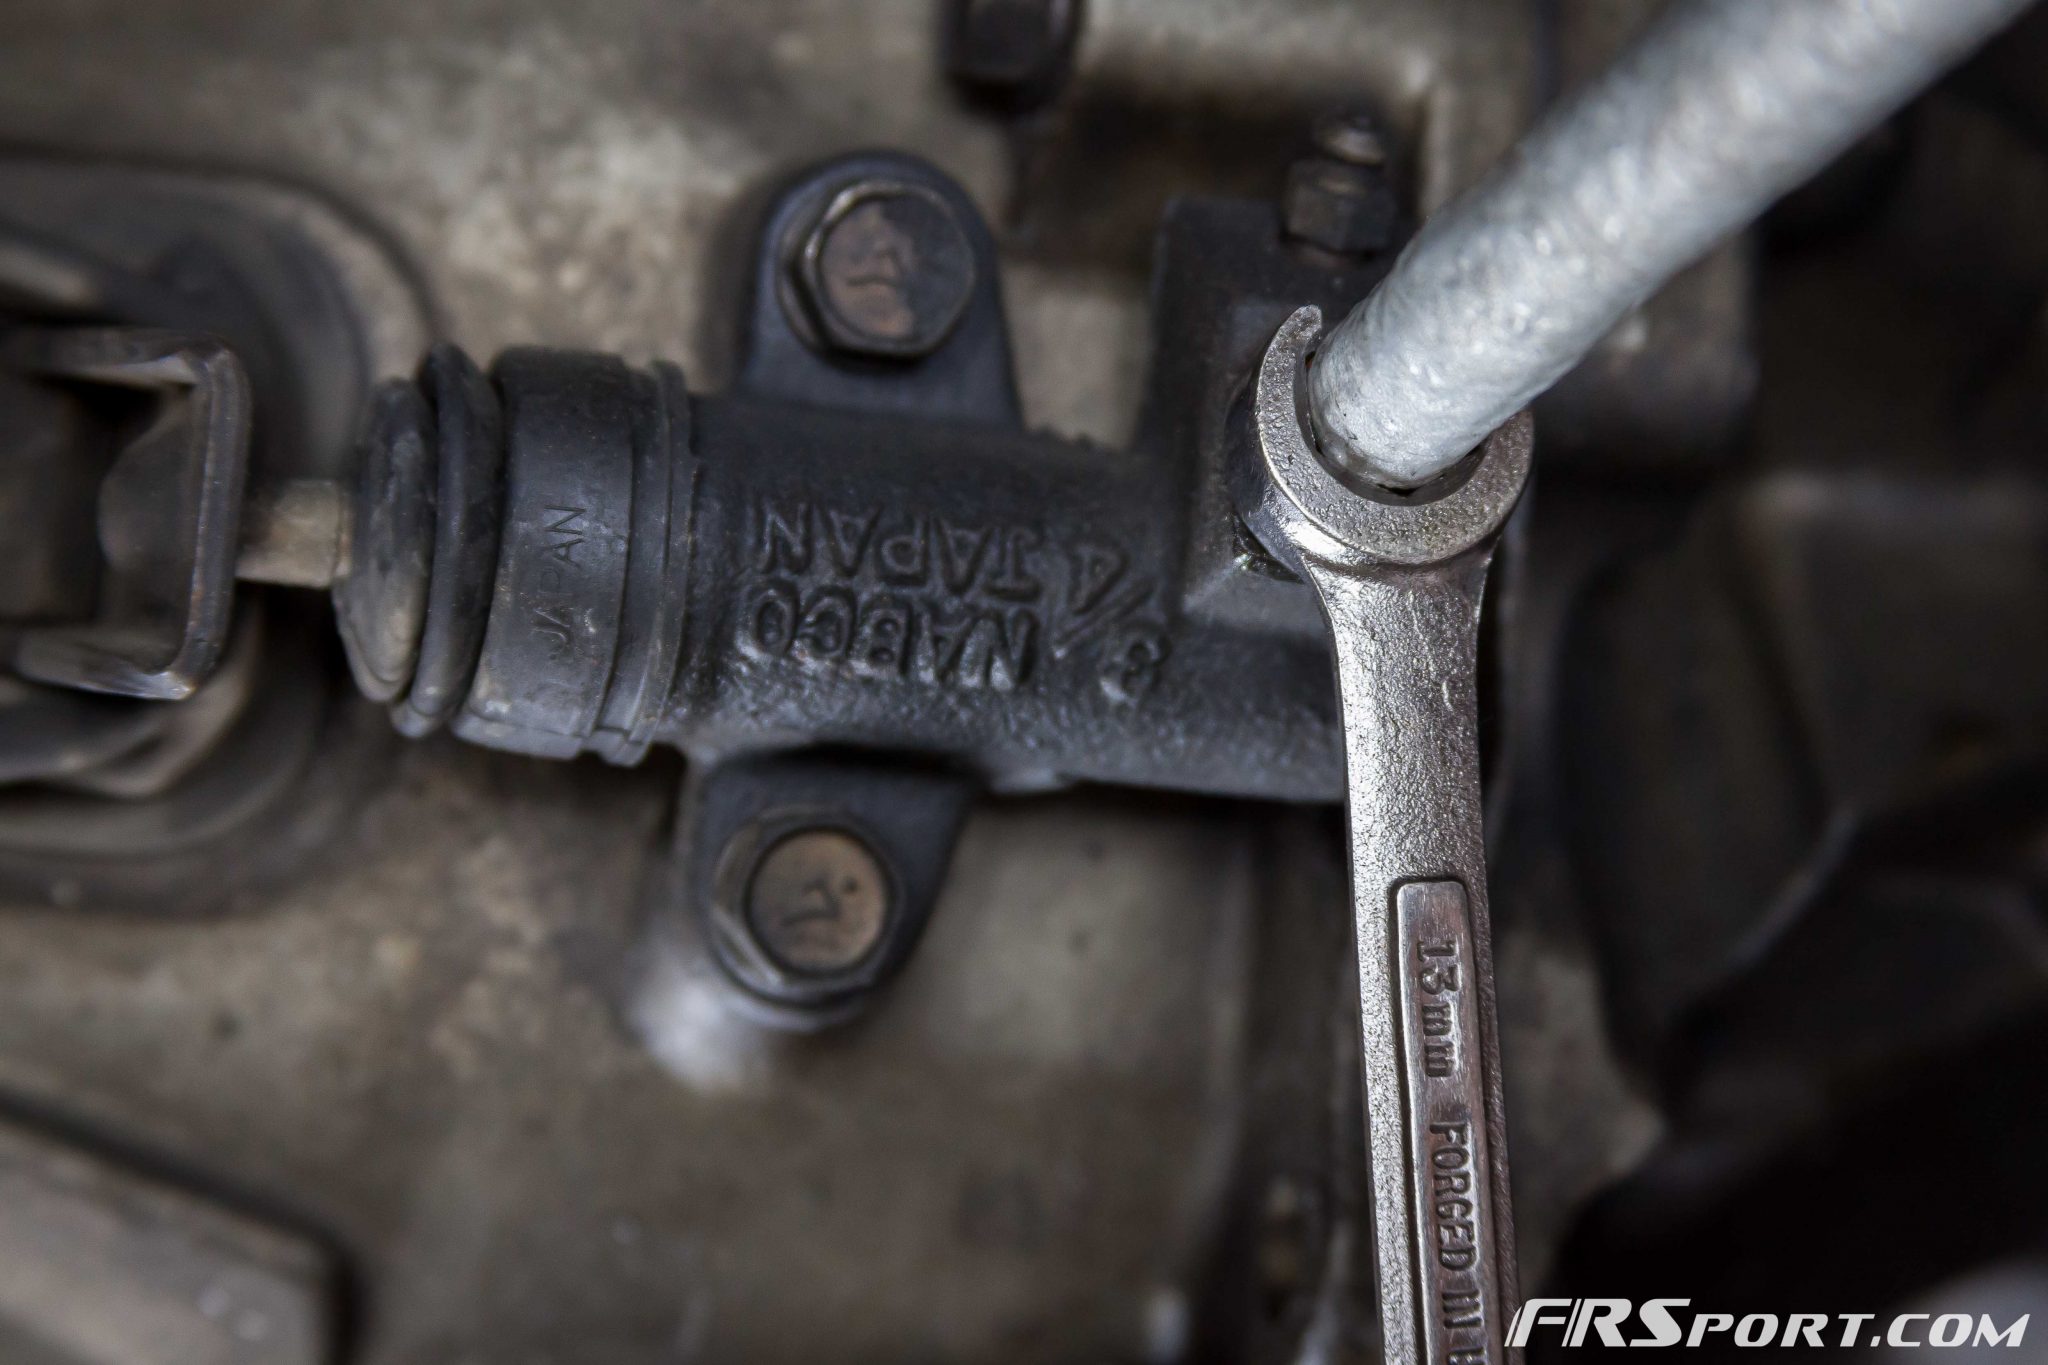
Our first step in the project was to loosen the steel hose that led from the Clutch Master Cylinder to the soft rubber hose that connected to the Clutch Slave Cylinder.
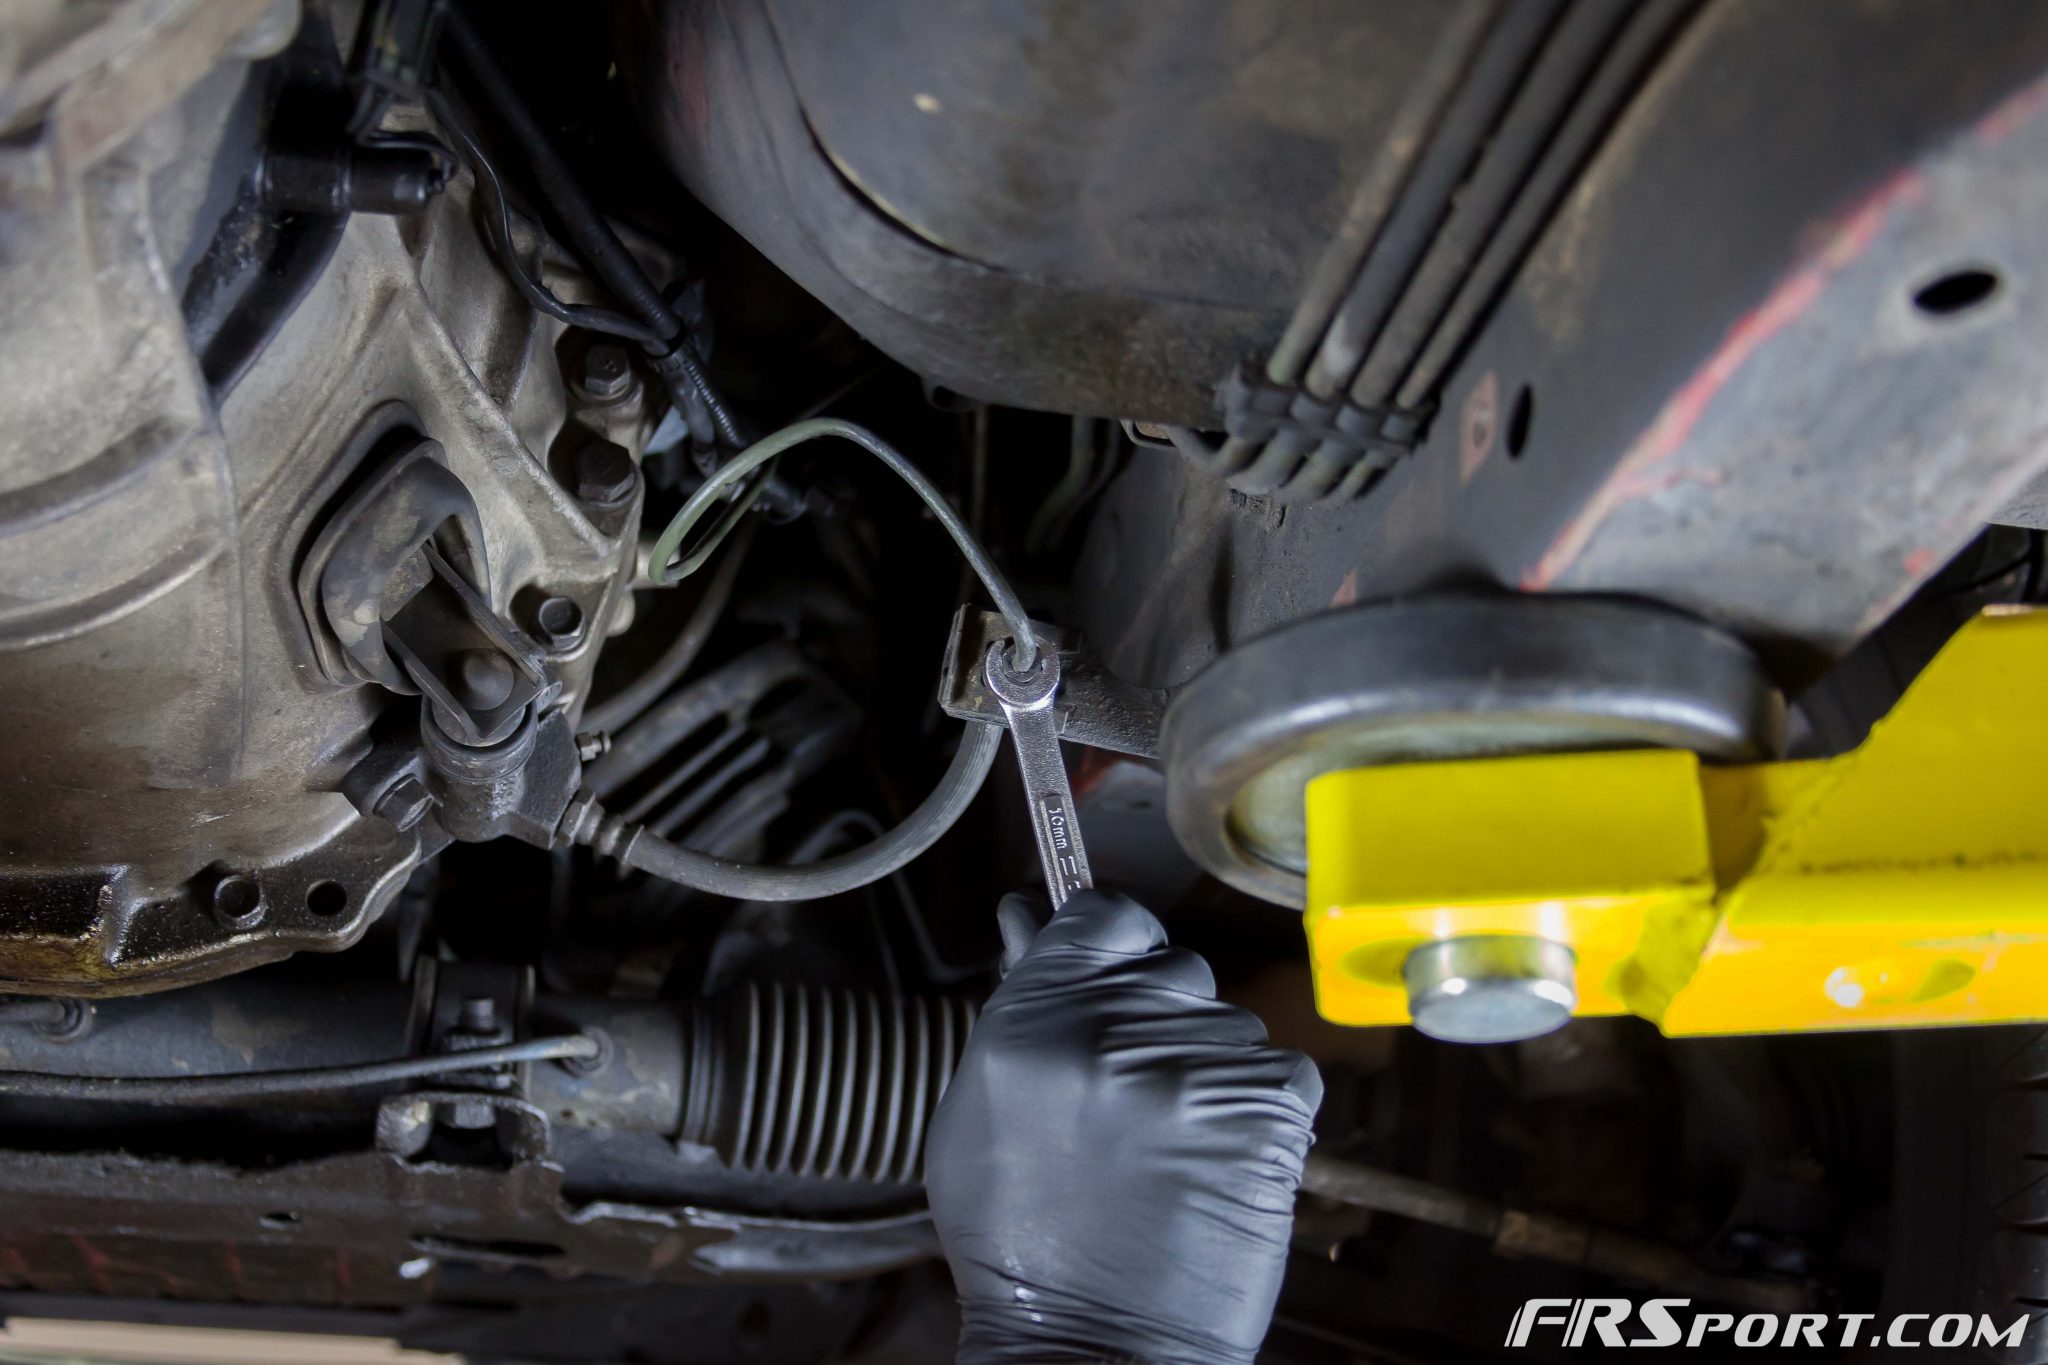

My Clutch Dampener luckily had already been removed so the removal of these two pieces was pretty fast. We used the 10 mm Hose End Wrench to unscrew the hard-line from the attachment point.
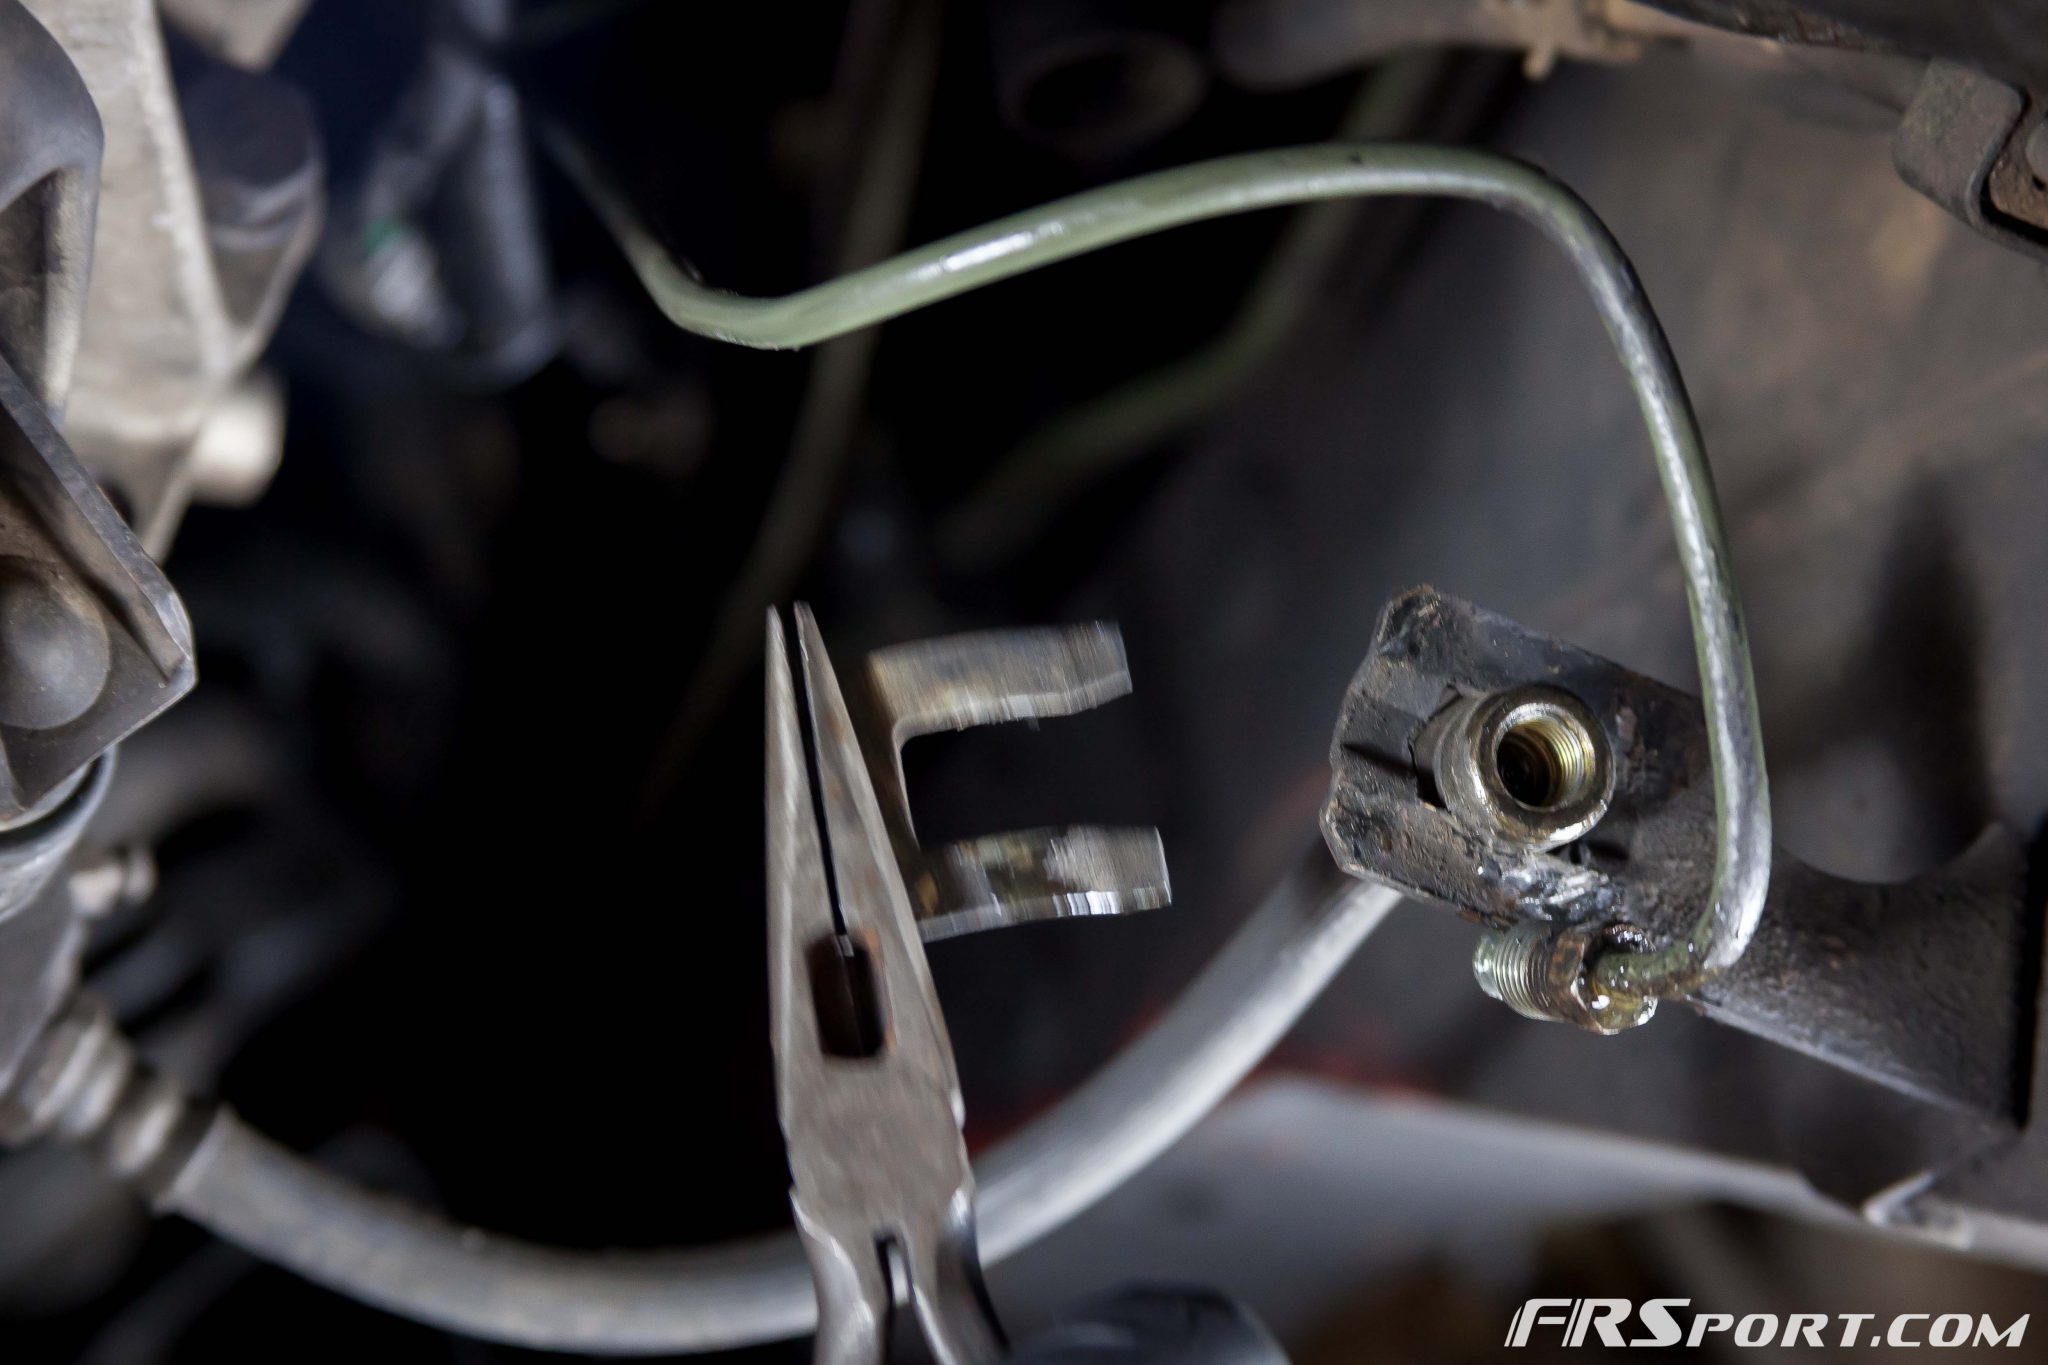
We then removed the clip holding this line down with some pliers.
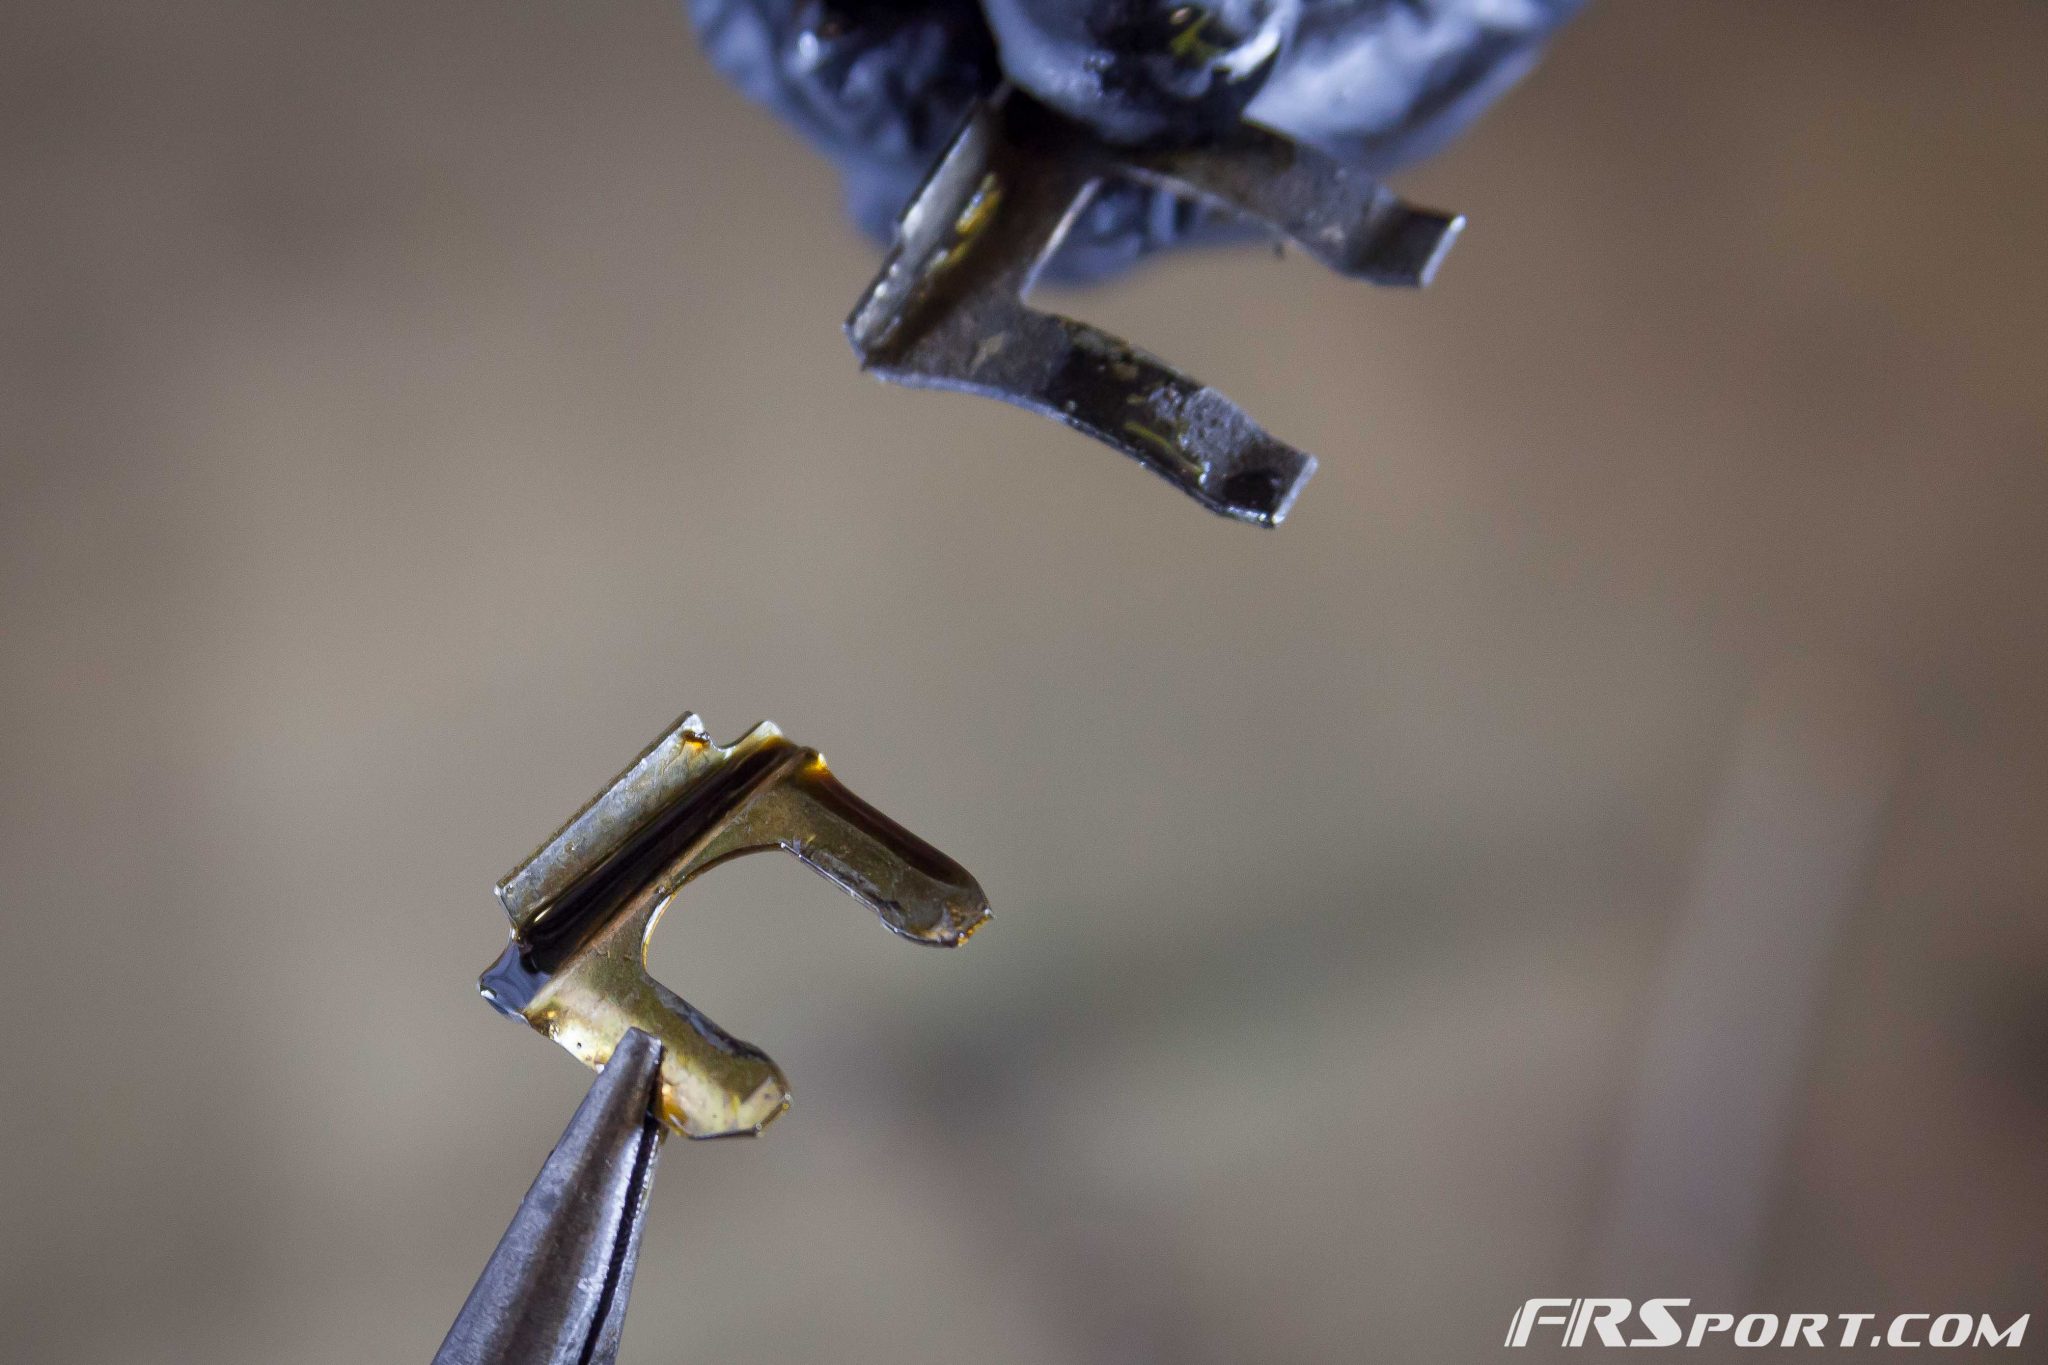
It’s important to note that if you are performing this in the hopes of swapping out the soft line with a steel braided one, that the new line comes with curved retainers in order to hold things appropriately. The retainers above are oem and will hold everything more efficiently (some companies will give you flat retainers which is a no-go. FR Sport sells the oem units here).
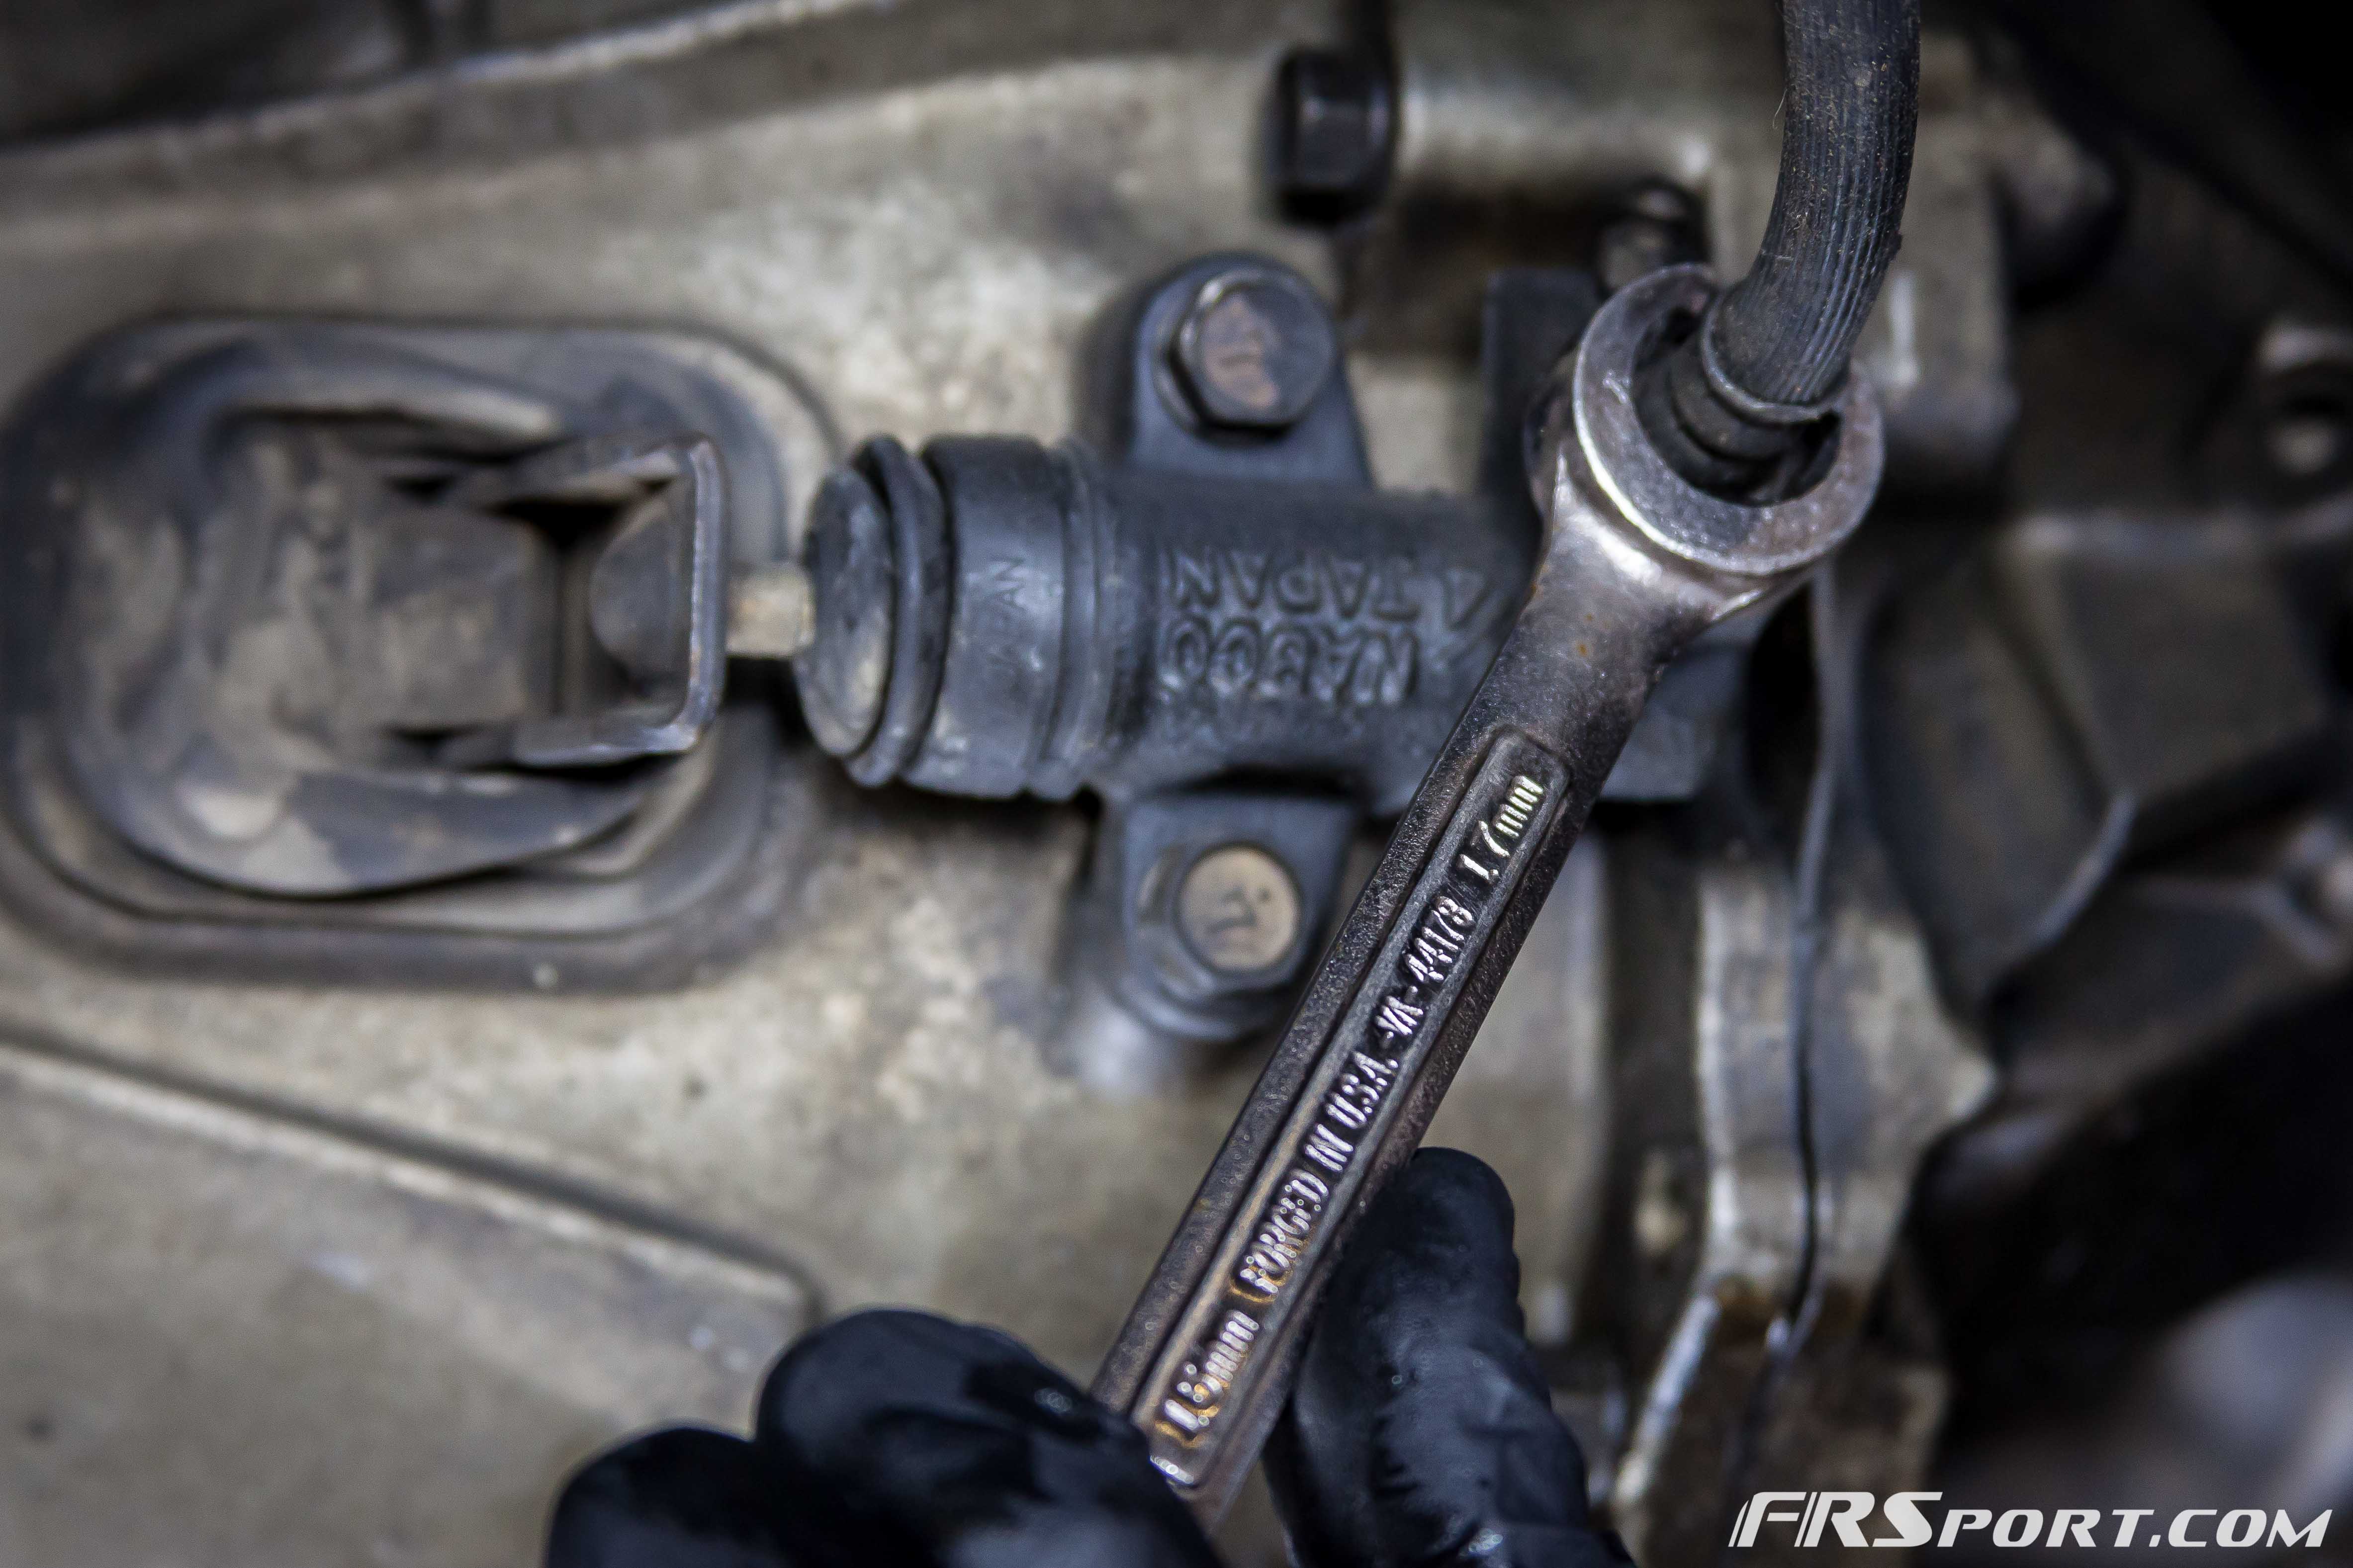
Following this we began removing the end of the soft hose that connected to the clutch slave cylinder. We used a 17 mm Hose Wrench again not to strip the ends of the hose.

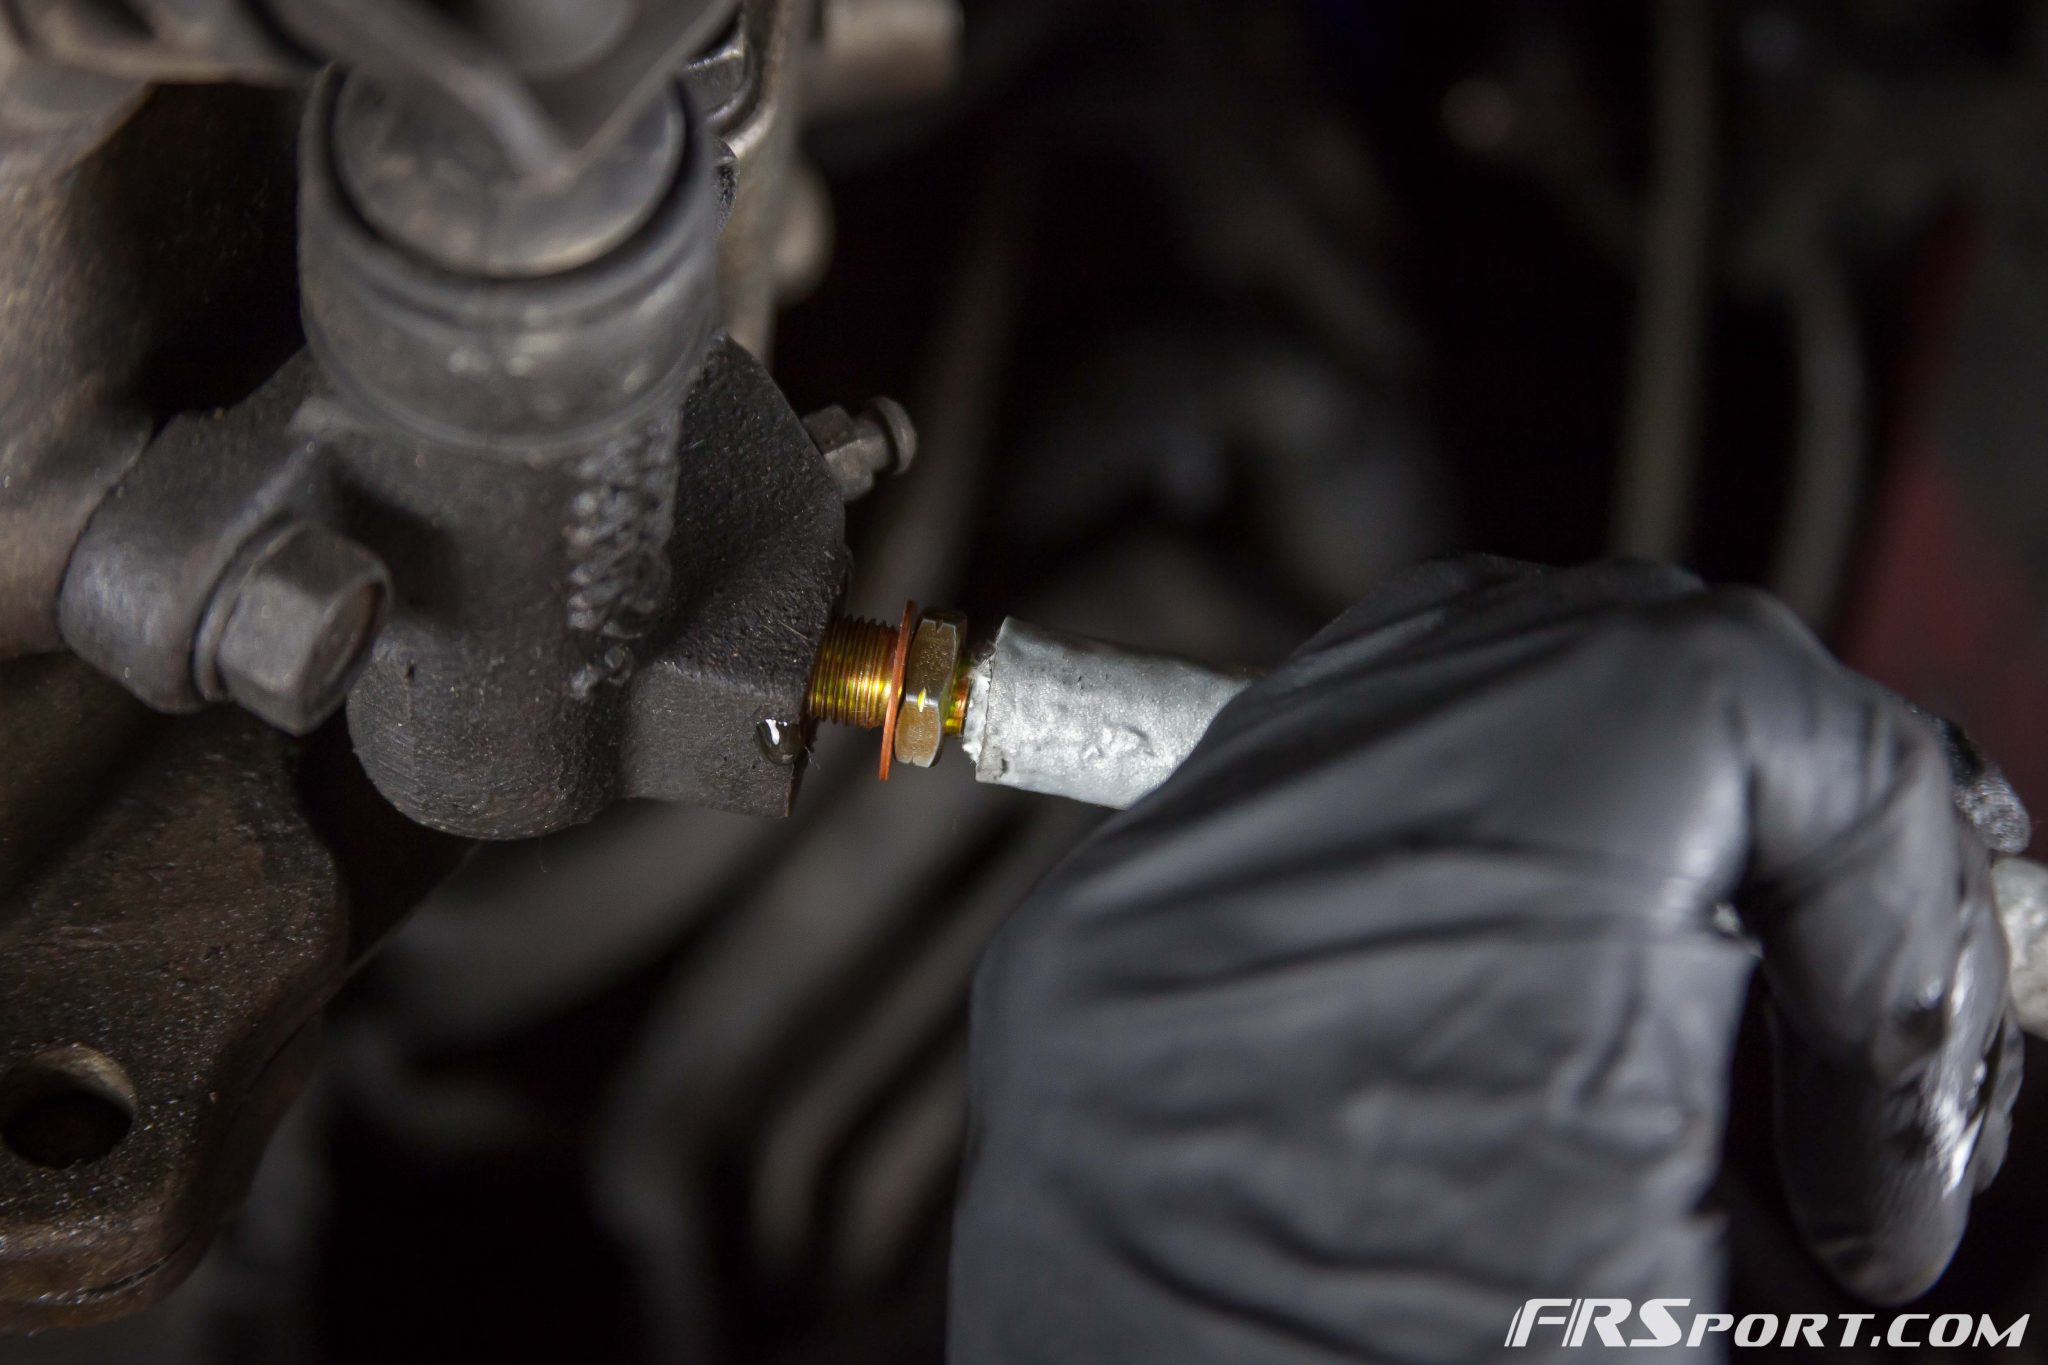

Once this line was out we proceeded to install the Fire Sleeved DIF Stainless Steel Braided Line in place of the mushy rubber hose. It is important to note that one must always begin installing the hoses by threading the hose-ends by hand first. This way you ensure the threads engage and do not accidentally strip the threads.
Using the same 17 mm Hose Wrench we tightened on the new line.
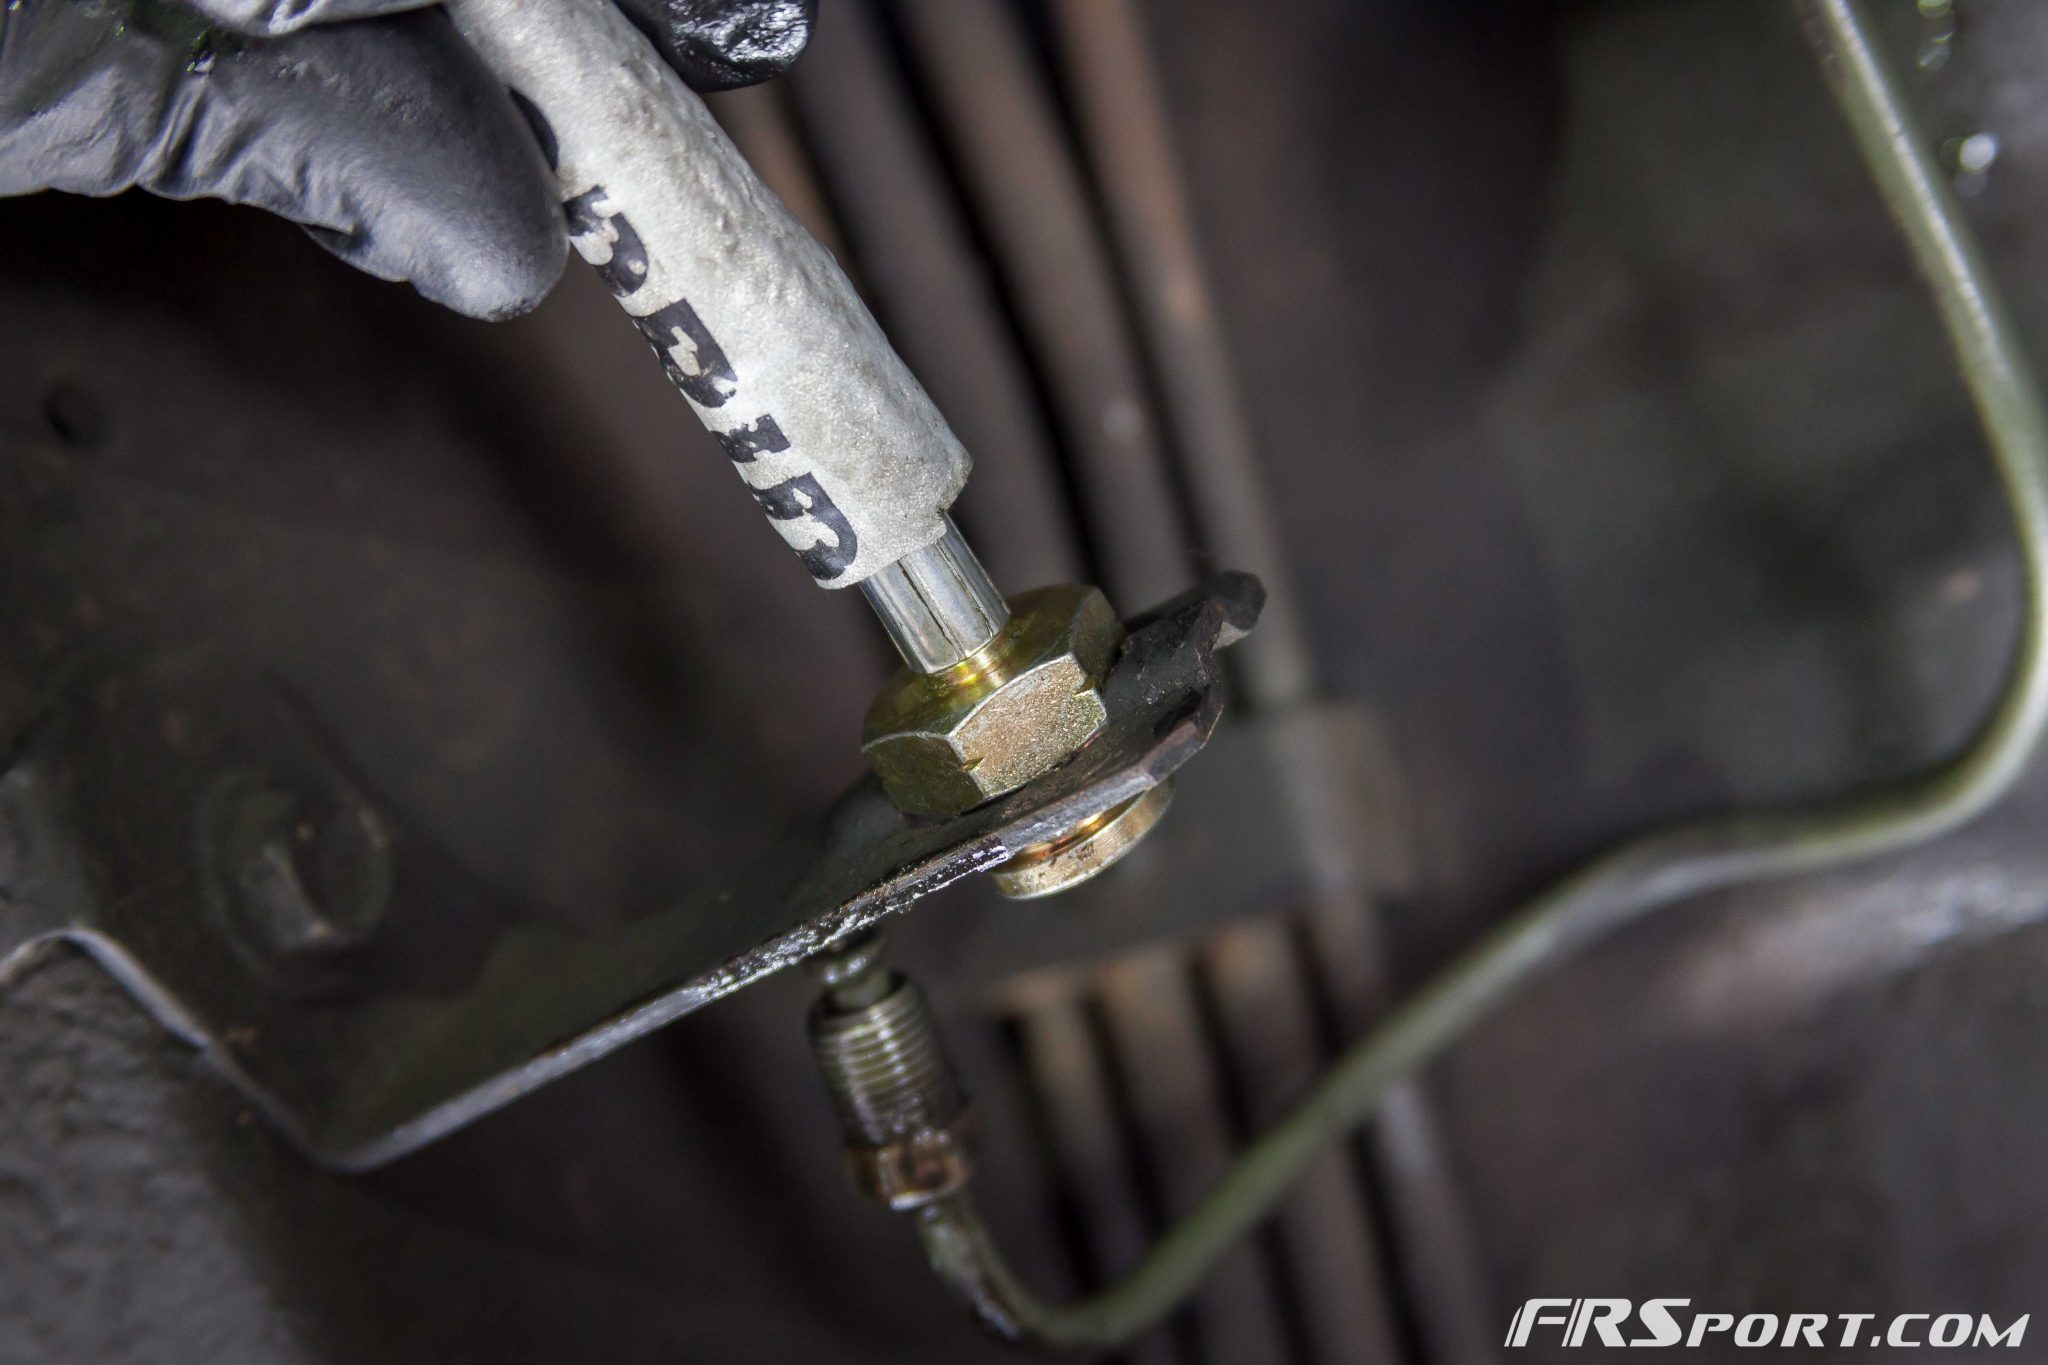
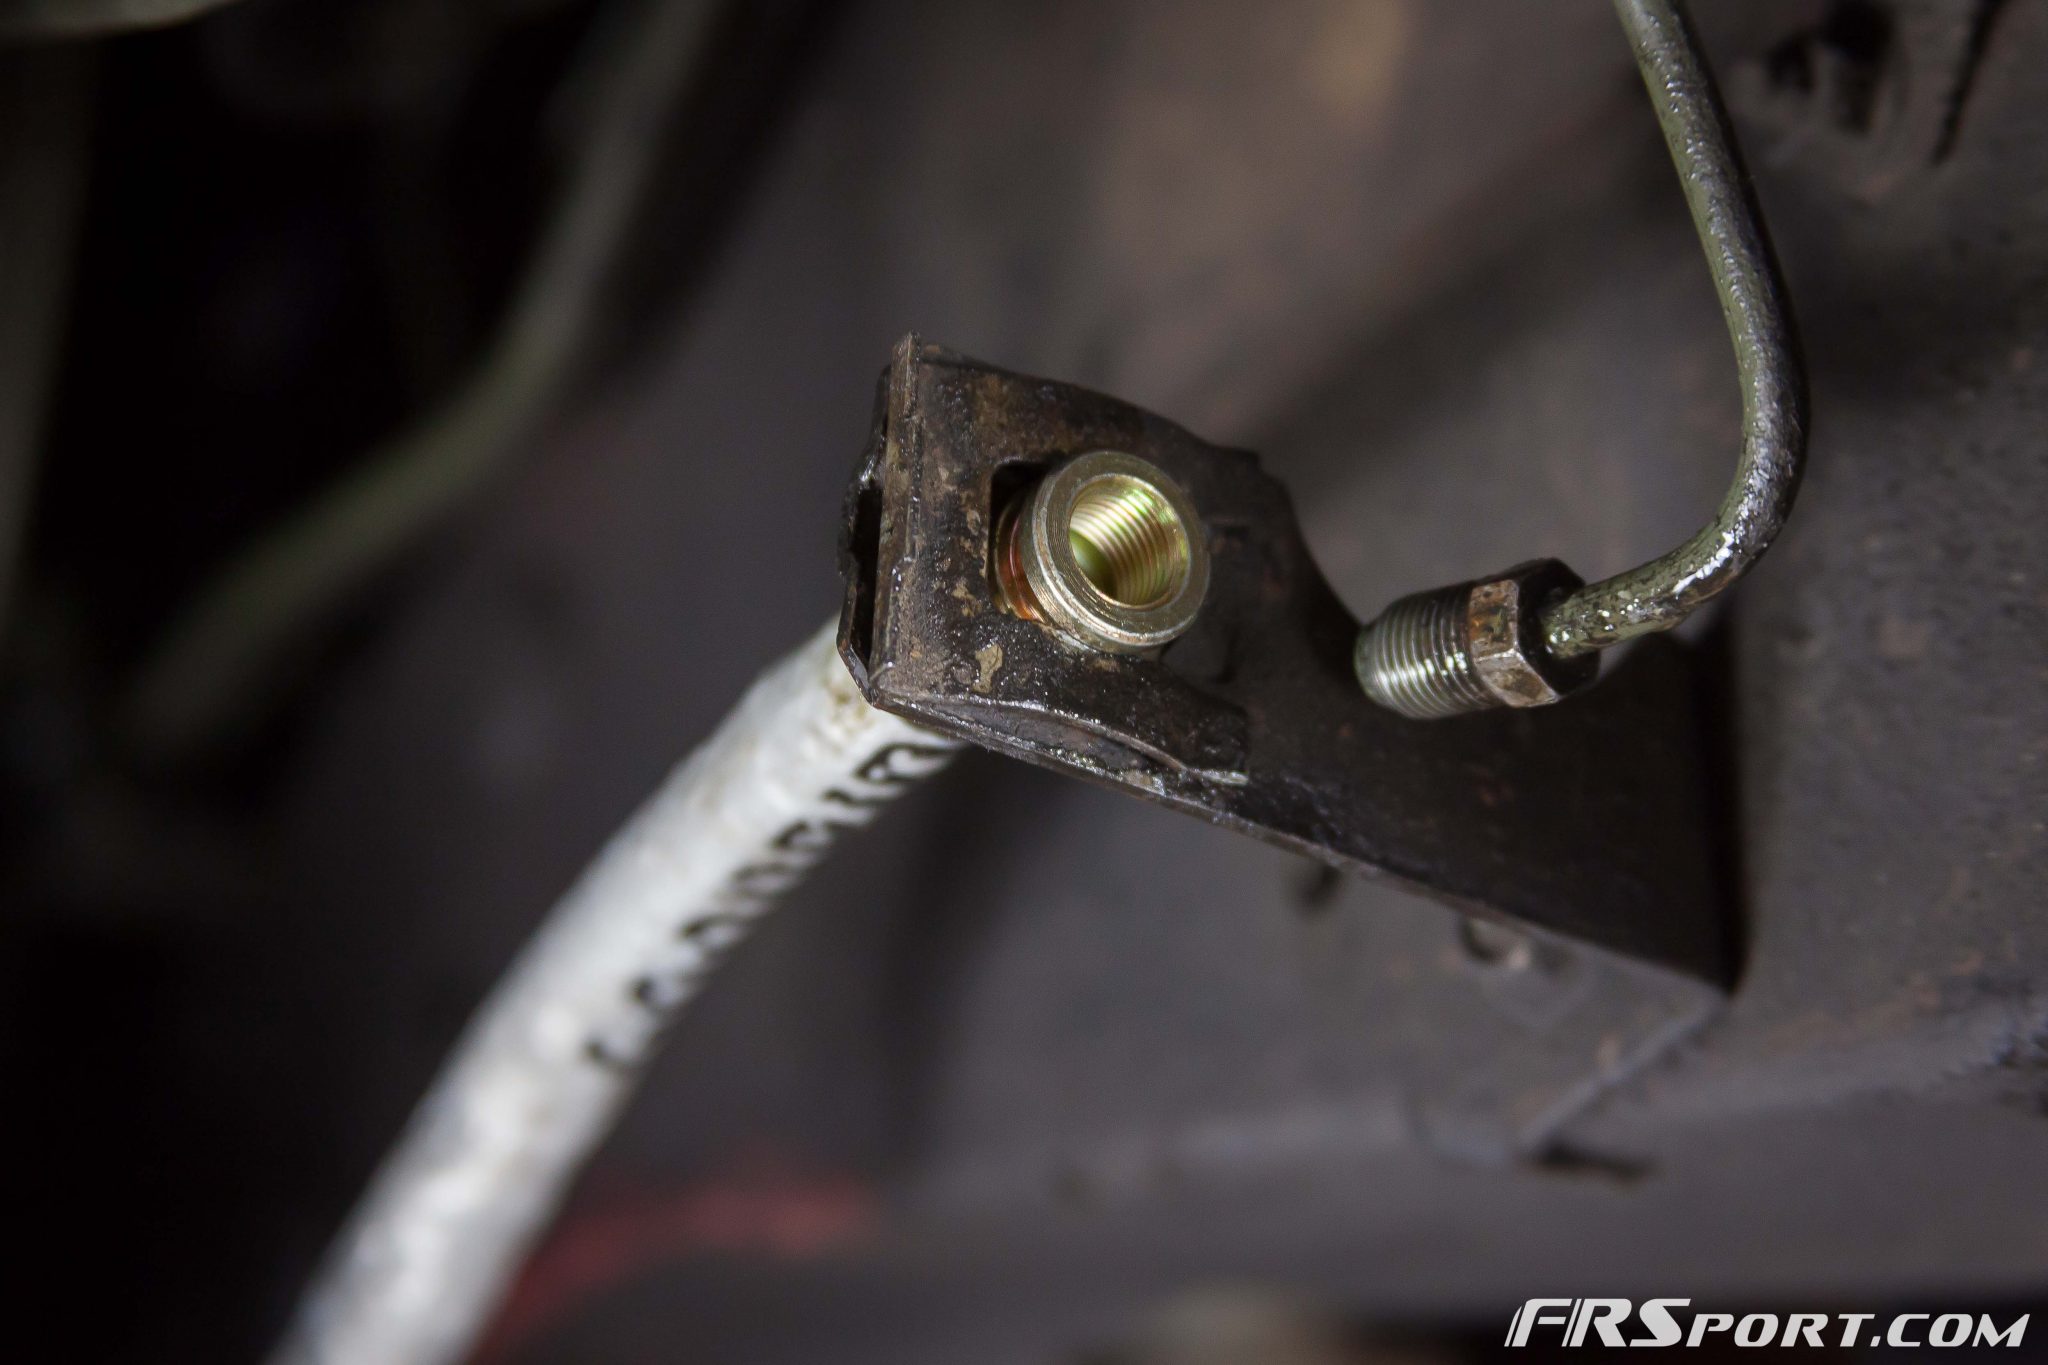
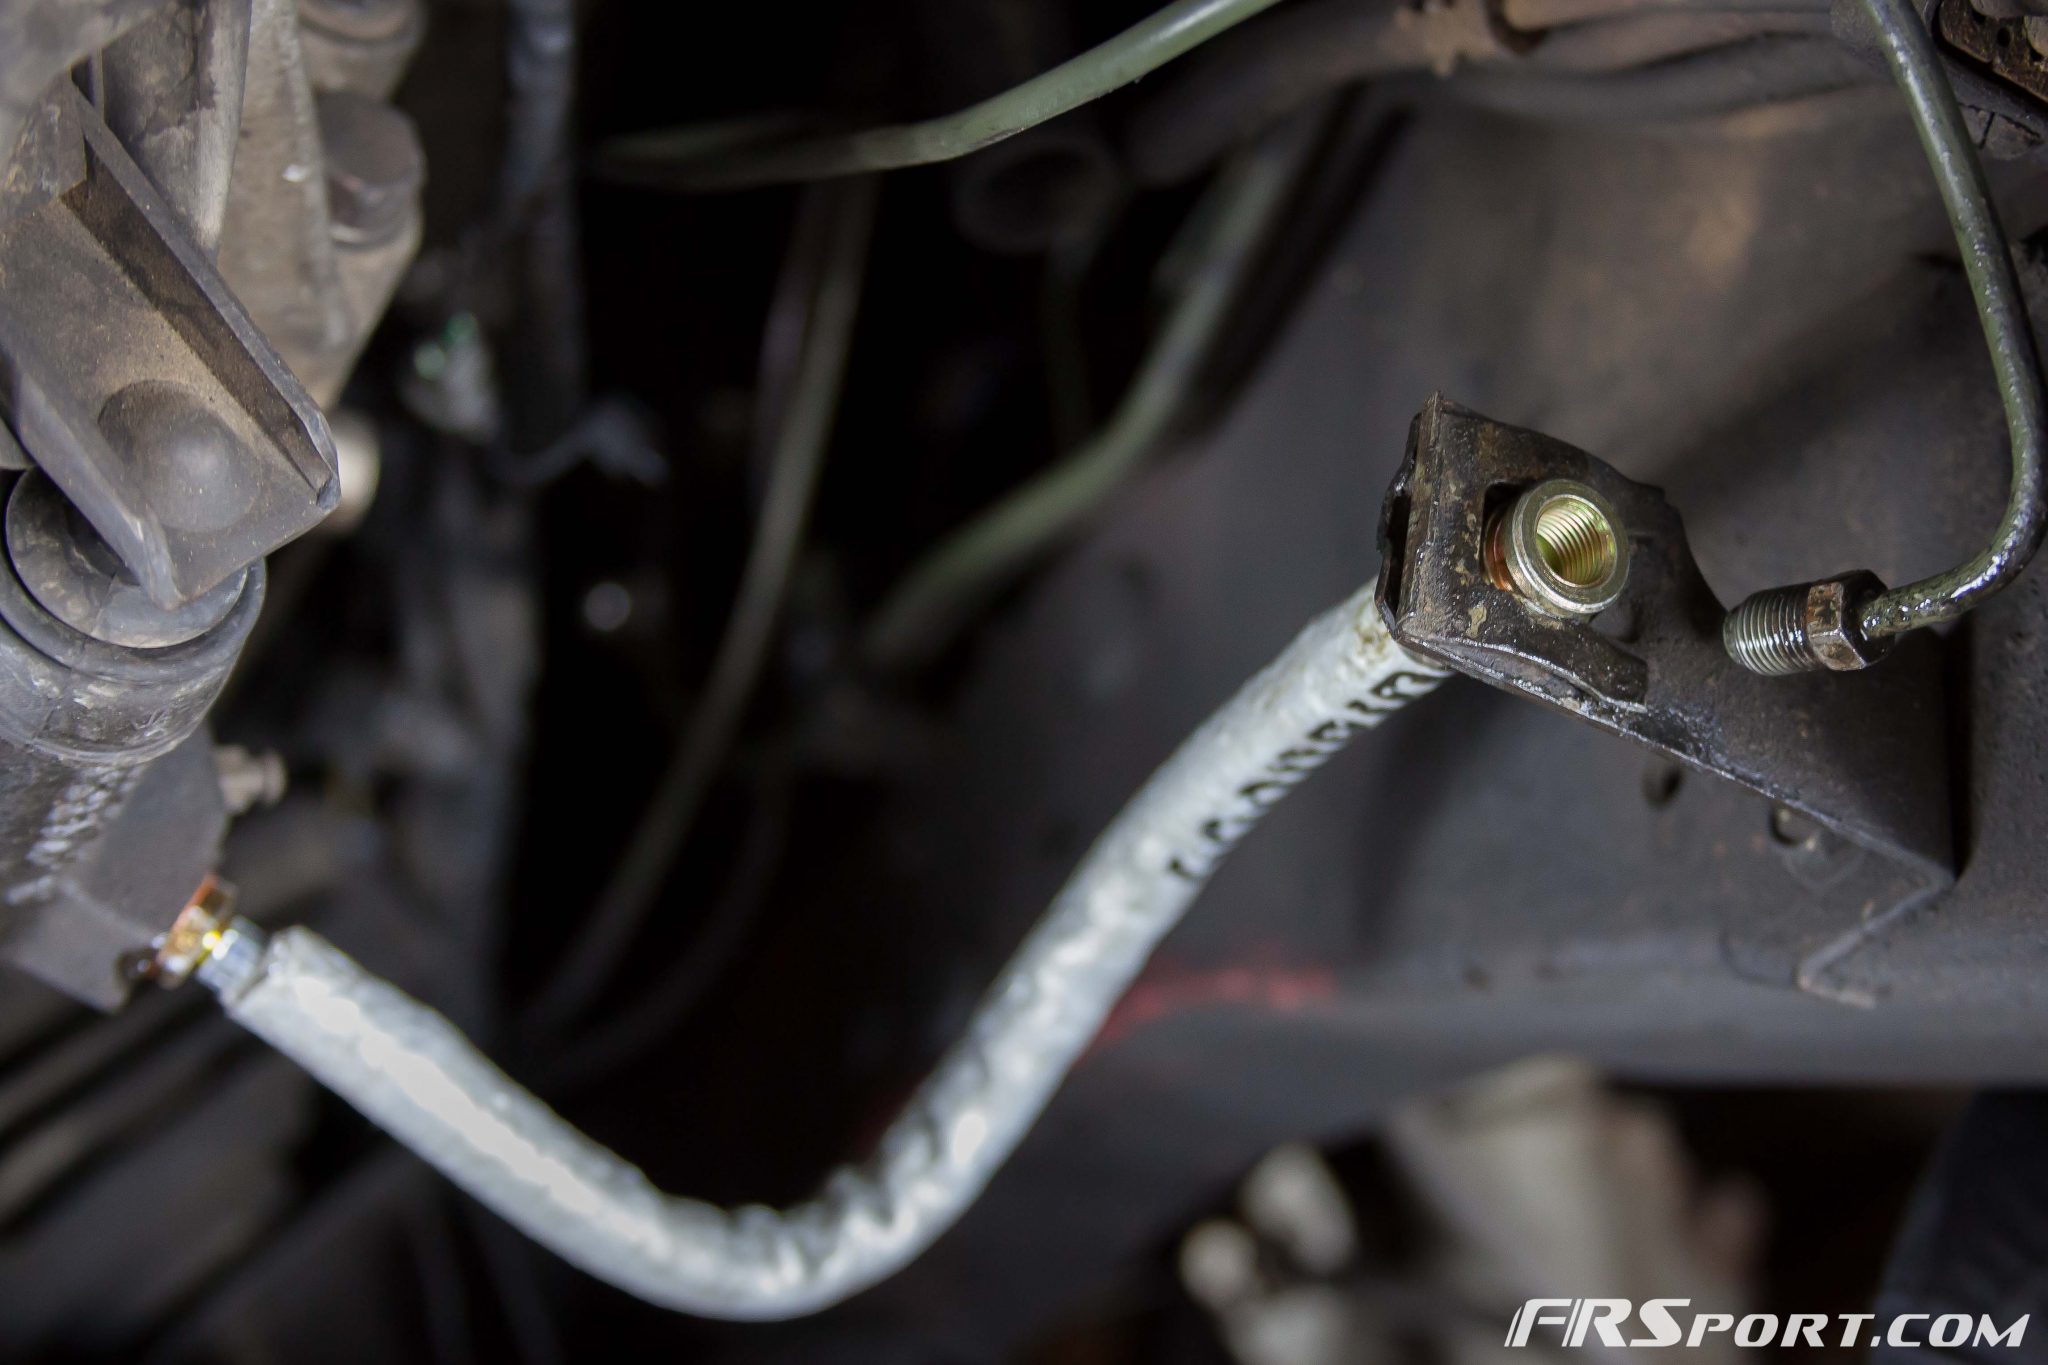
After that end was in, we continued to secure the other end to the bracket that is located on the passenger side frame rail. We placed one section through the bracket and made sure that the rear most section of the hose end was in between the two ridges located on the bracket, as seen above.
Once we made sure the hose end was secured on the backside, we then slipped in the curved retainer removed previously. Here you can see how the curved retainer holds the hose end. Remember to always get the curved ones.
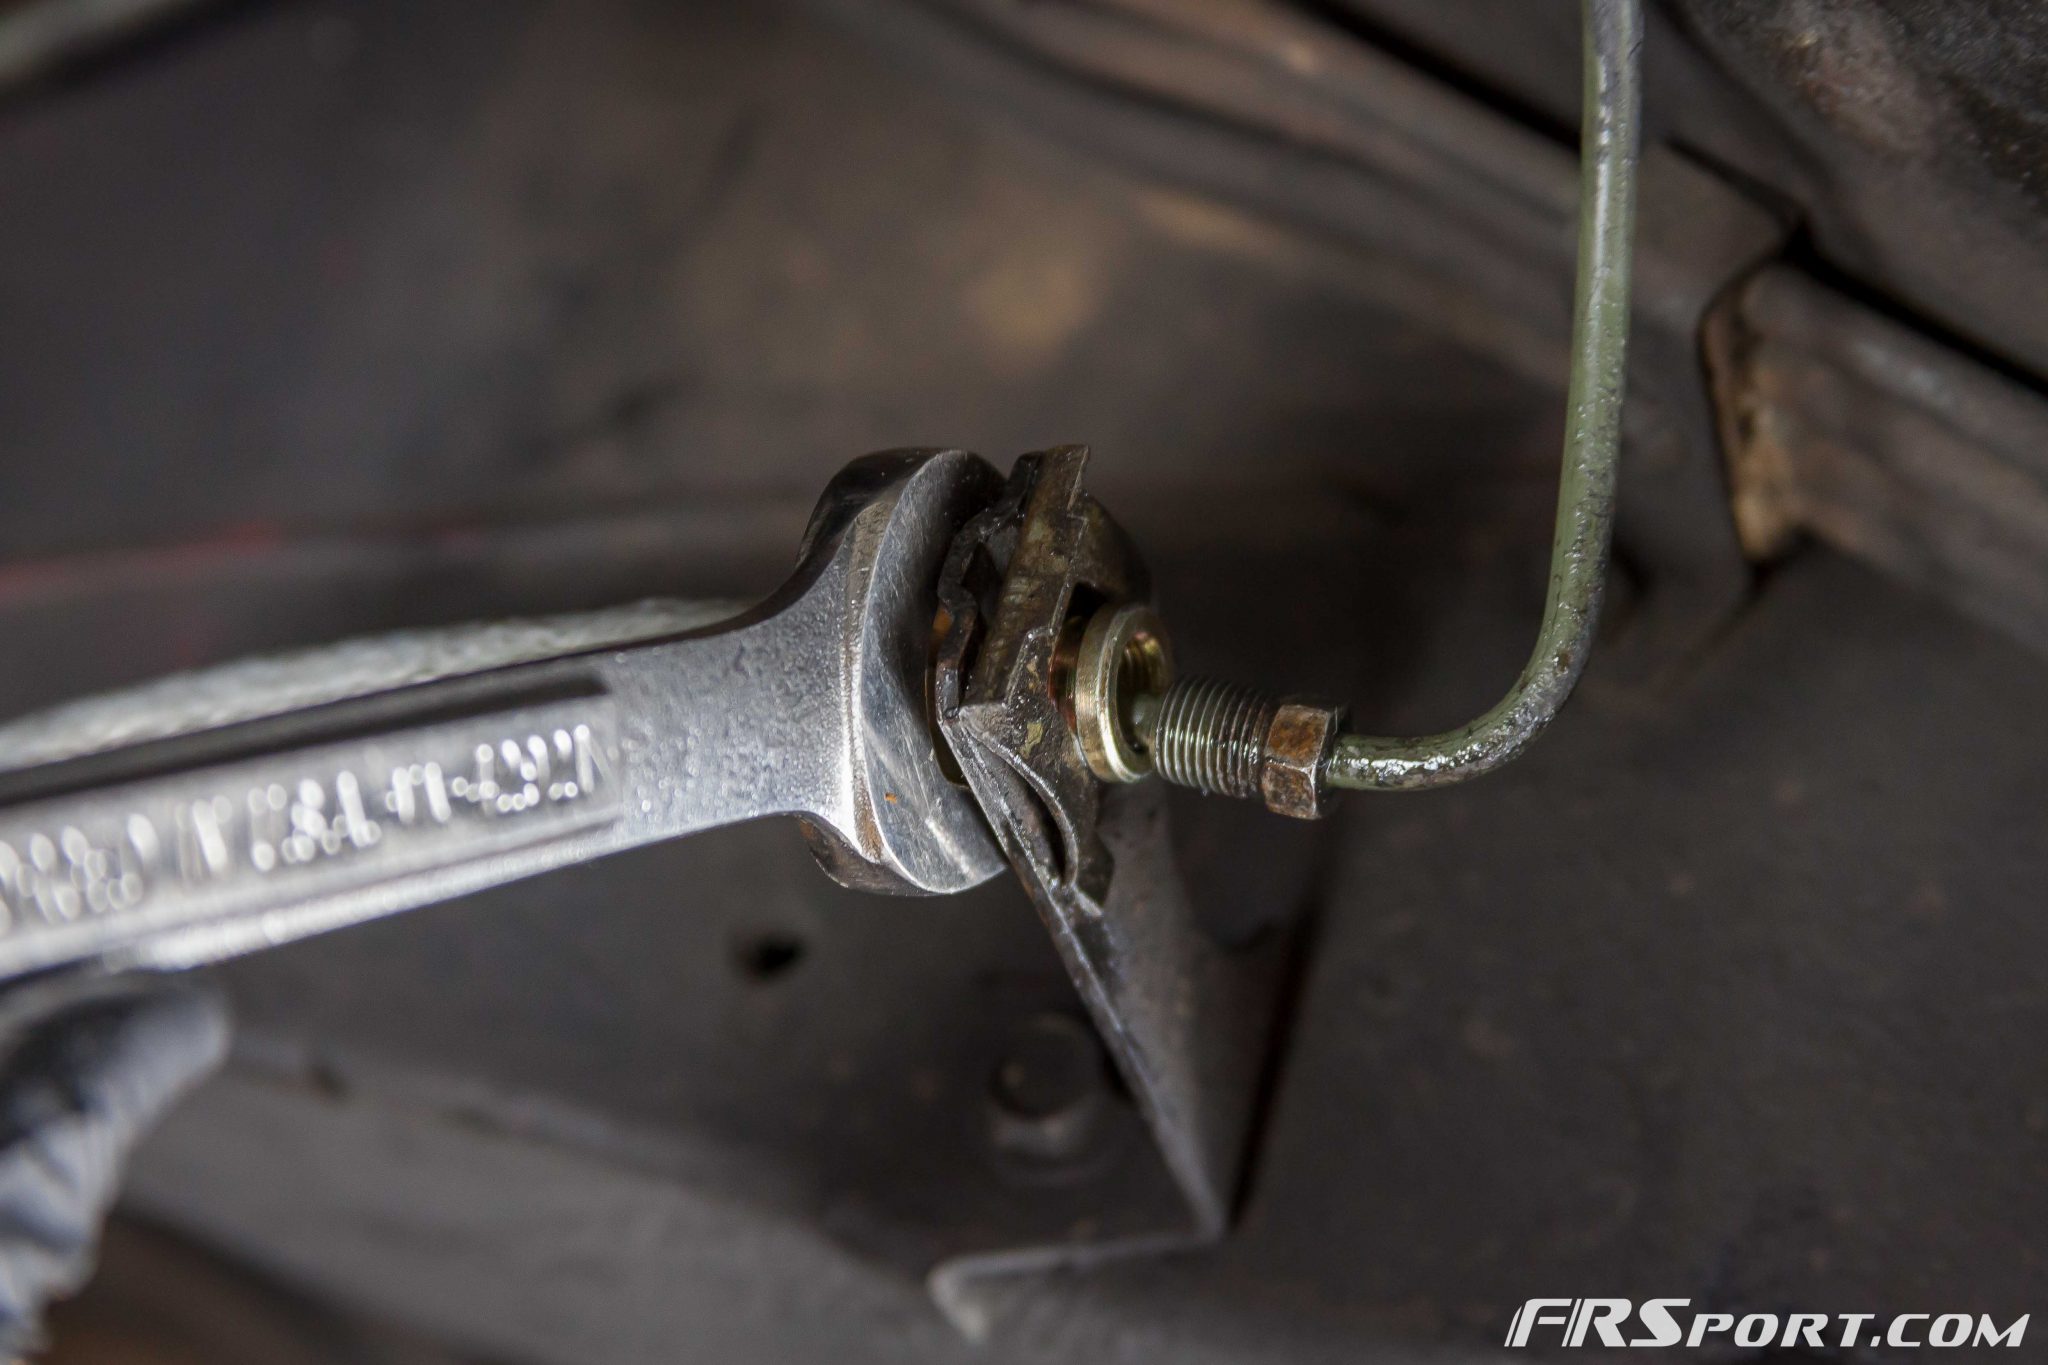
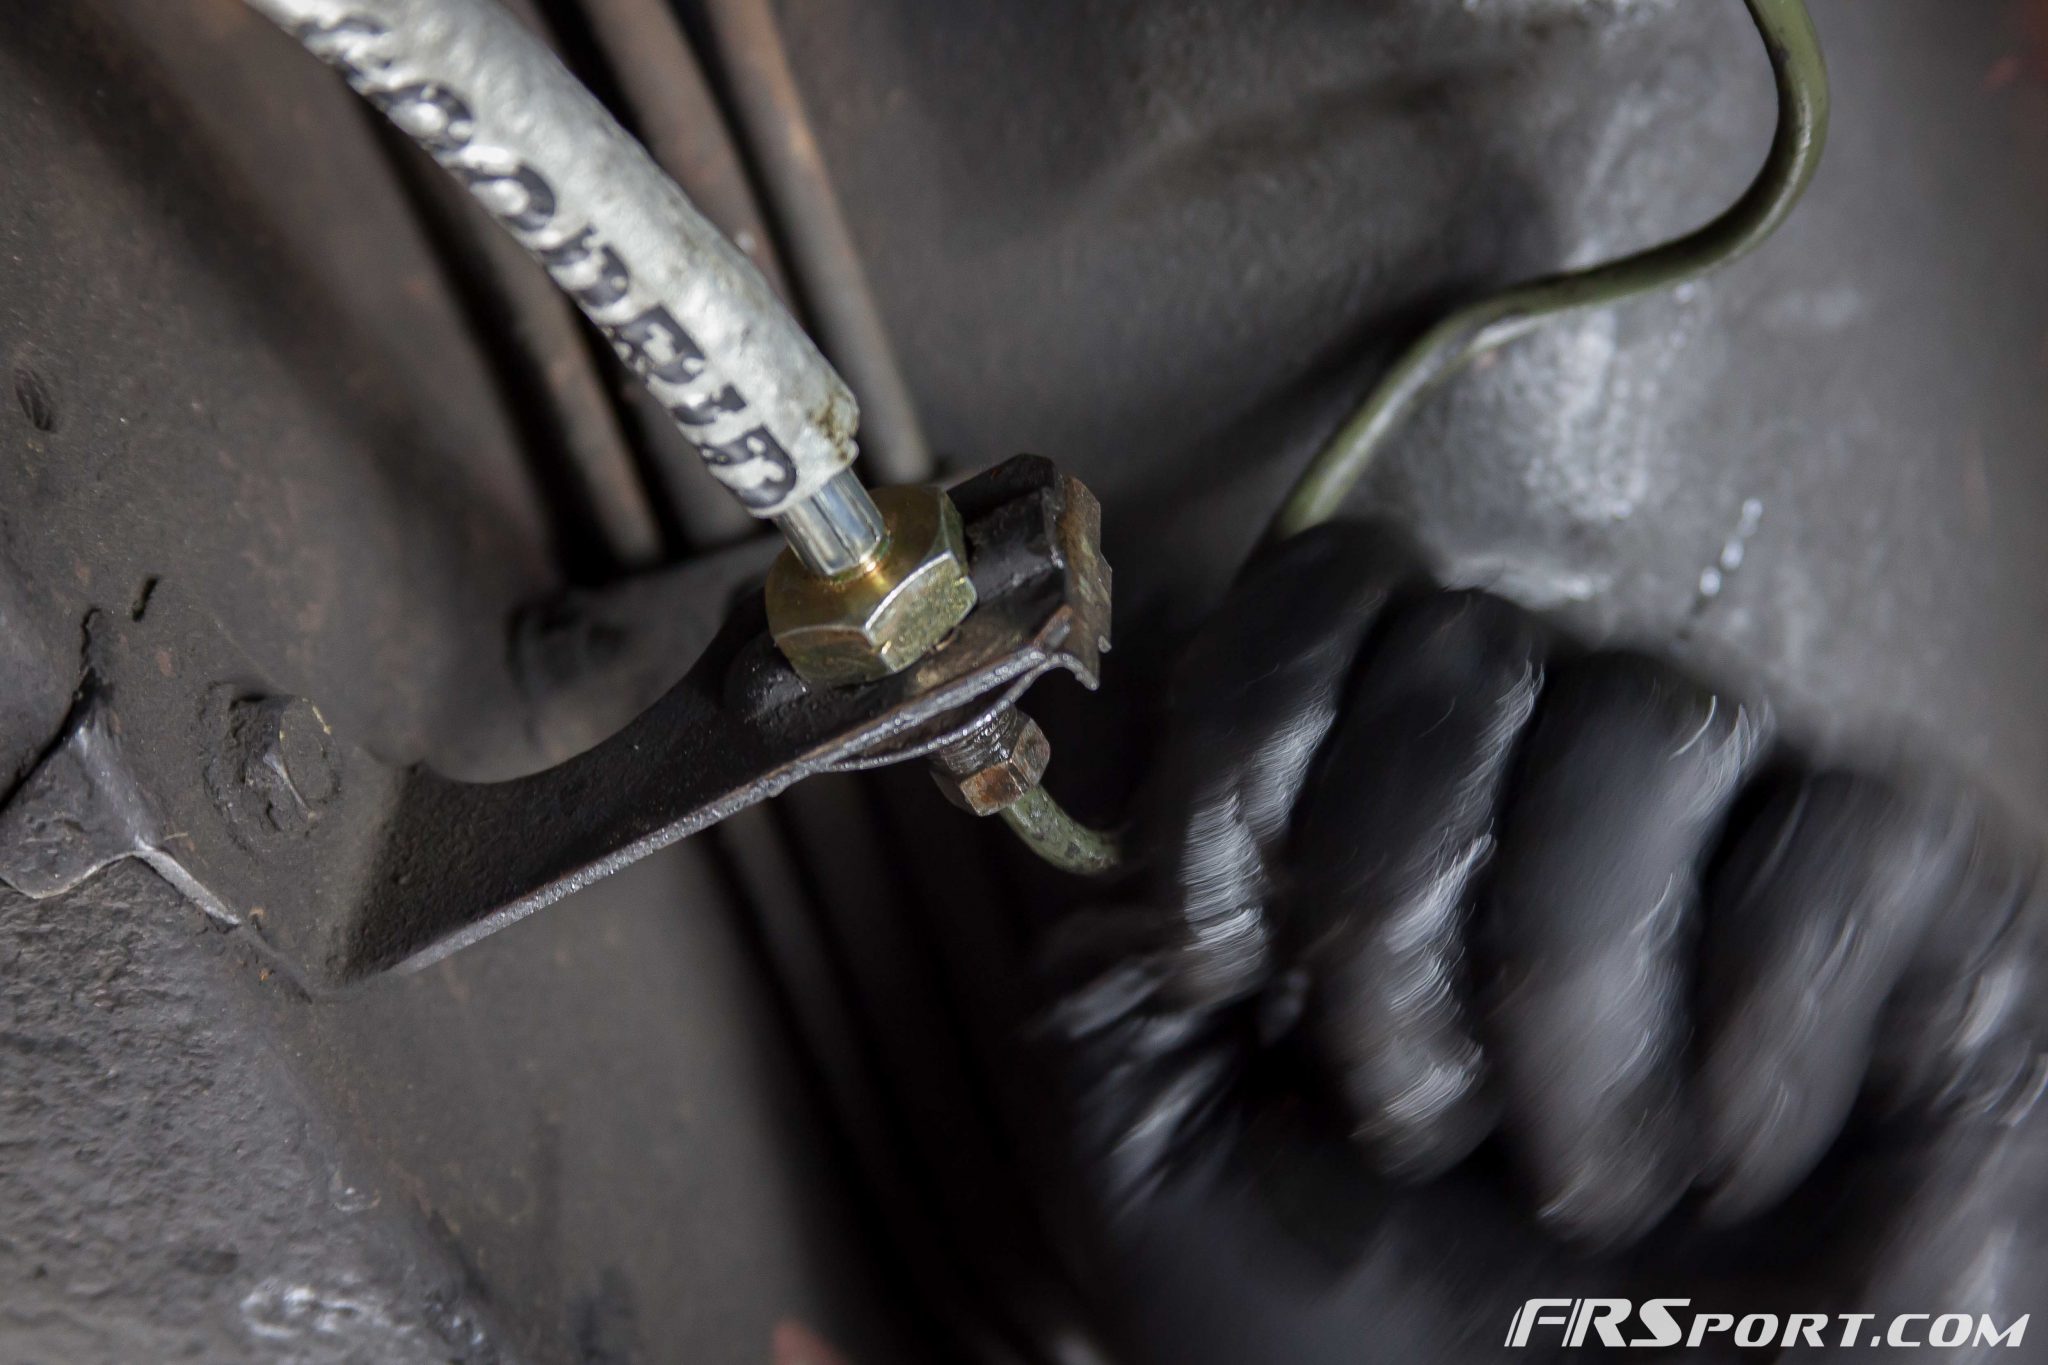
After this part of the bracket was secure with the retainer, we moved towards connecting the hard-line with the newly installed DIF line. Again we started by engaging the threads by hand. When starting to connect the two together it helps to keep things secure with an extra 19 mm Hose Wrench.

Finally, once the thread was securely engaged we proceeded to tighten the oem hardline coming from the slave cylinder to the DIF Fire Sleeved Clutch Line again using a 10mm Hose Wrench.
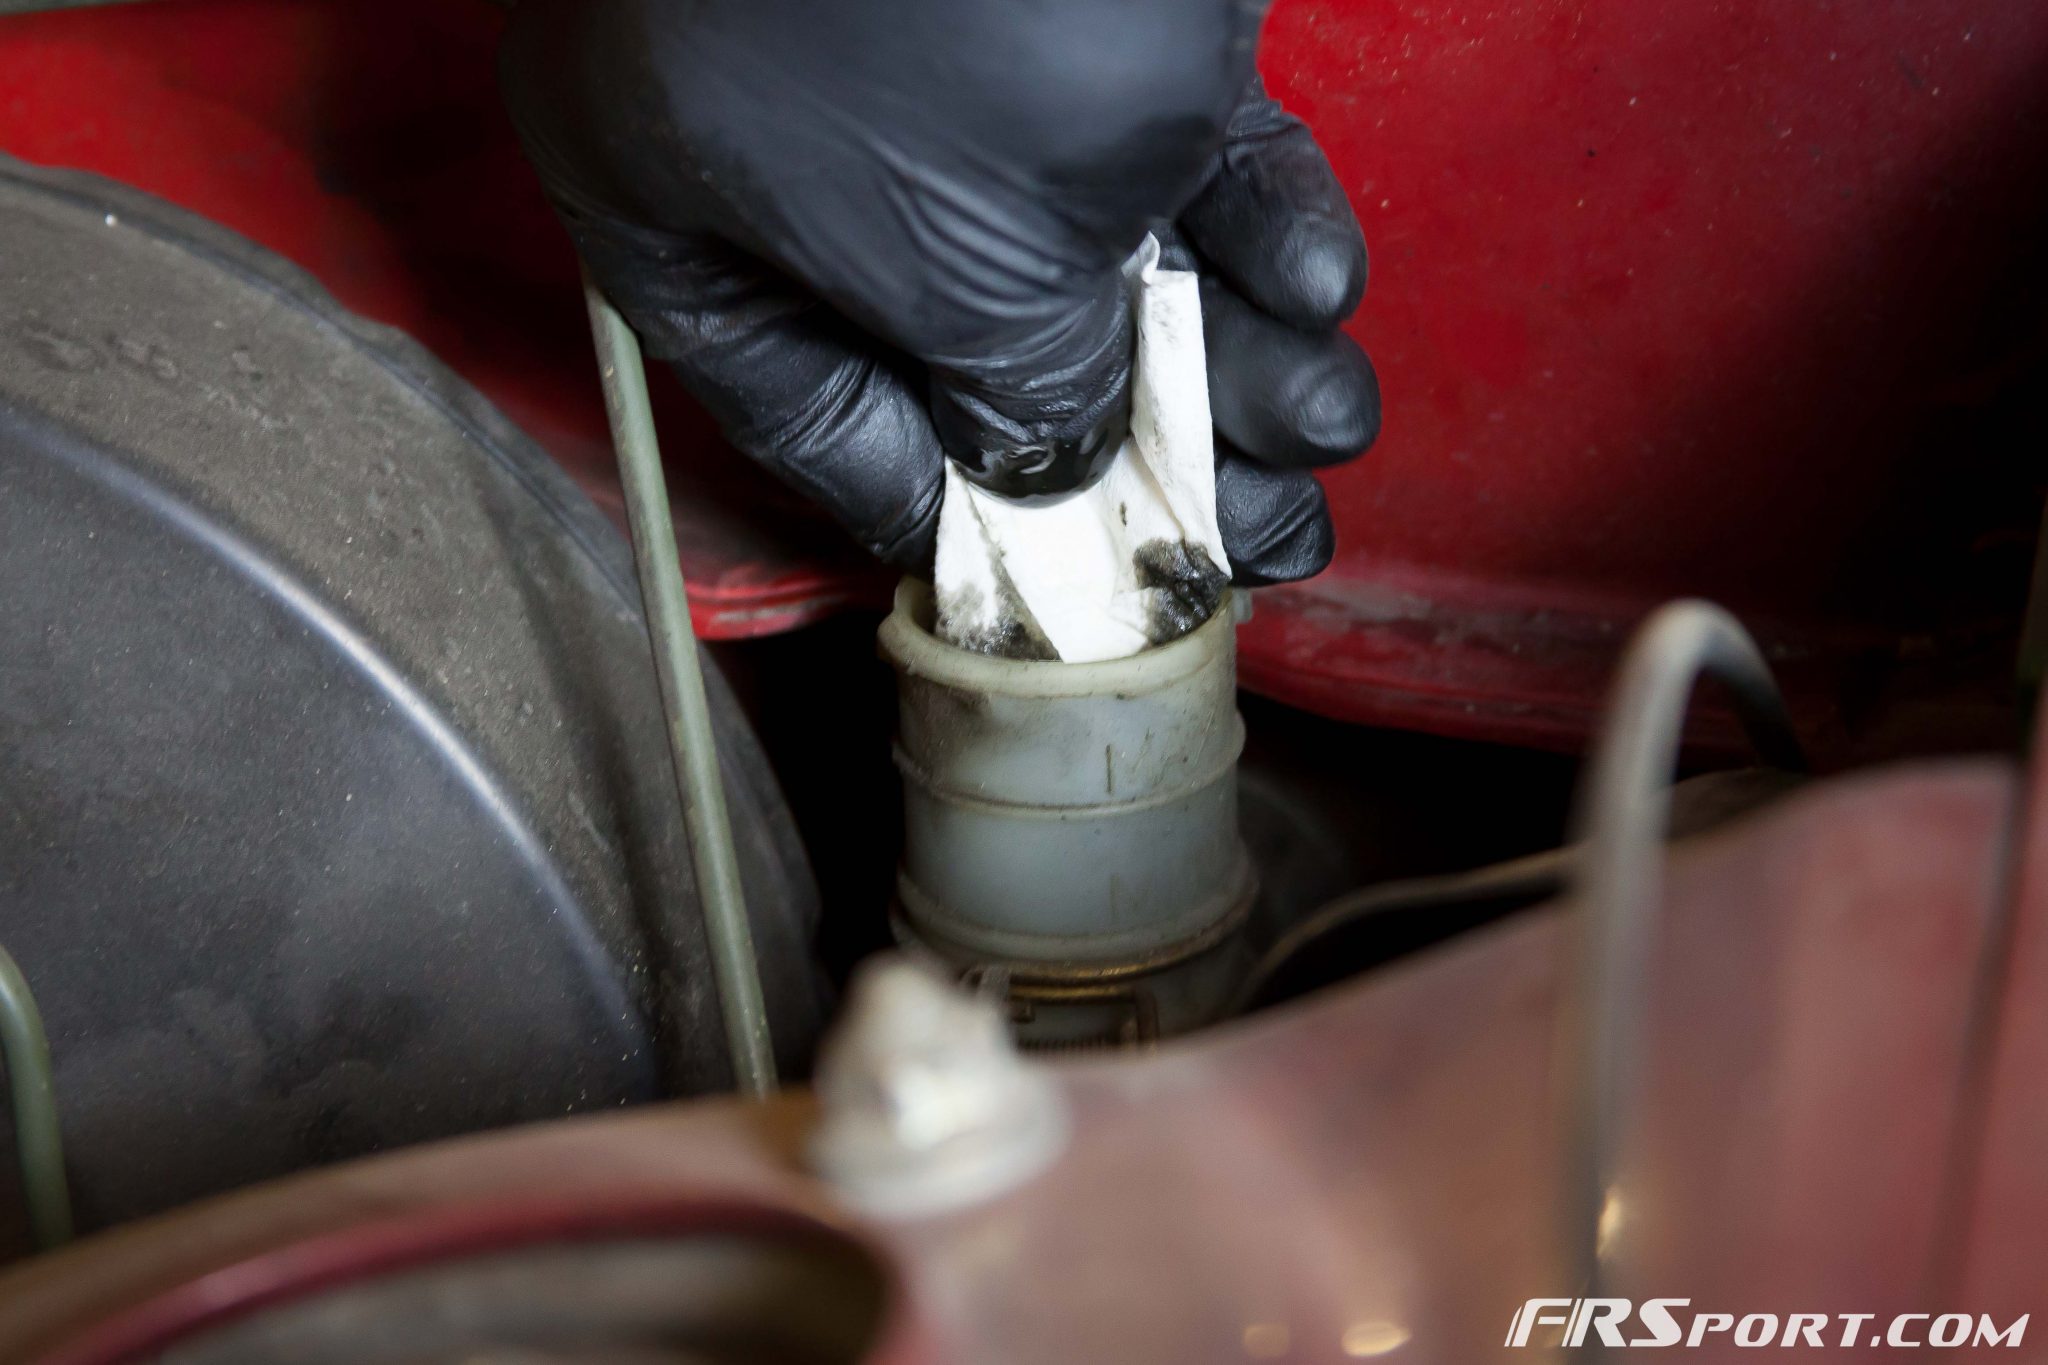
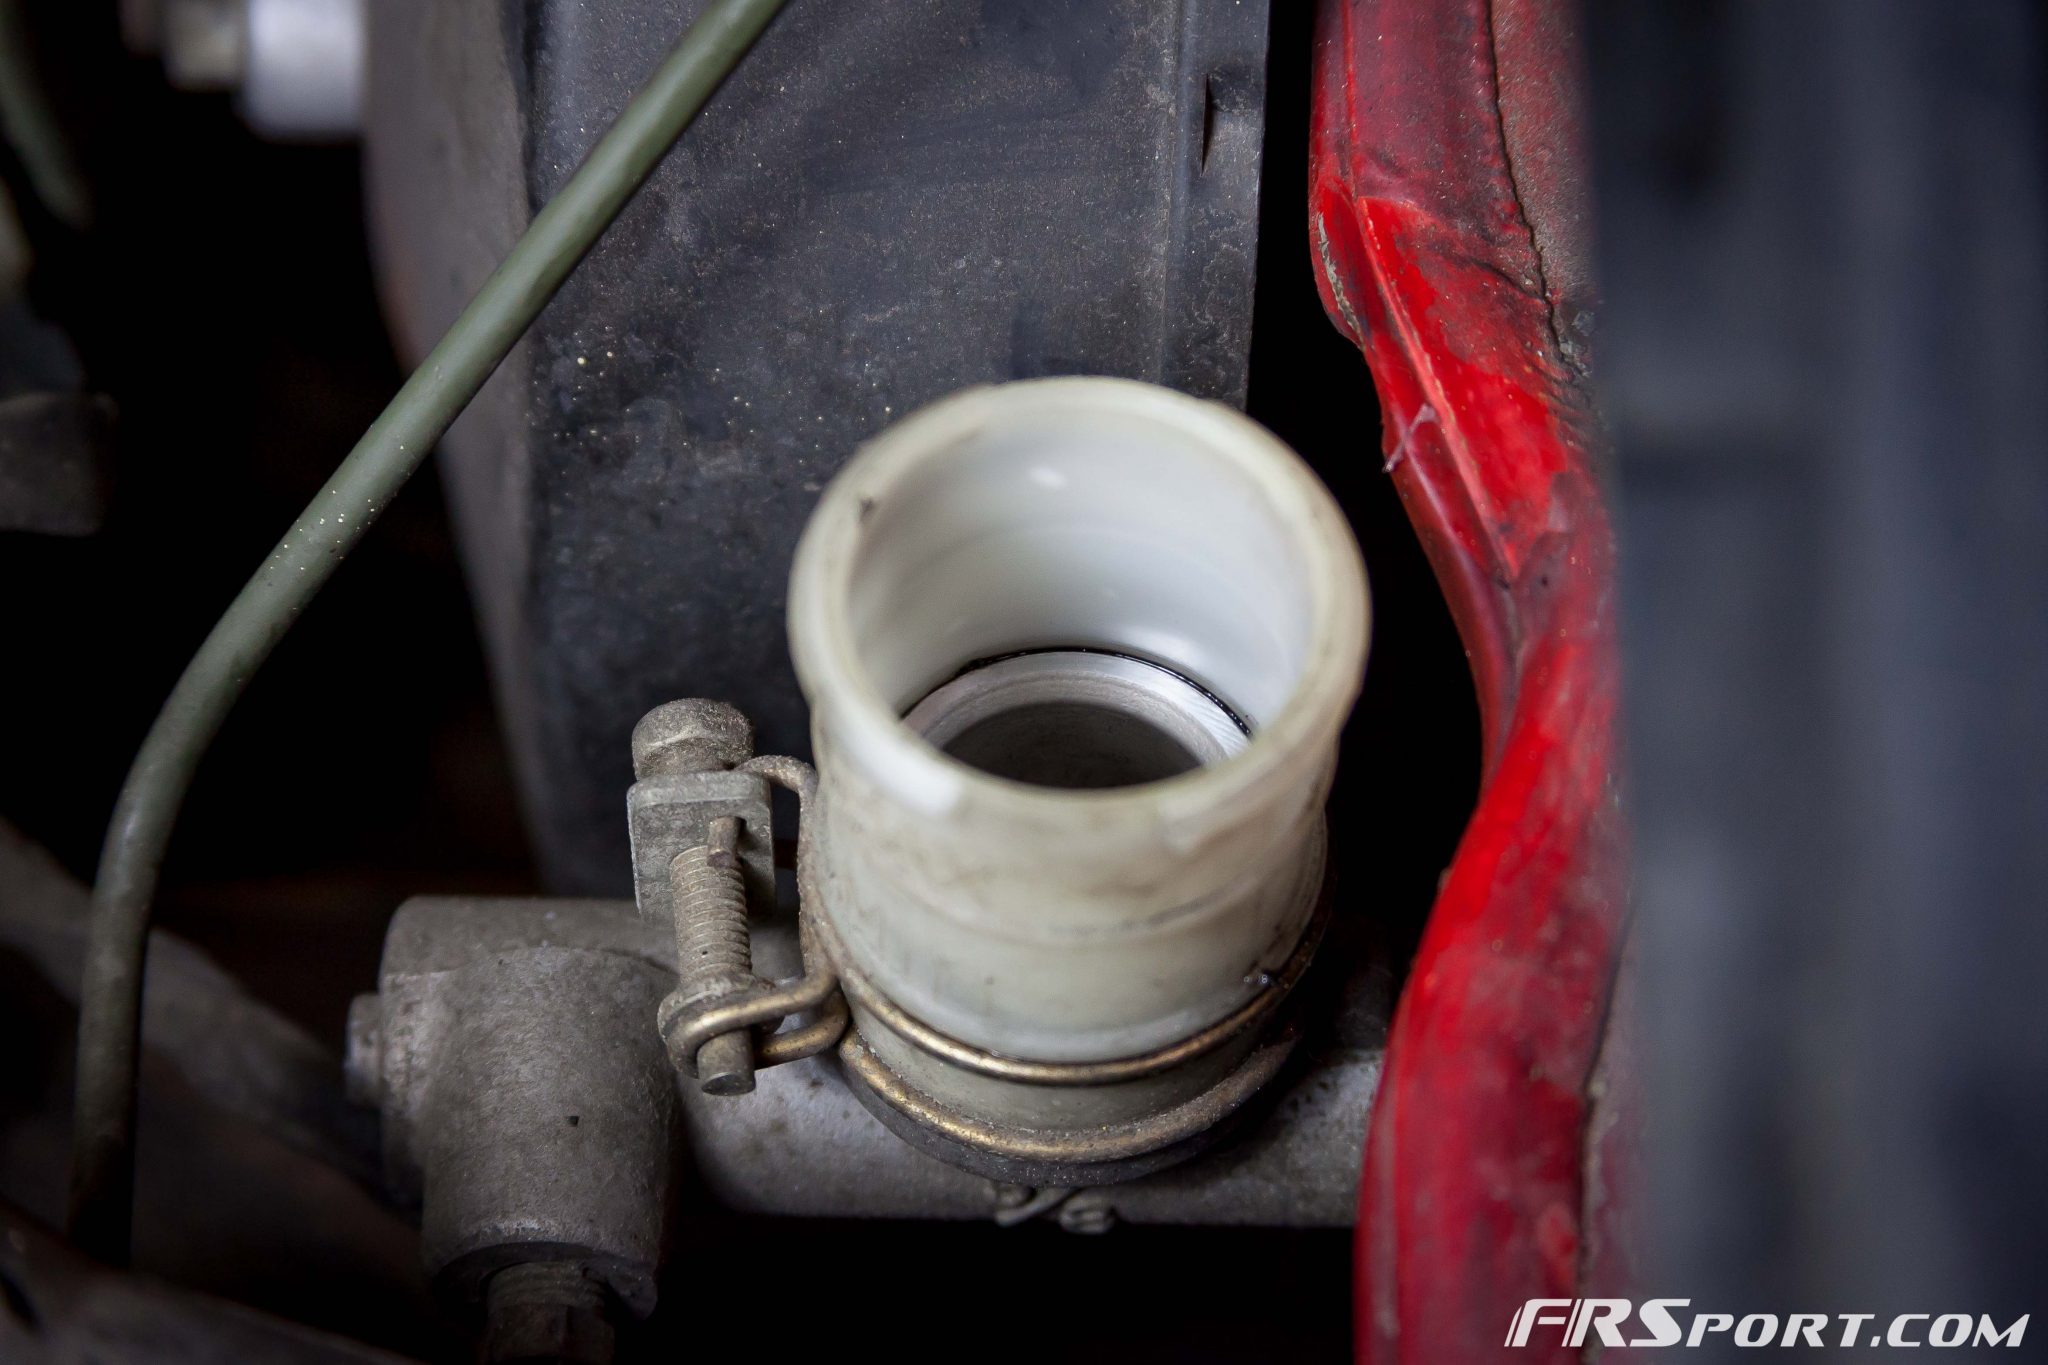
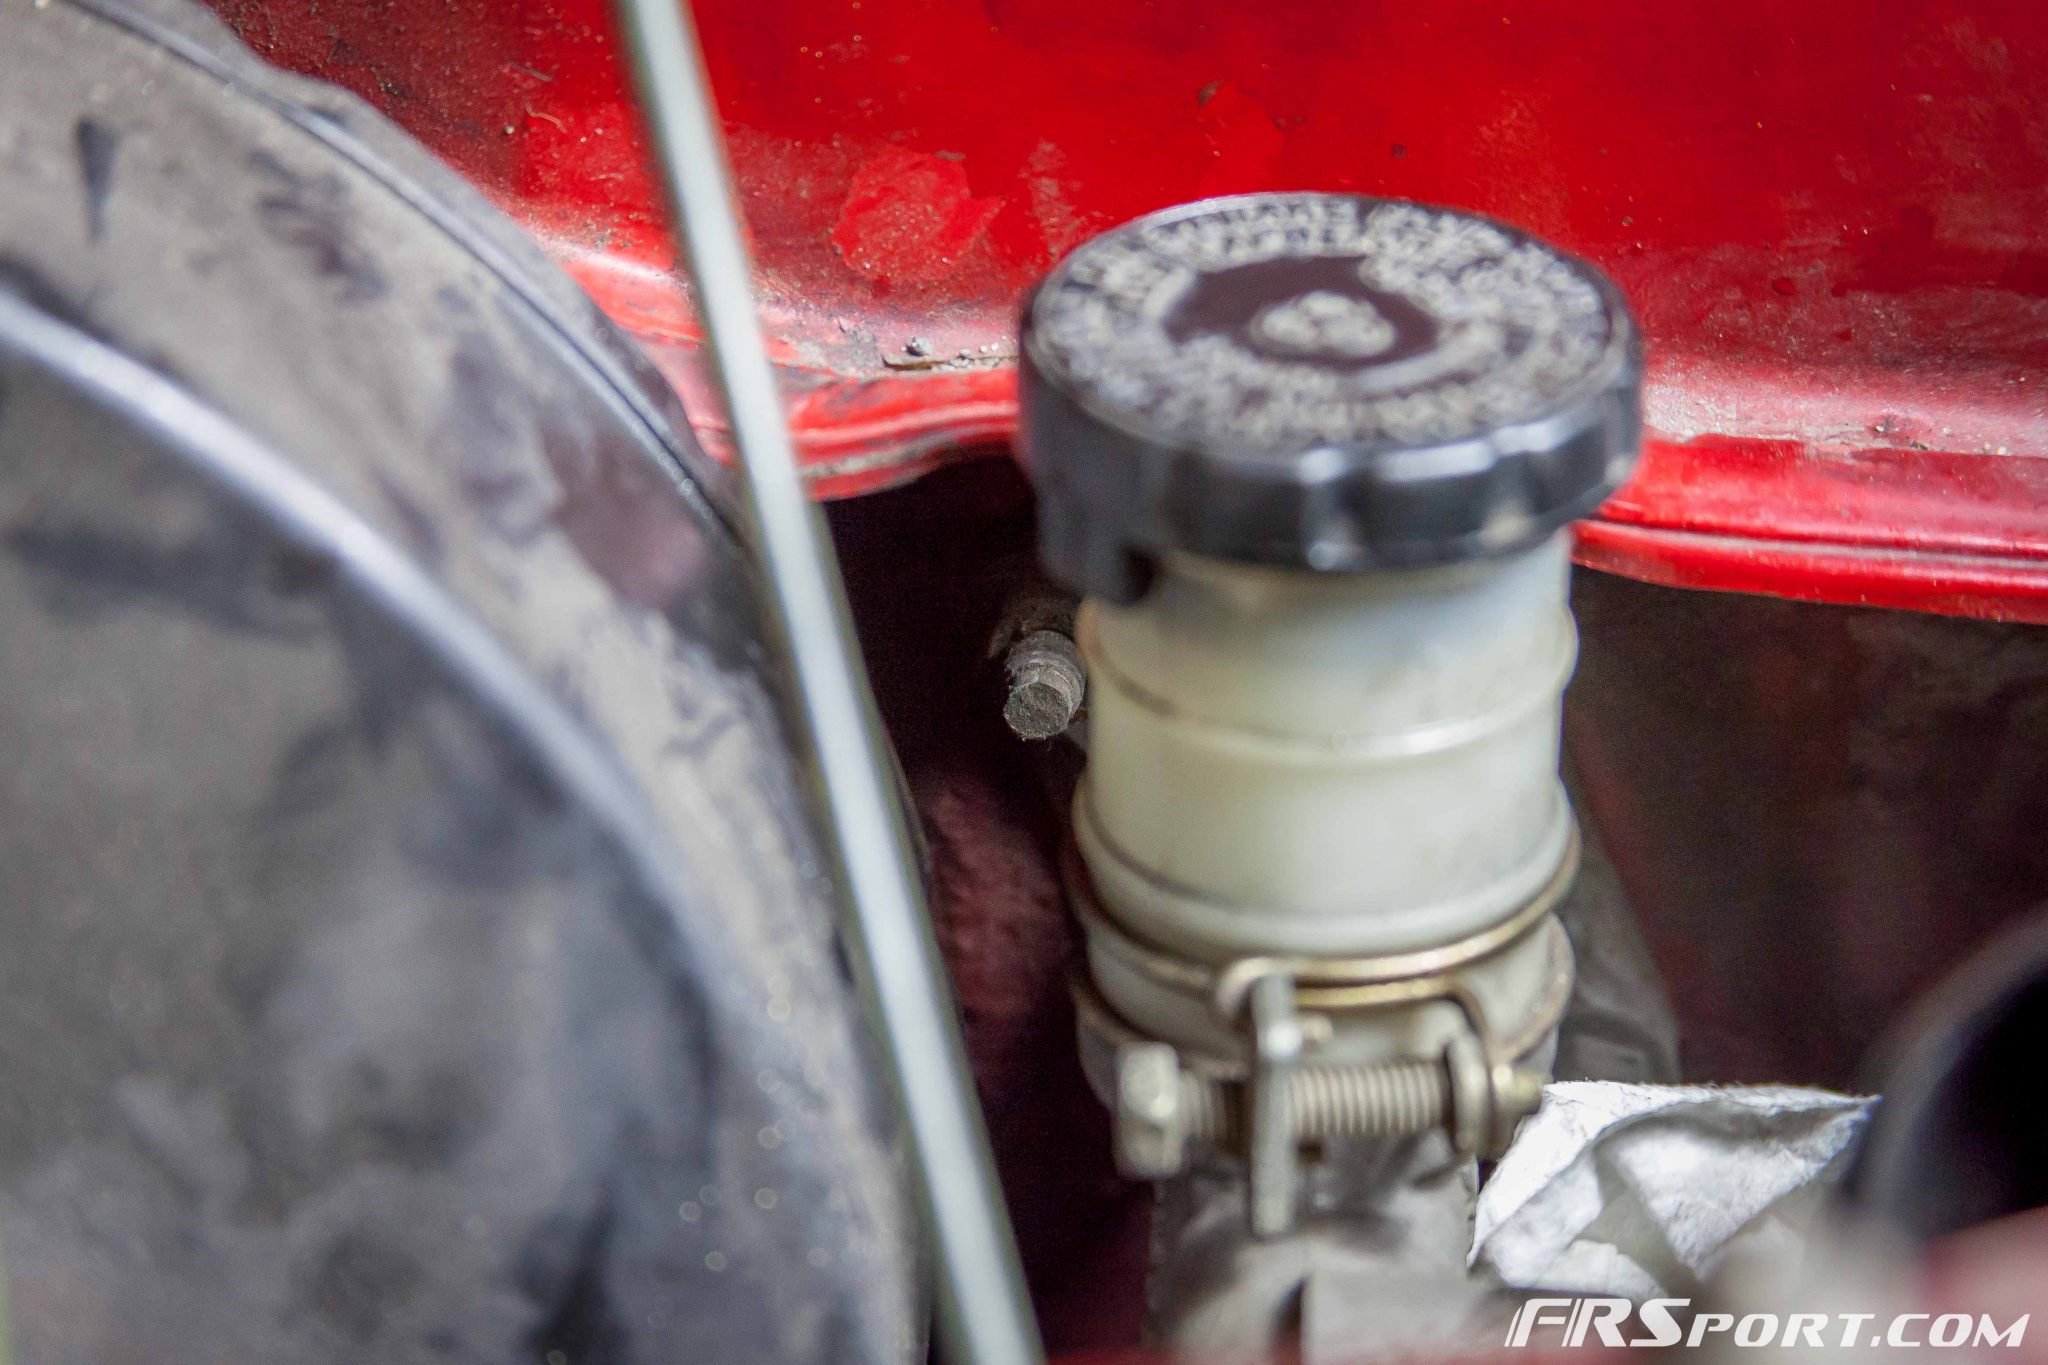
Once all the lines were secure the guys and I began the process of properly bleeding the system. We first started by properly cleaning the clutch master cylinder reservoir which had accumulated a lot of dirt over the years. this stuff was pretty gross. It ended up looking pretty good.
After we bled and closed off all the lines we realized that something was not working in the hydraulic system. At this point, so we would cover all the bases, we also decided to replace the Master and Slave clutch cylinders again just to make sure we buried the problem.
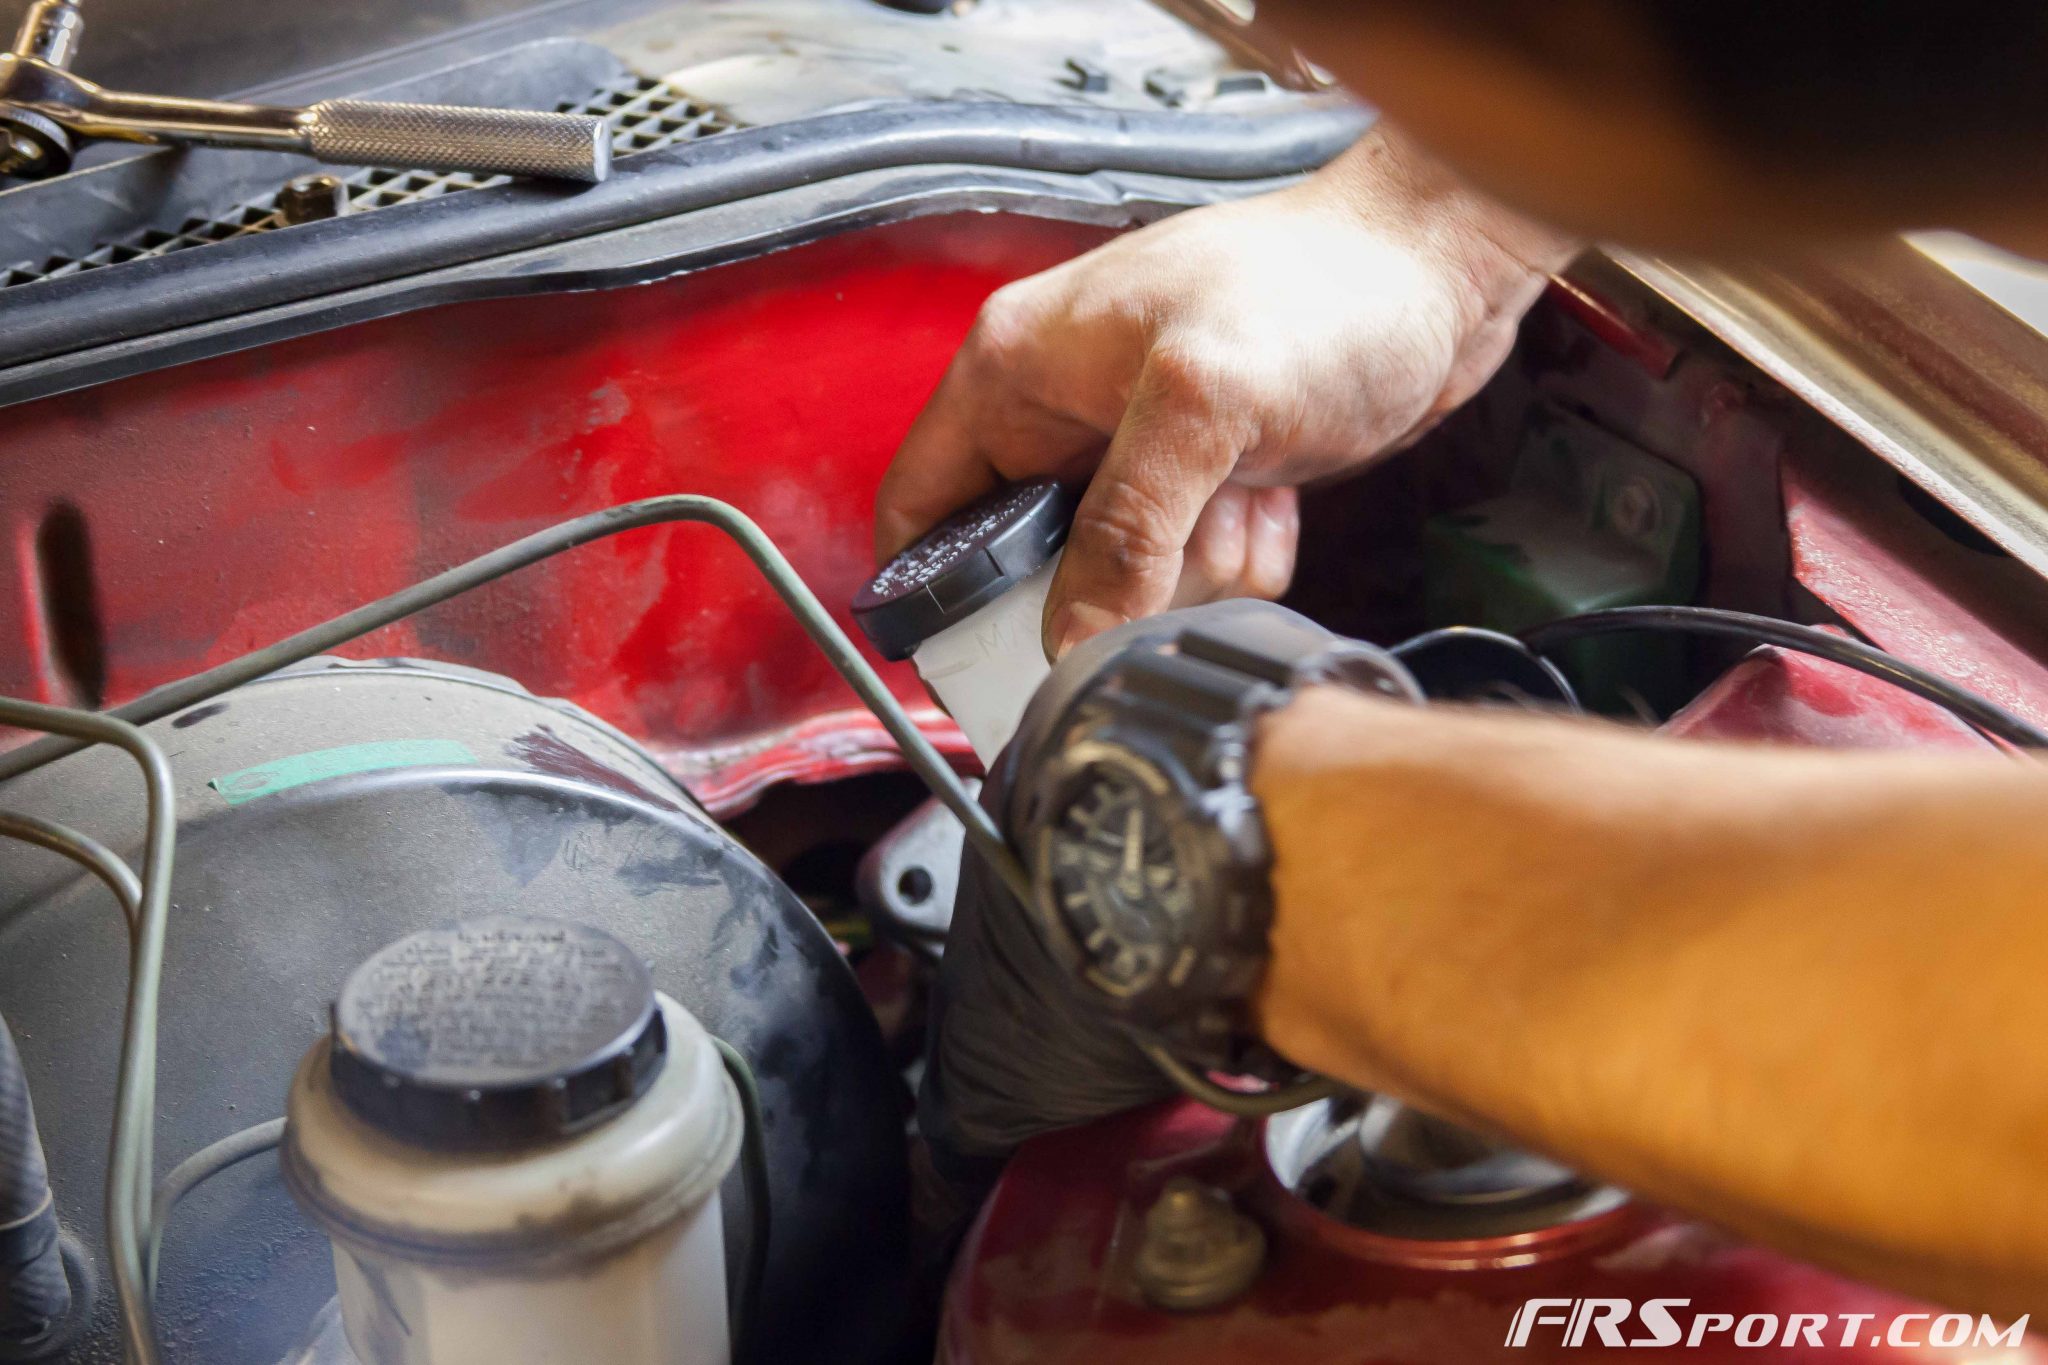
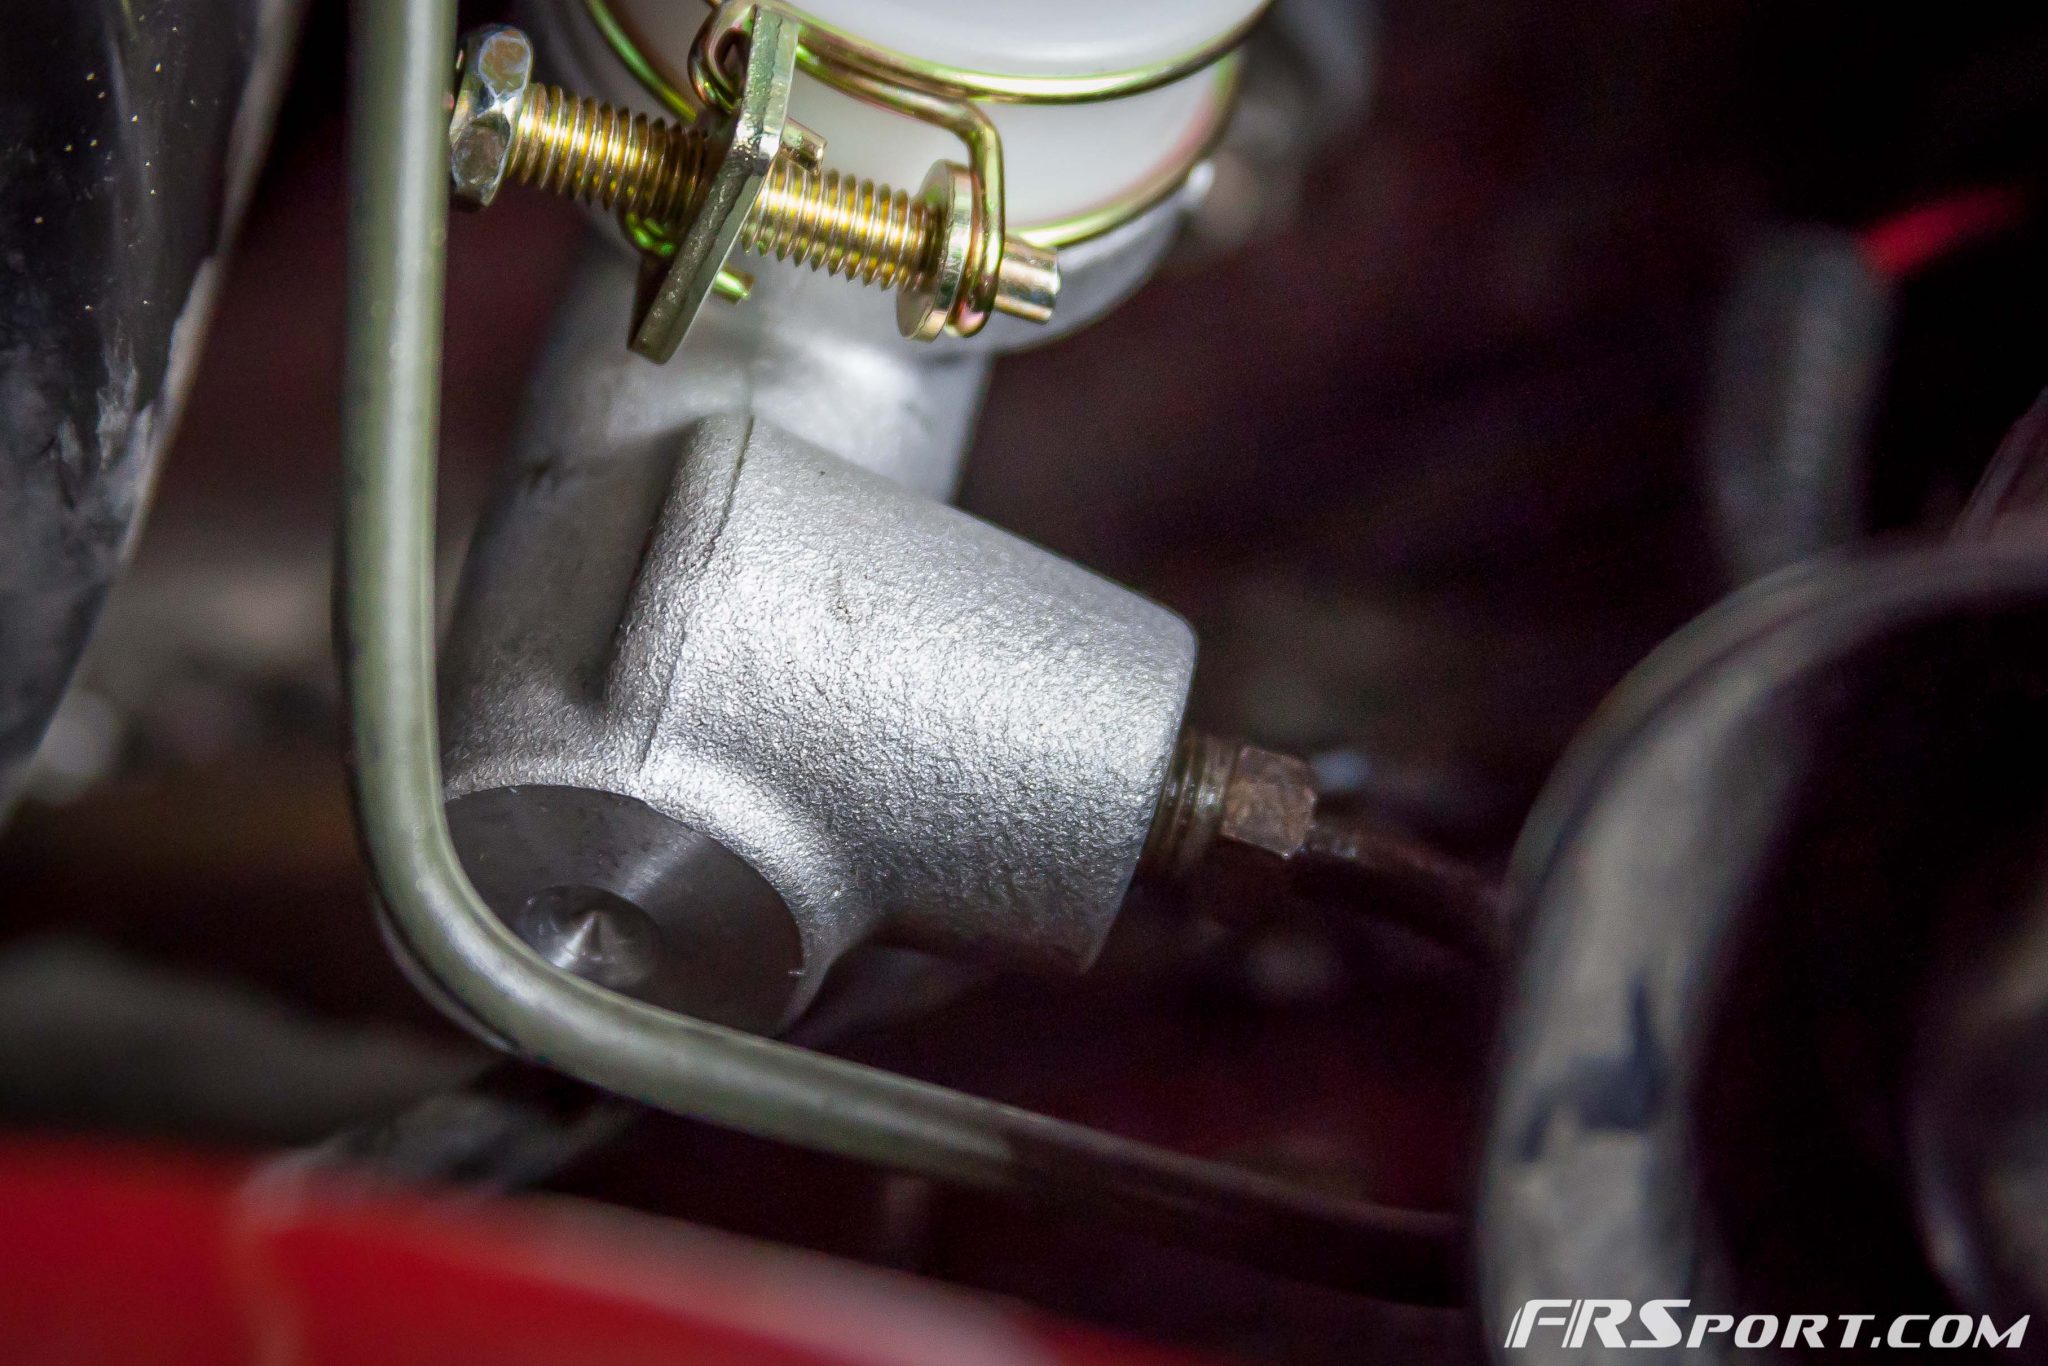
Immediately after this we began to take off the Clutch Master Cylinder. Above you can see that it is only being held on the outside by two nuts against the firewall and the fitting that connects the hardline coming from the slave cylinder as well (This piece unfortunately you cant see now). Using an appropriate socket we removed these two nuts and just the same removed the hard-line fitting with a hose end line wrench.
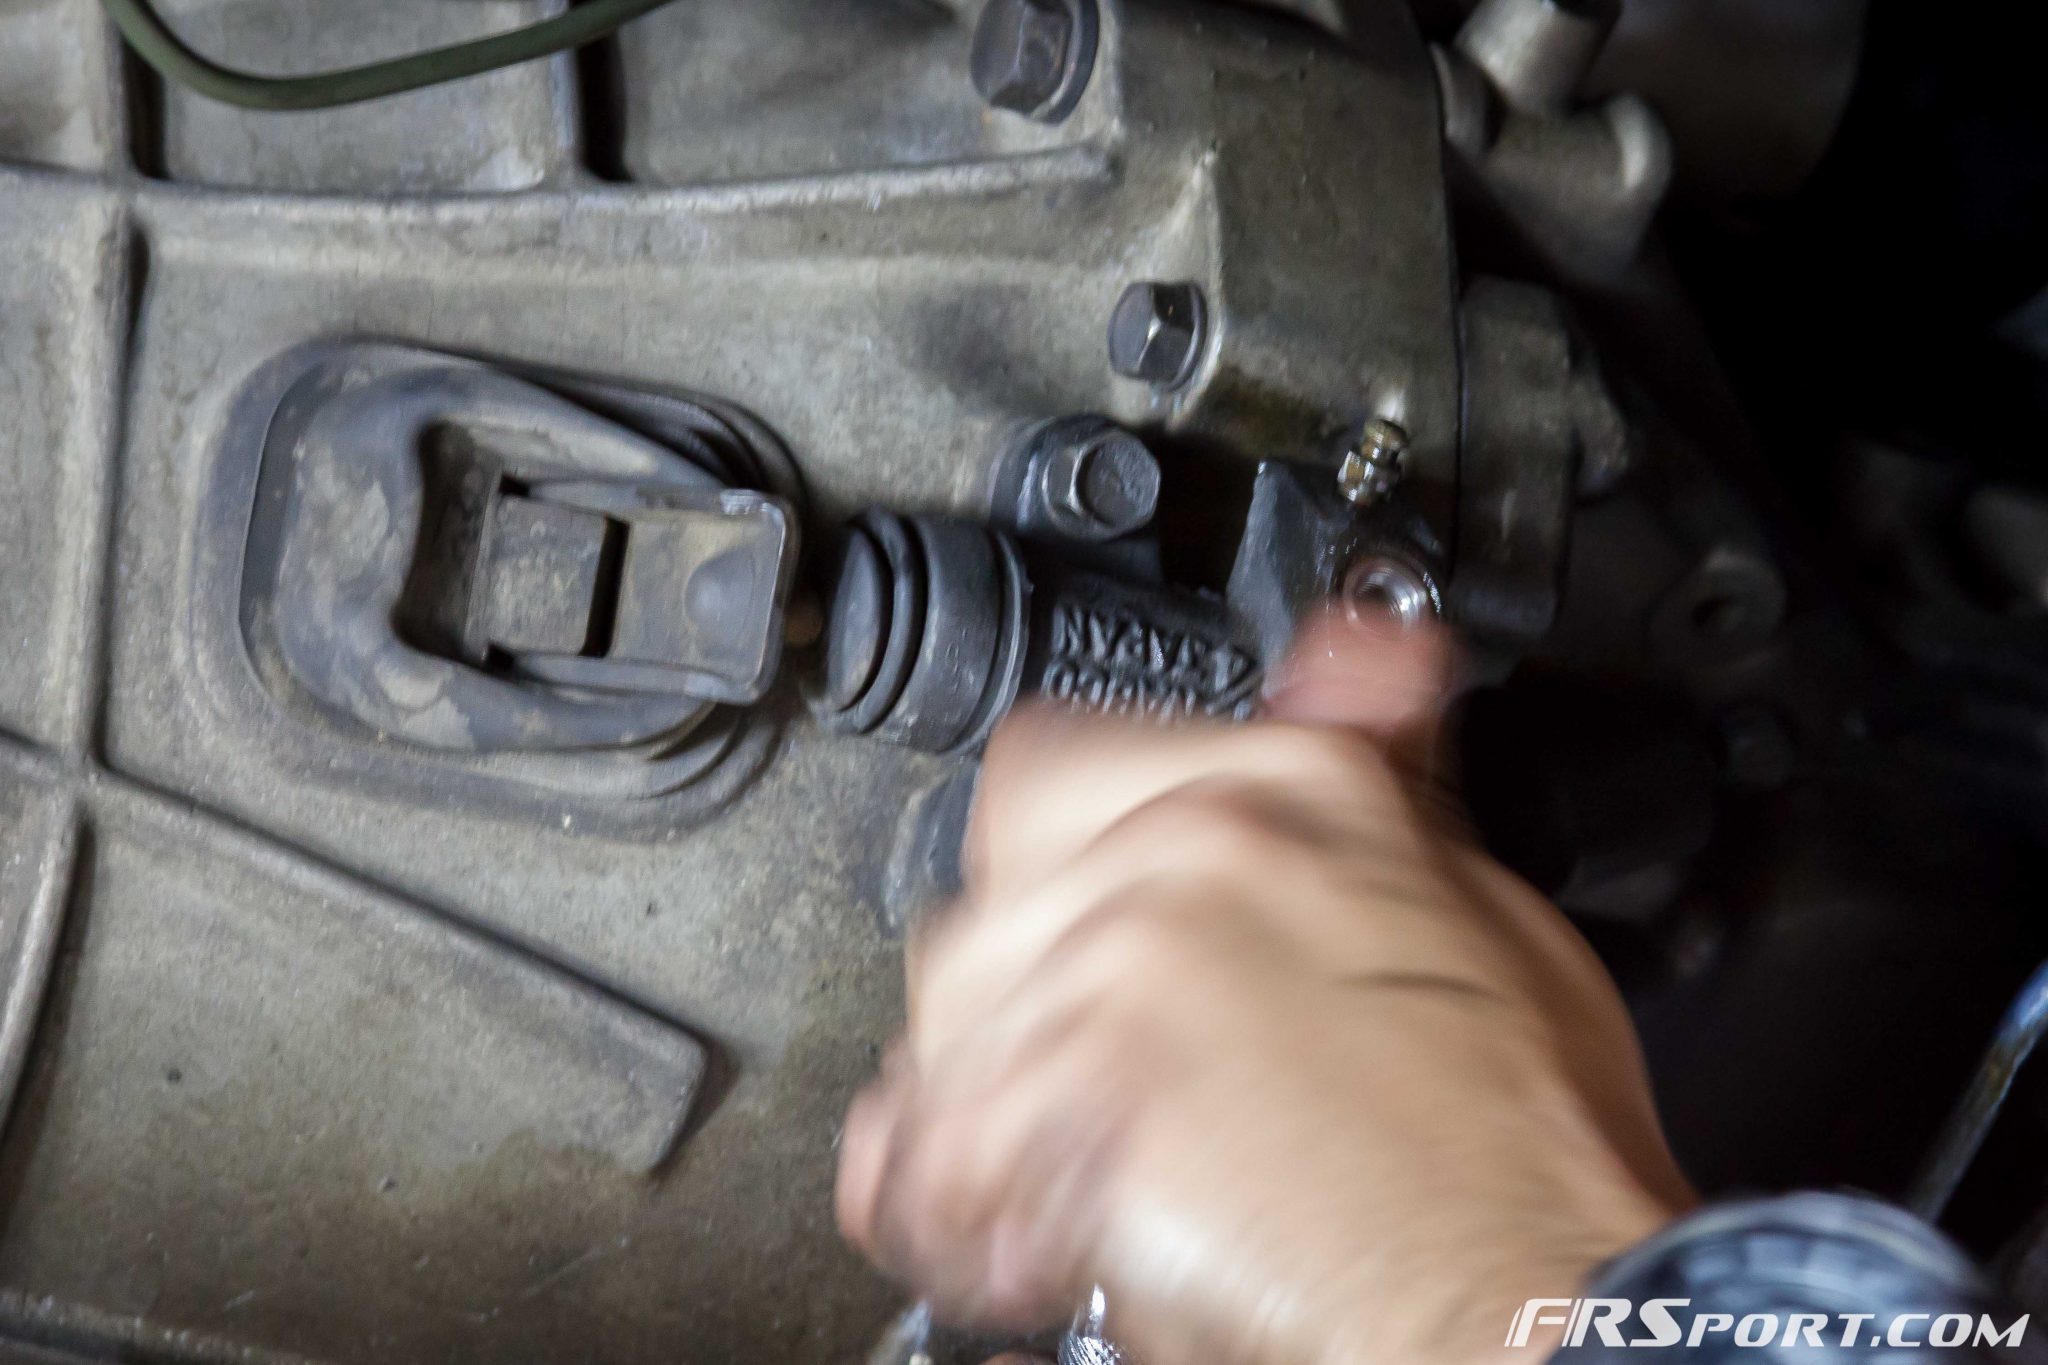
Once these items are out on the engine bay side, there is also a simple pin you must remove that locks the clutch pedal mechanism to the Master Cylinder. The image above shows the fork from which you have to pull the pin (located in the foot well of your car) to completely remove the whole master cylinder.

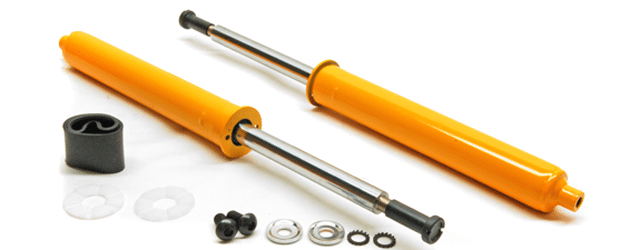
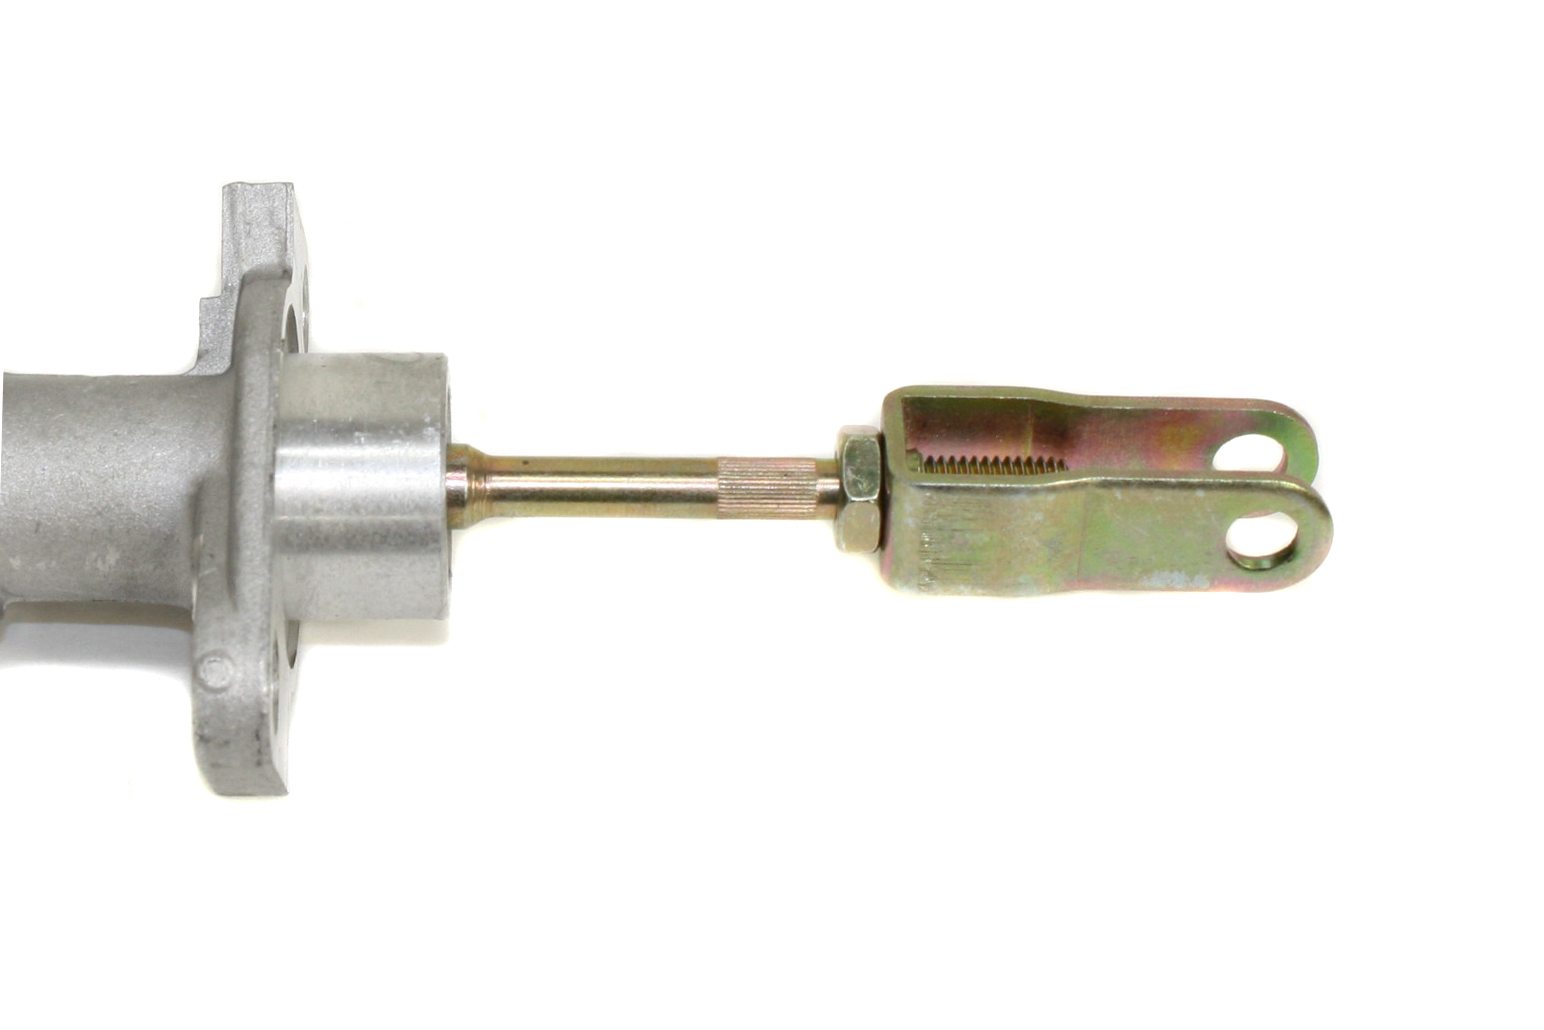
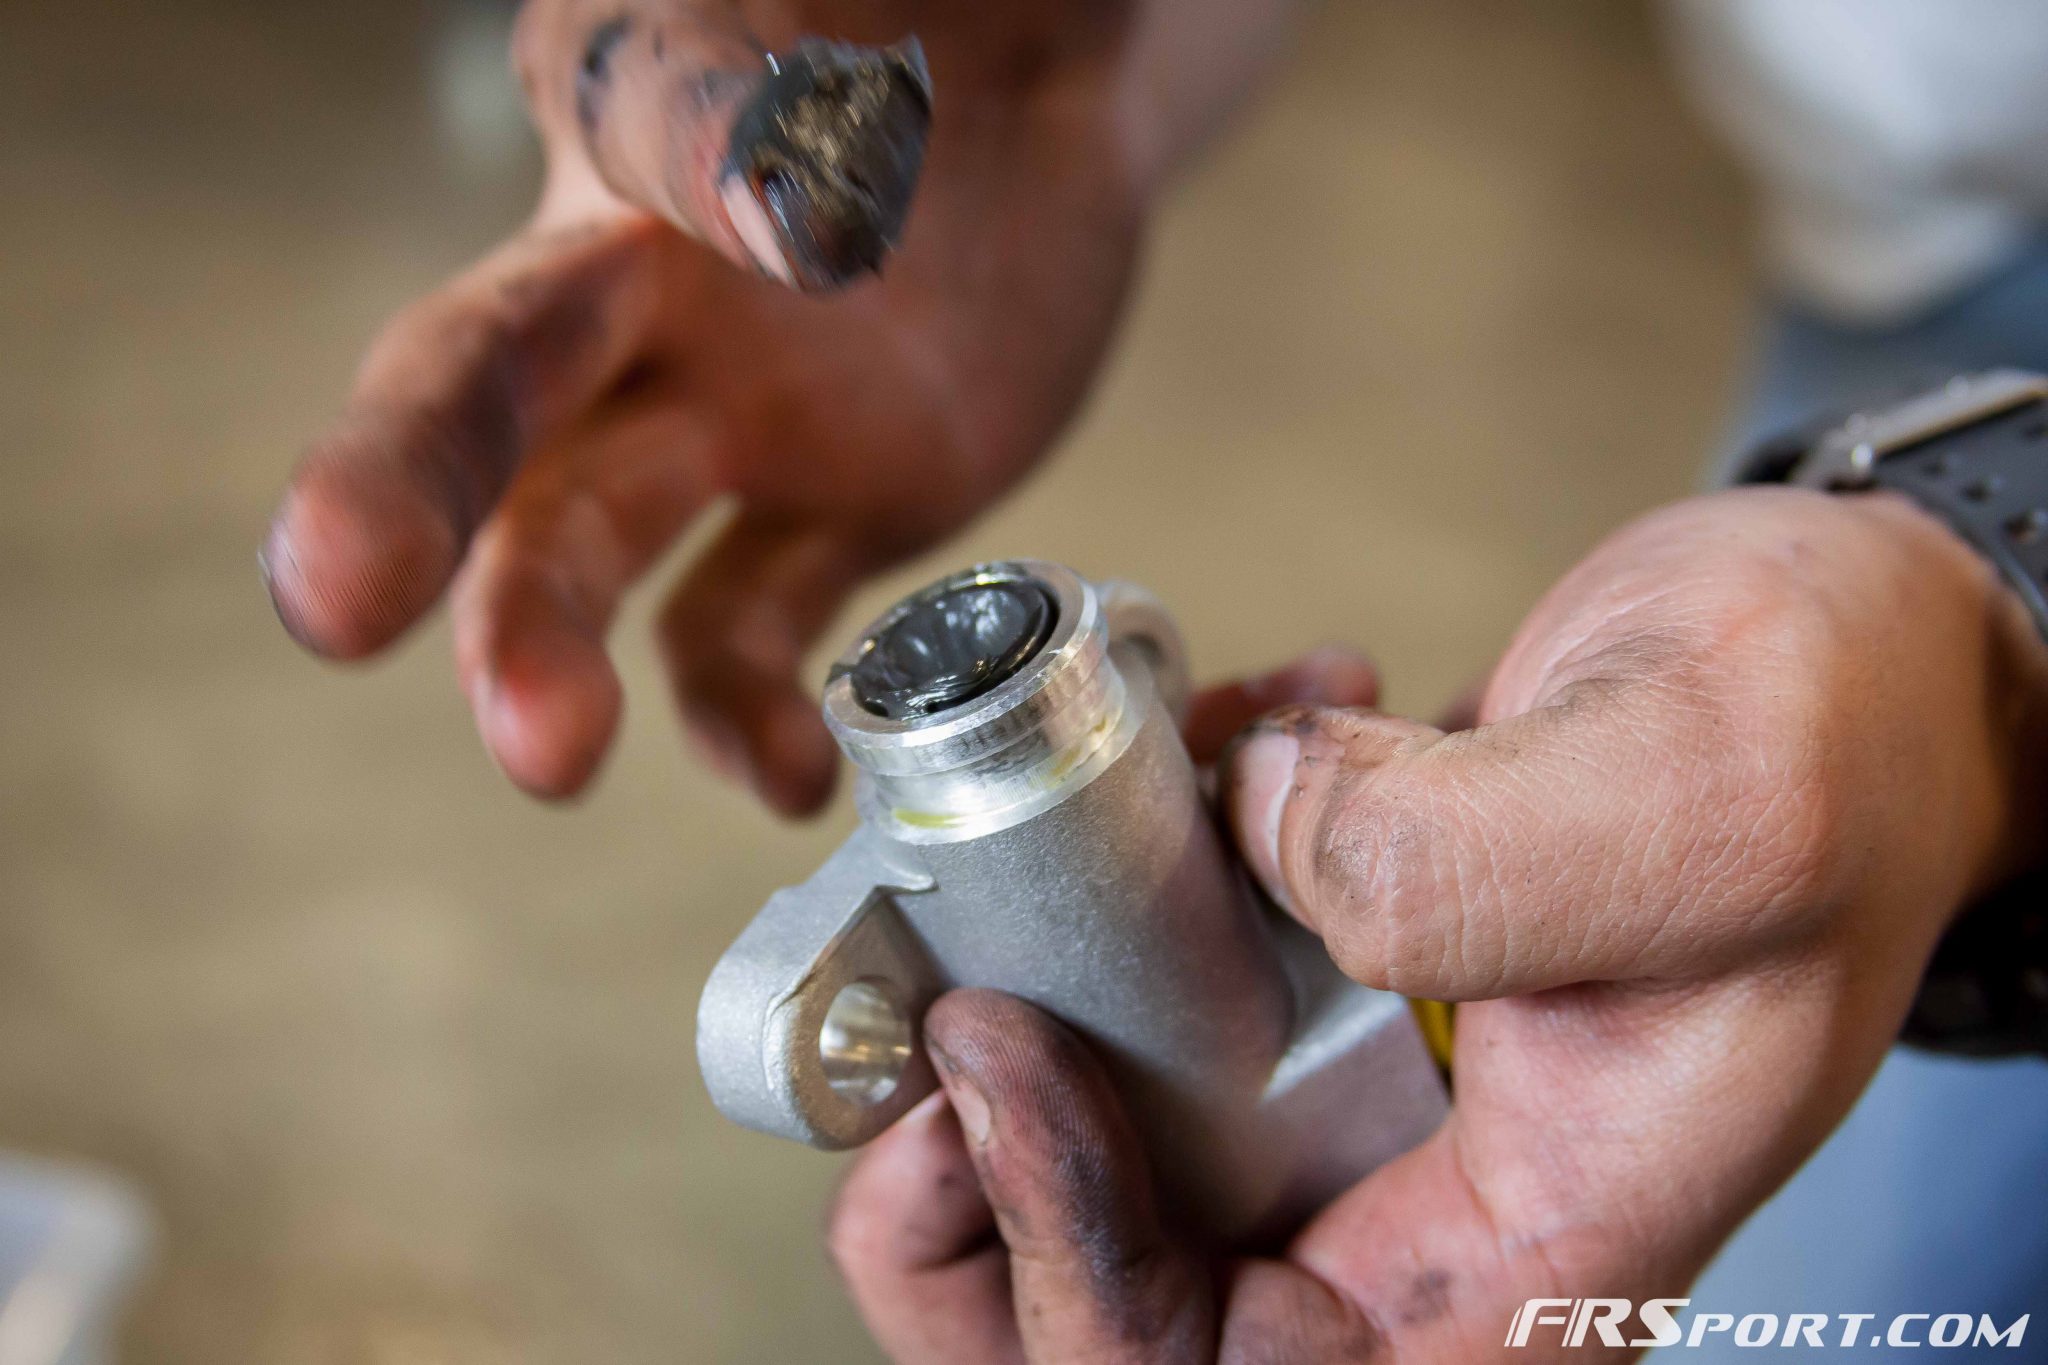
This is what the new Clutch Master Cylinder looked like before going in.
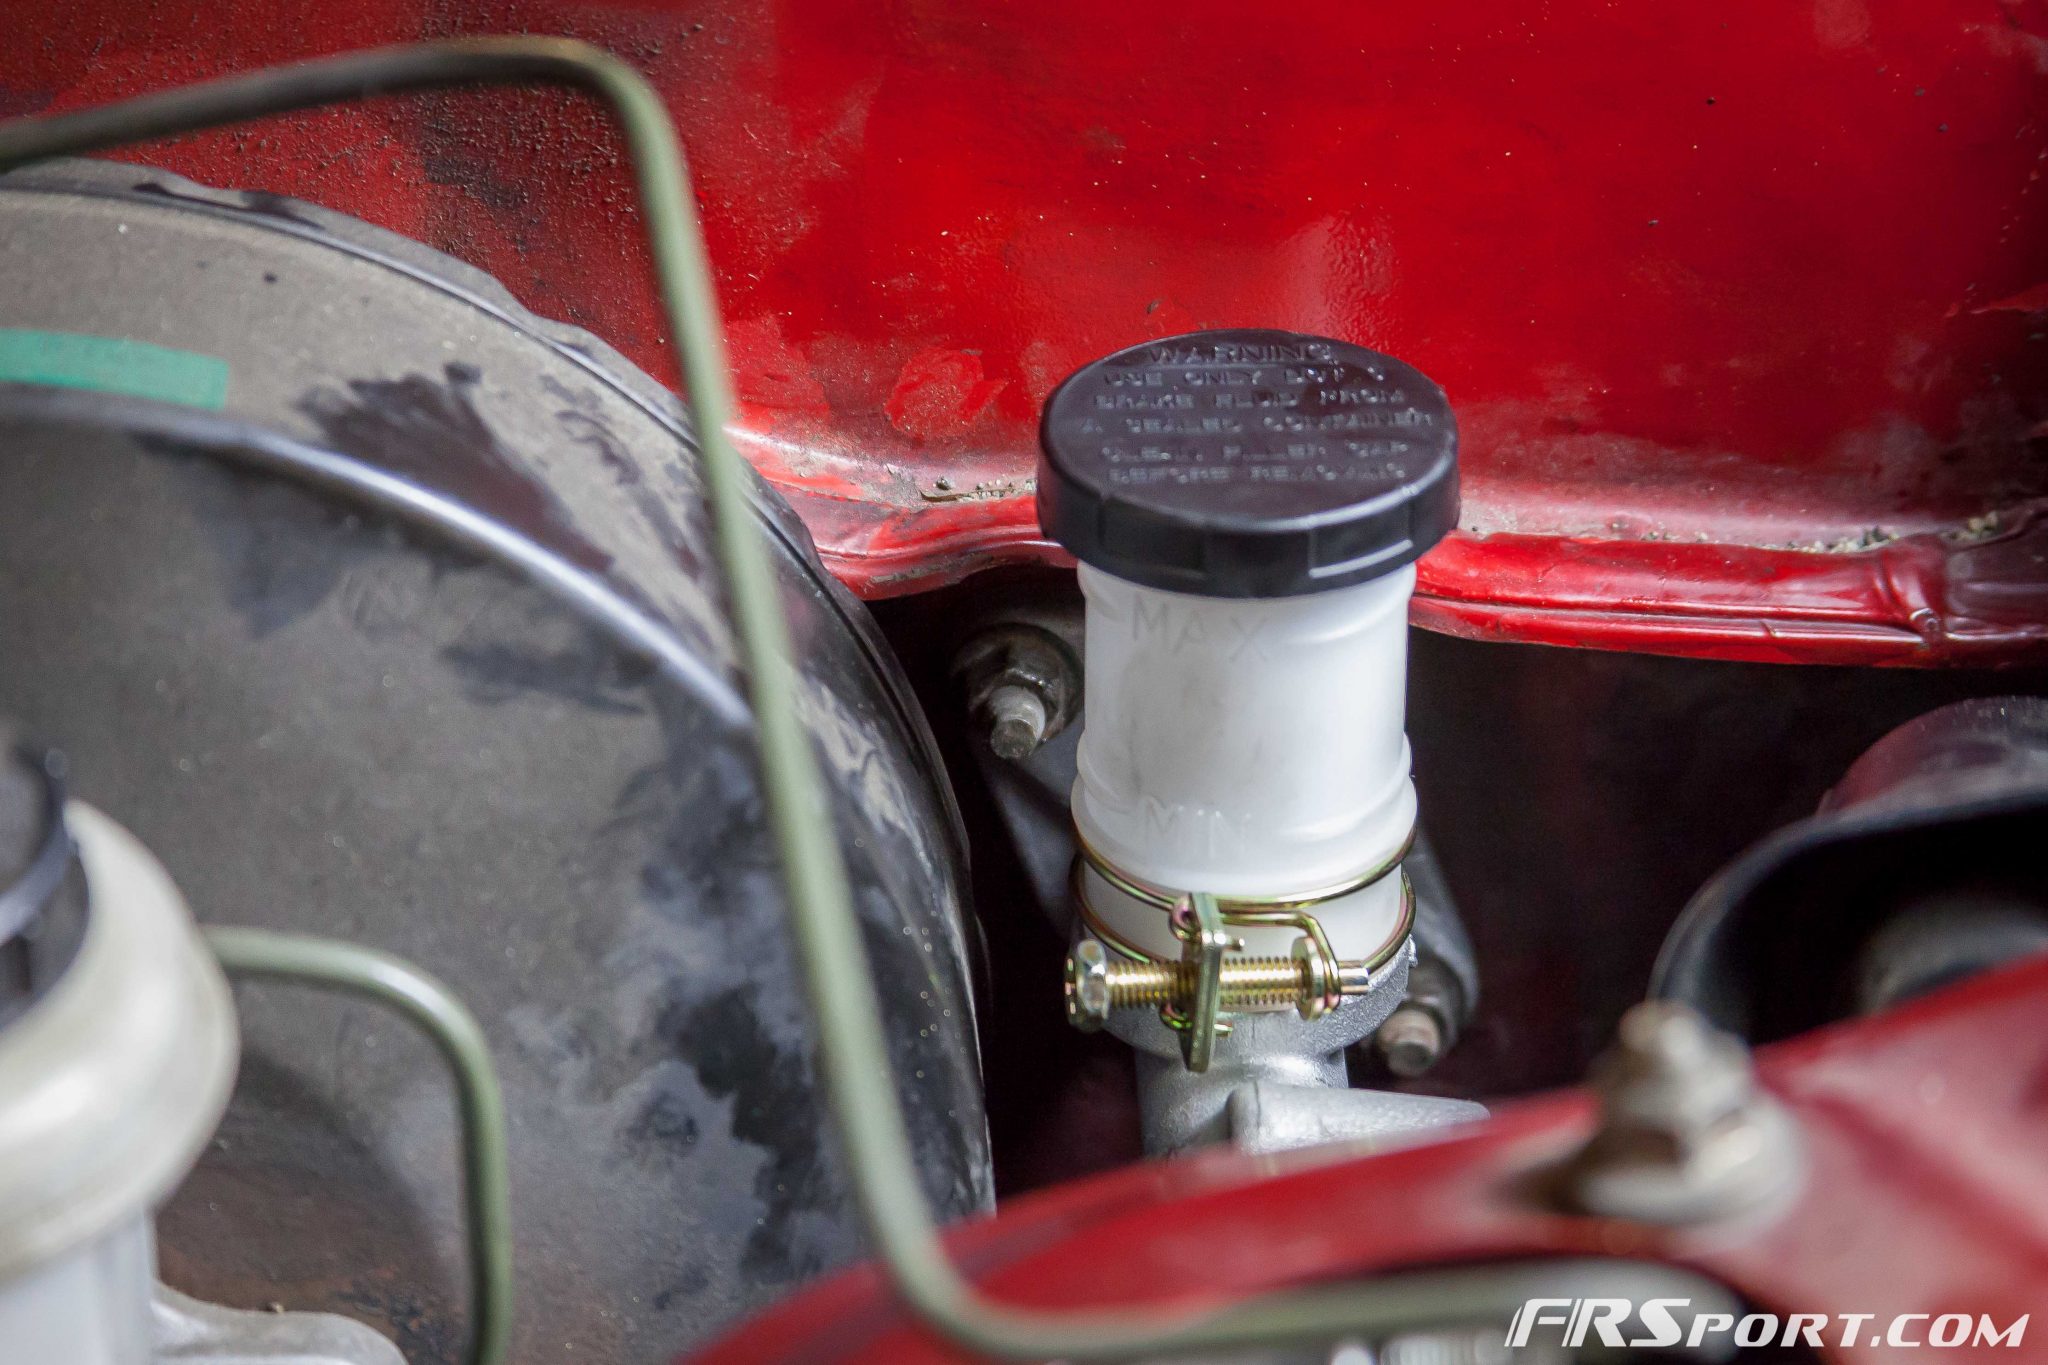
We quickly re-installed it the same way it came out. We secured it to the two studs coming out of the firewall.
Here we also re-inserted the fitting previously not seen to the new clutch master cylinder, as well as the pin connecting the clutch pedal mechanism to cylinder, located in the driver’s side foot well (Found inside the car of course).
Once the Clutch Master Cylinder was taken care of we then proceeded to work out the bottom section of the hydraulic system. This area is pretty straight forward. All we had to do was remove the line we had previously installed and then remove or unbolt the Clutch Slave Cylinder. It is only held by the two bolts visible above. We remove those bolts and the new line and were ready to start prepping the new Clutch Slave Cylinder.

We placed some grease on the area that would be in constant contact with the Clutch Slave Cylinder. Any time there is metal on metal contact we try to put some grease to reduce the effects of wear.
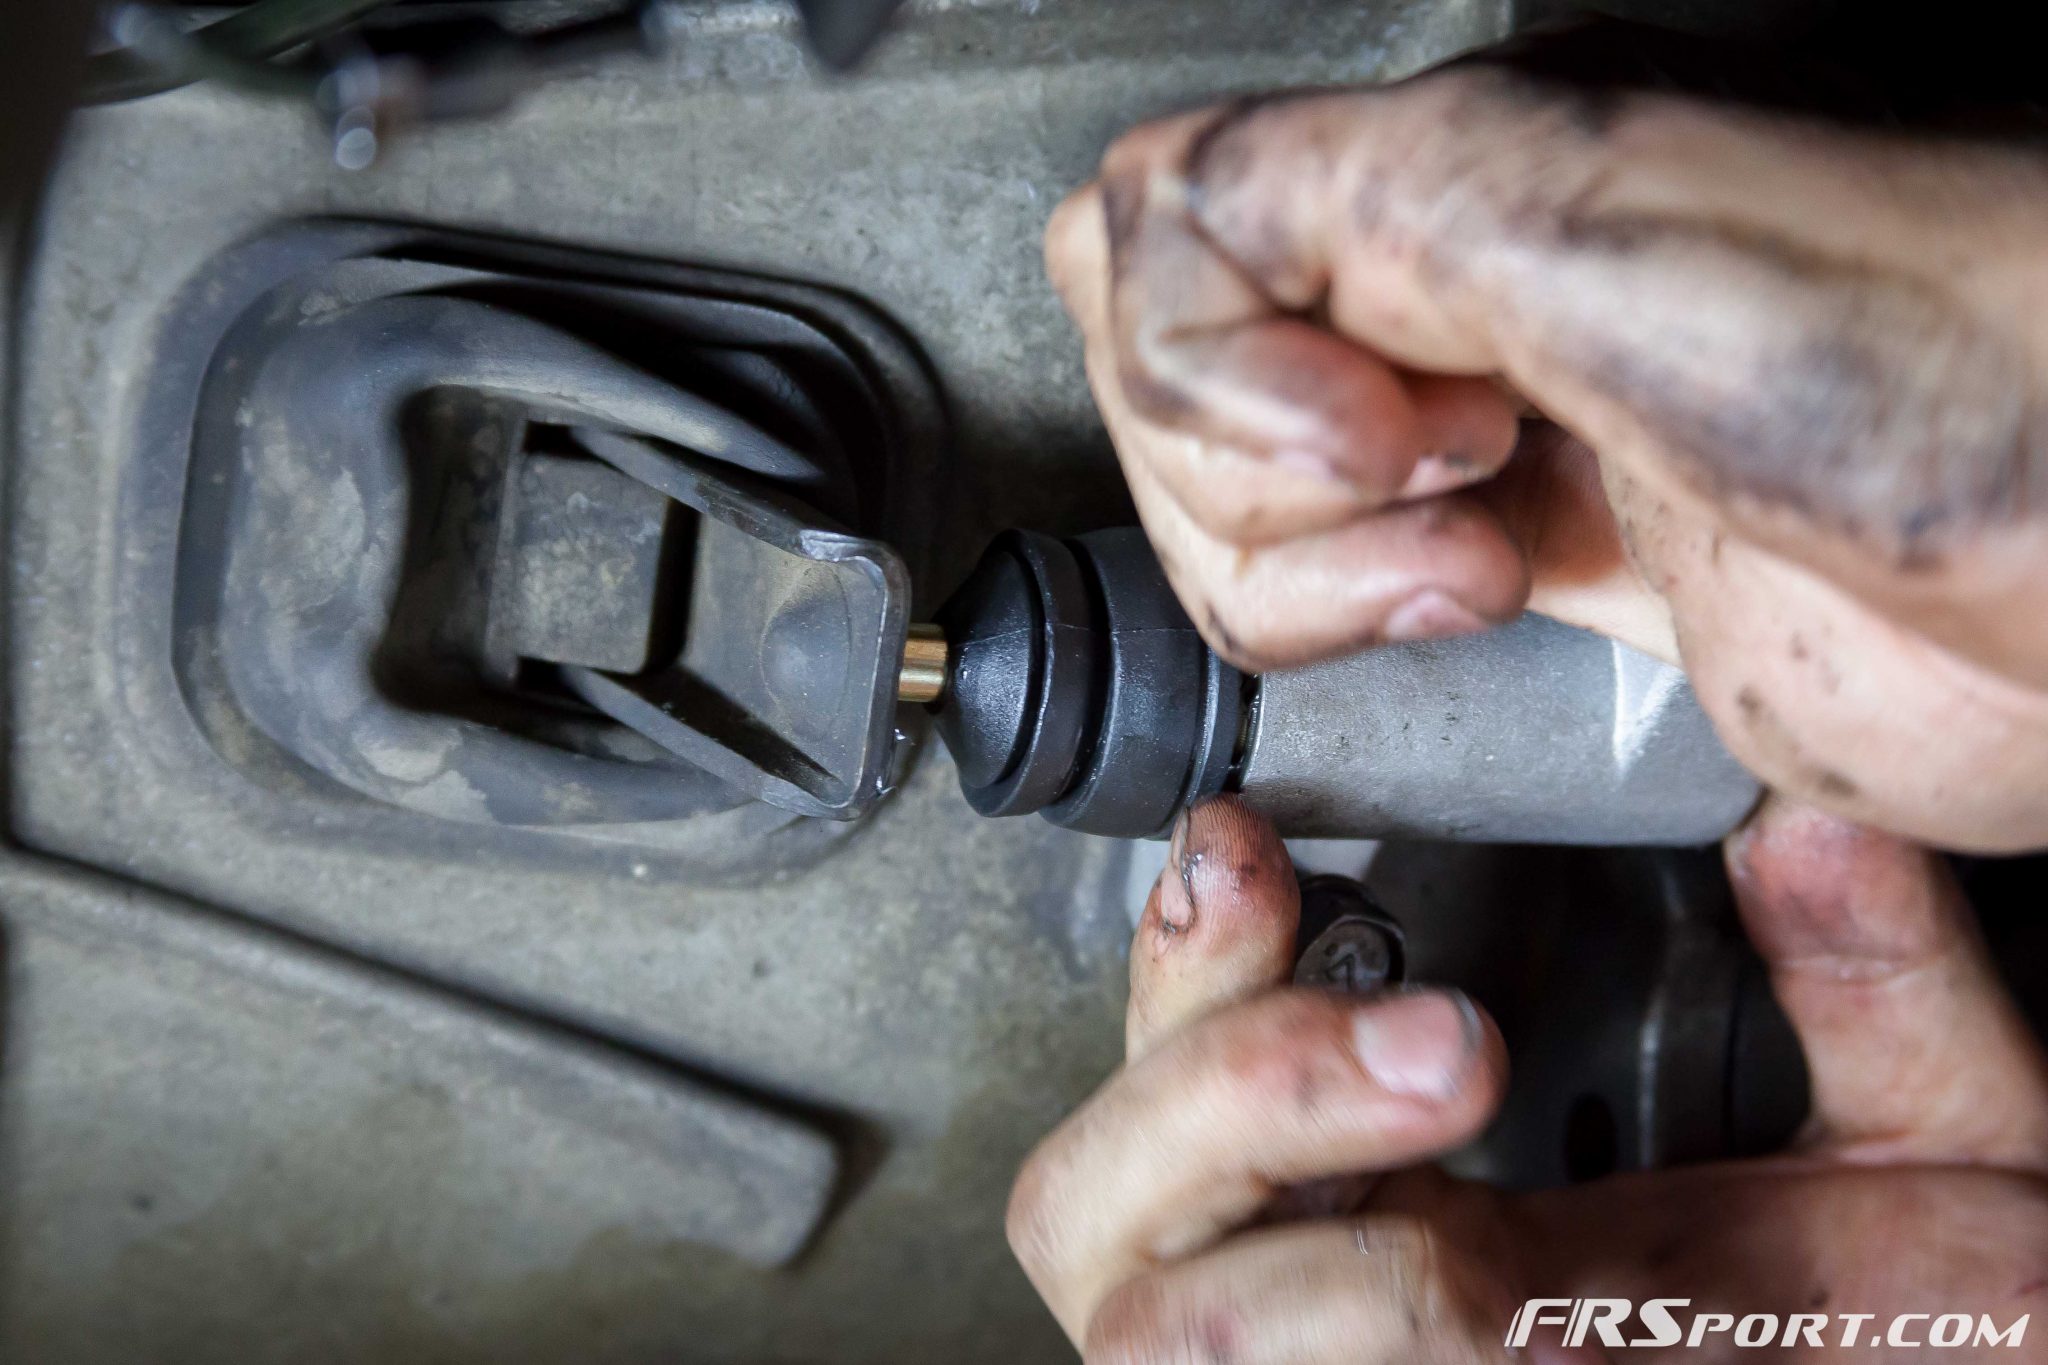
Next we placed some grease on the area that would hold the pin that pushes on the clutch fork. This area is the spot that is covered by the plastic boot. Once bolted its easier to stretch the boot over this area as pictured below.
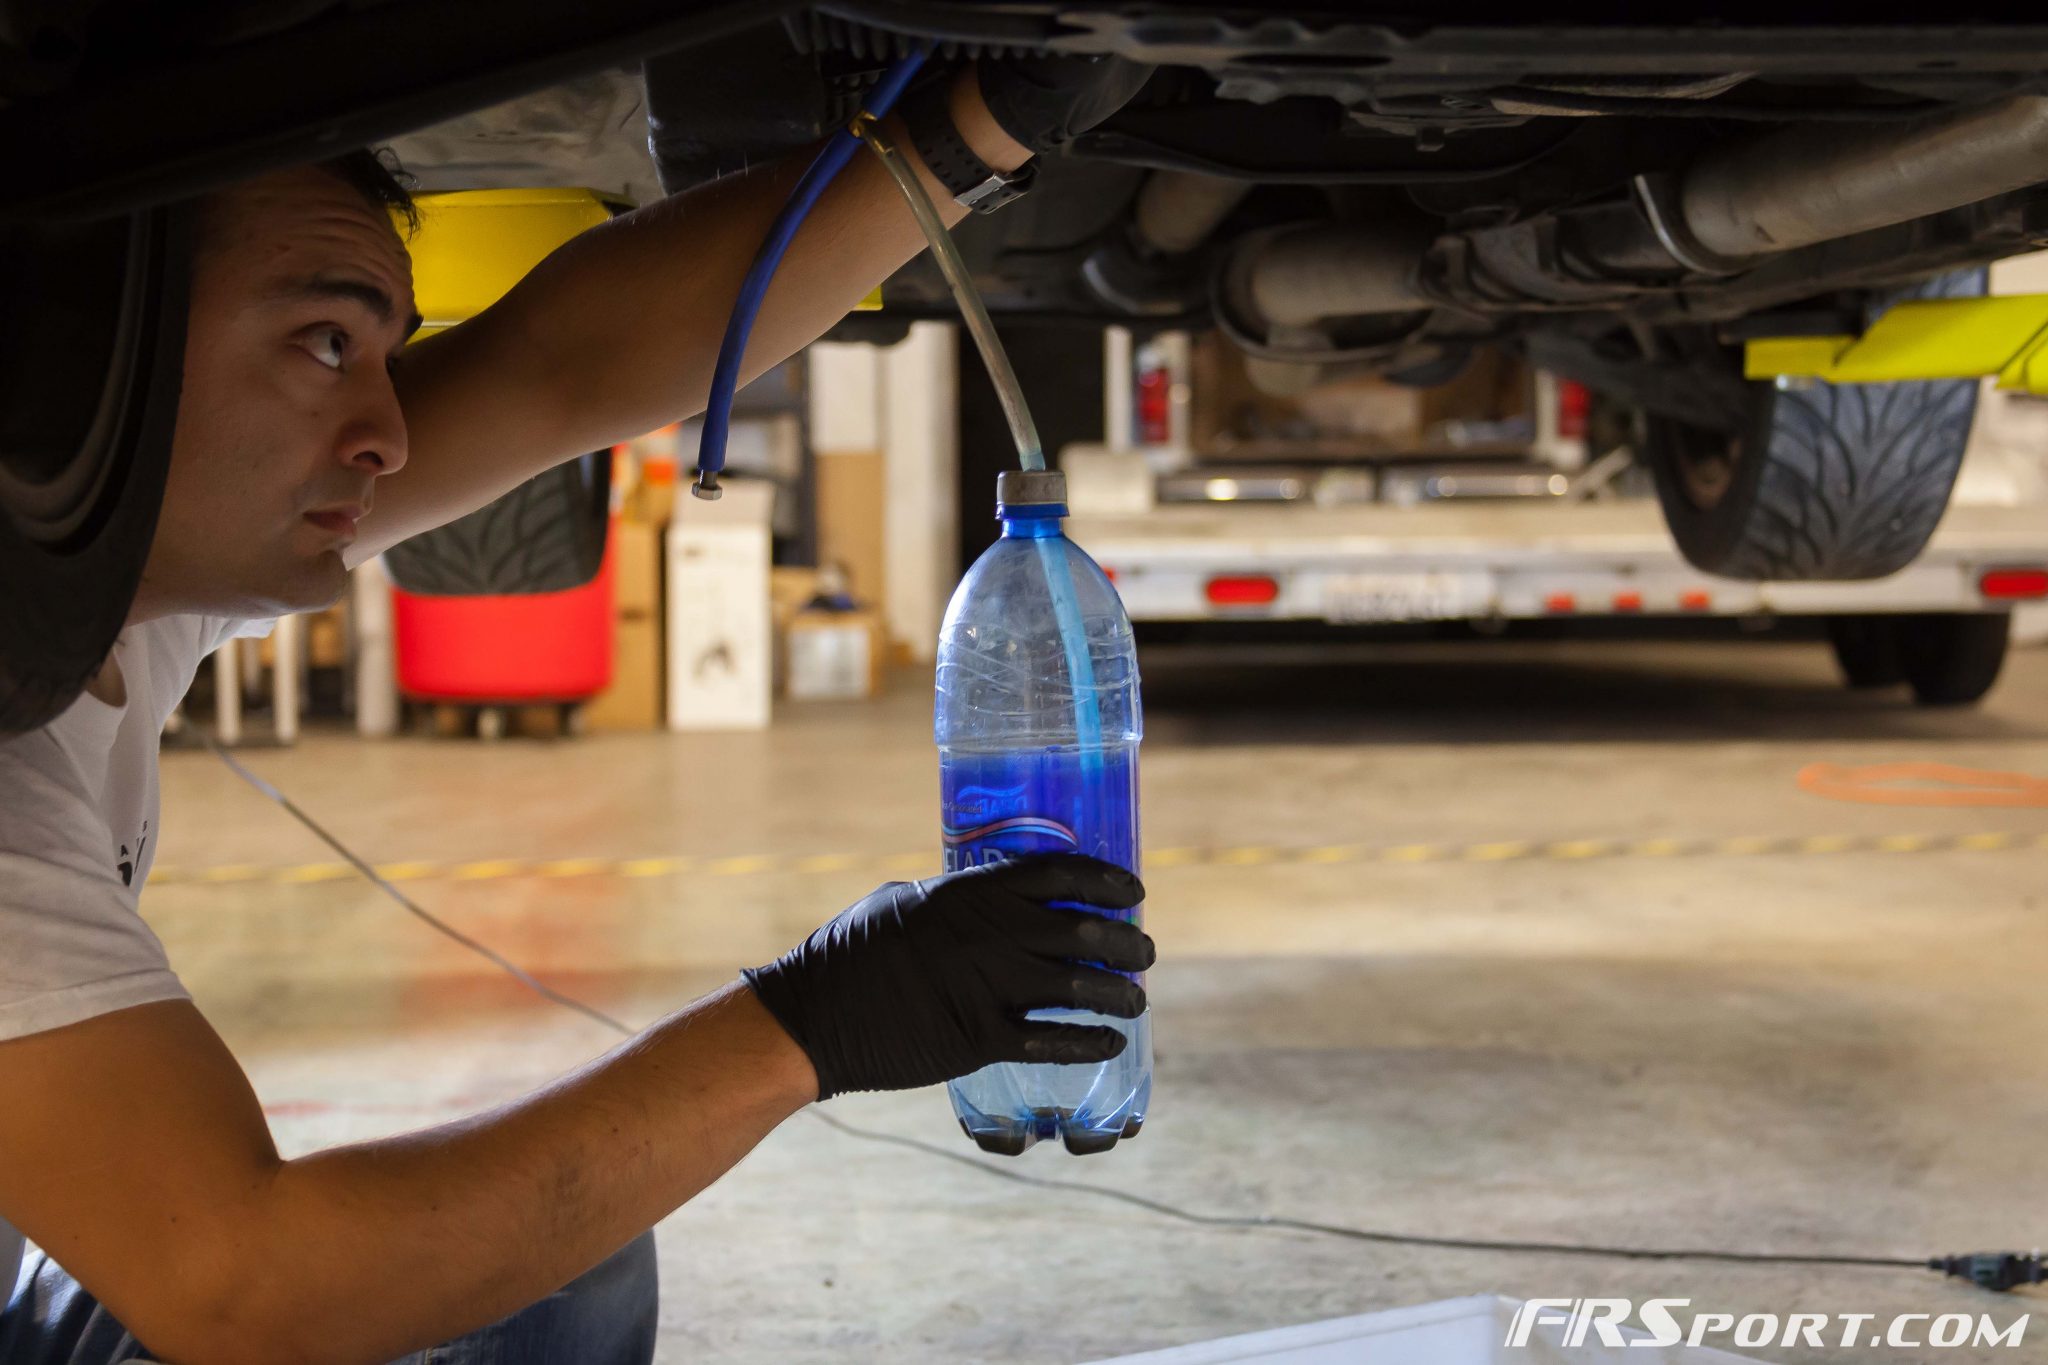
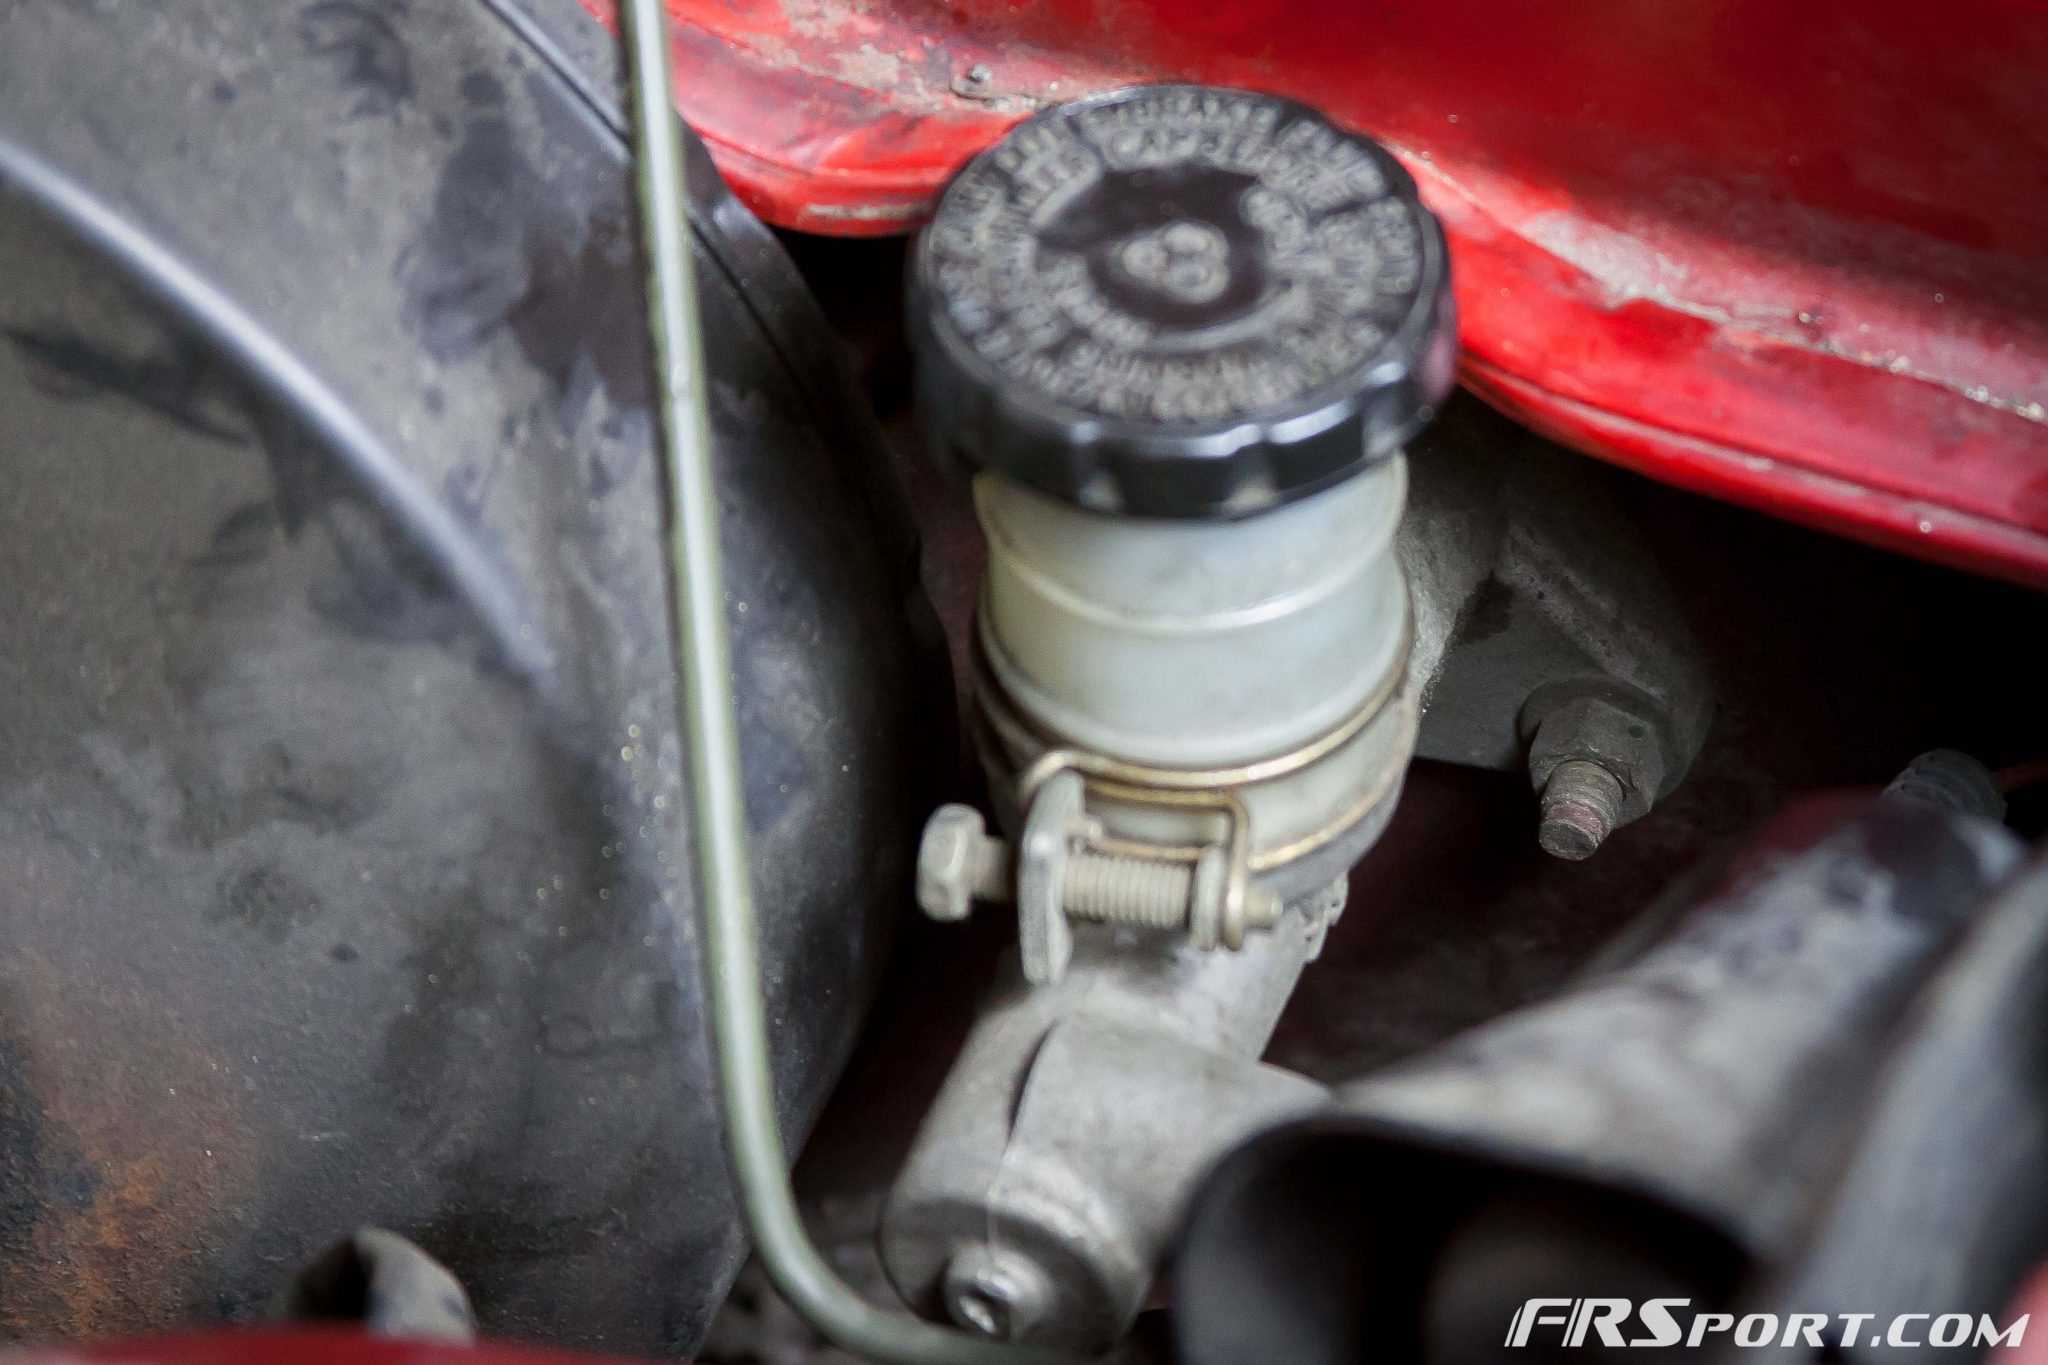
After this small preparation was finished, we secured the bolts holding the Clutch Slave Cylinder to the transmission, tightened the DIF line back onto it, and proceeded our bleeding of the whole hydraulic system once again. We then closed off the reservoir cap on the Master Cylinder at the top and called it a project completed.
I have been driving the S13 for about a month now with all the fixed components and now the car truly feels a bit tighter in its shifts. I no longer have to pull up my pedal in the course of driving and ruining my shoes haha. The resistance is also firm but not so much that it ridiculously tires my legs. Again, I have the clutch dampener off so I believe this is why my pedal is a bit stiffer. Ultimately it is a night and day difference now that all the hydraulic issues have been addressed. Til next time!