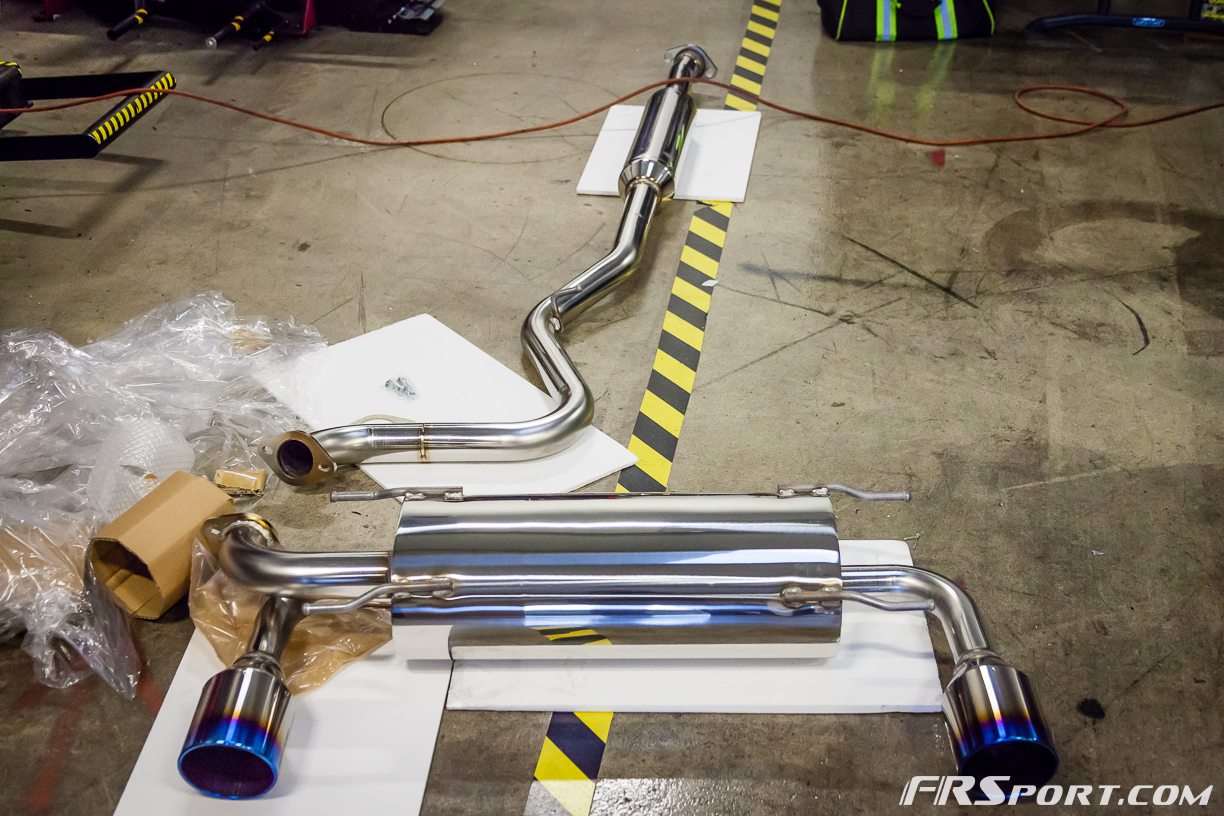
The FR SPORT team had installed this amazing Blitz Nur Spec C-Ti exhaust a few weeks ago but hadn’t had the opportunity until recently to publish all the details of the install until now. Below is a step by step guide on how we installed this ultra, JDM Blitz exhaust.
The evening after work essentially began with us planning the whole ordeal. We knew this install was traditionally fast but took our time writing little details about the process because we wanted to make sure people who read this post or how to, know how to do it correctly. We first began by raising the car. If you don’ t happen to conveniently have a lift you simply have to raise it on a couple of jack stands and use extreme caution.
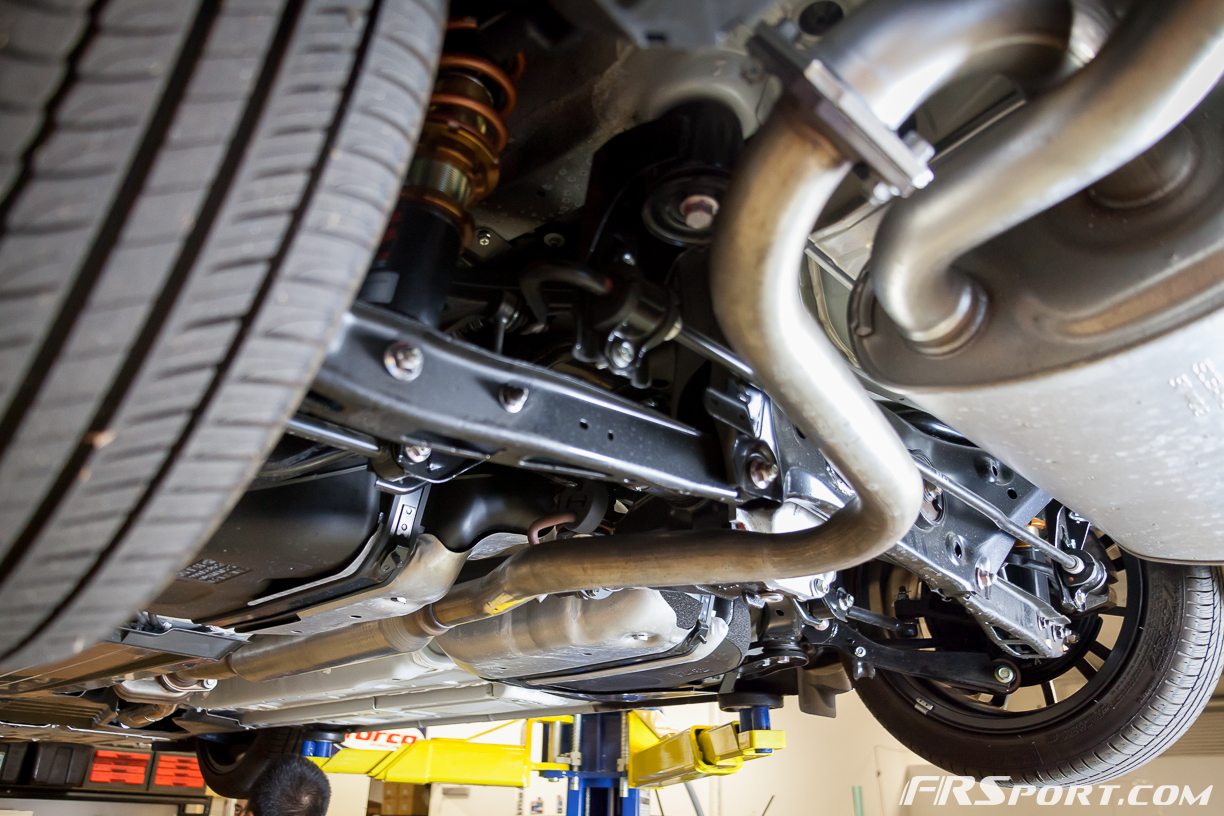
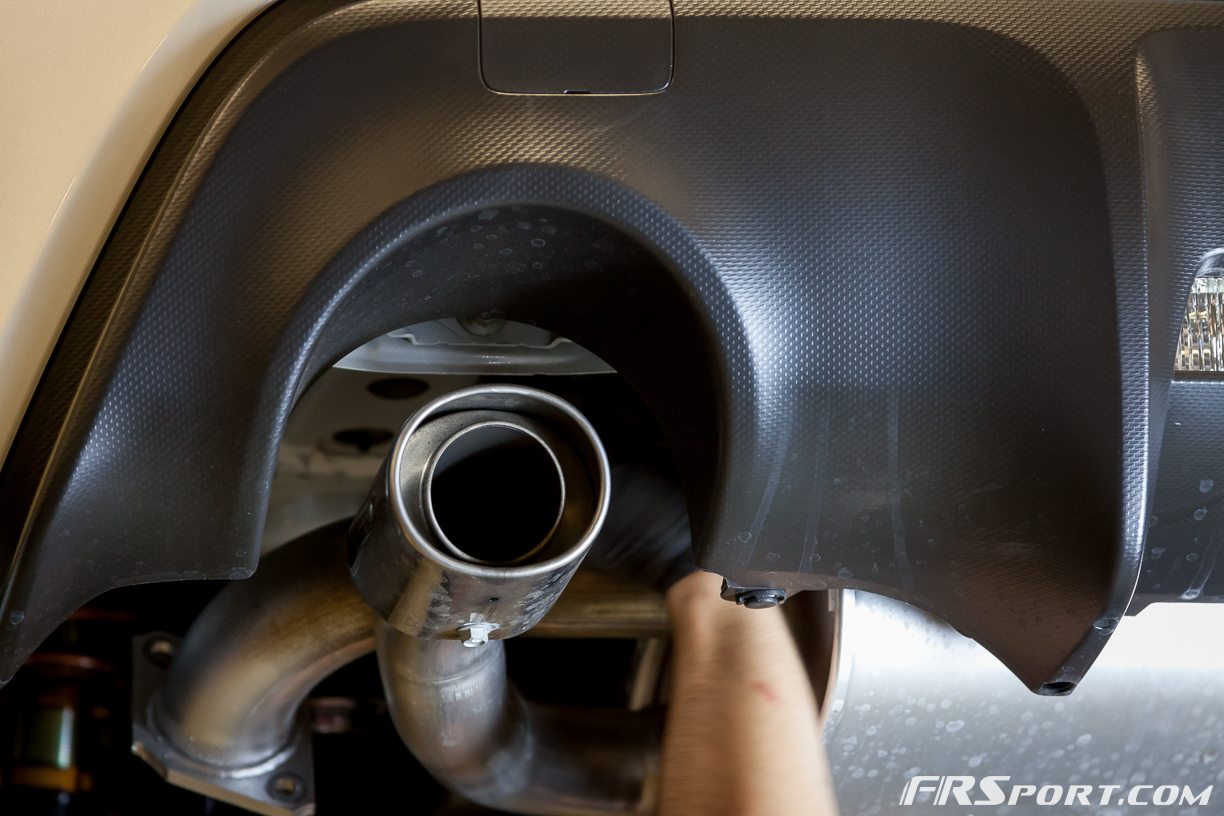
We then began by removing the original factory exhaust parts.
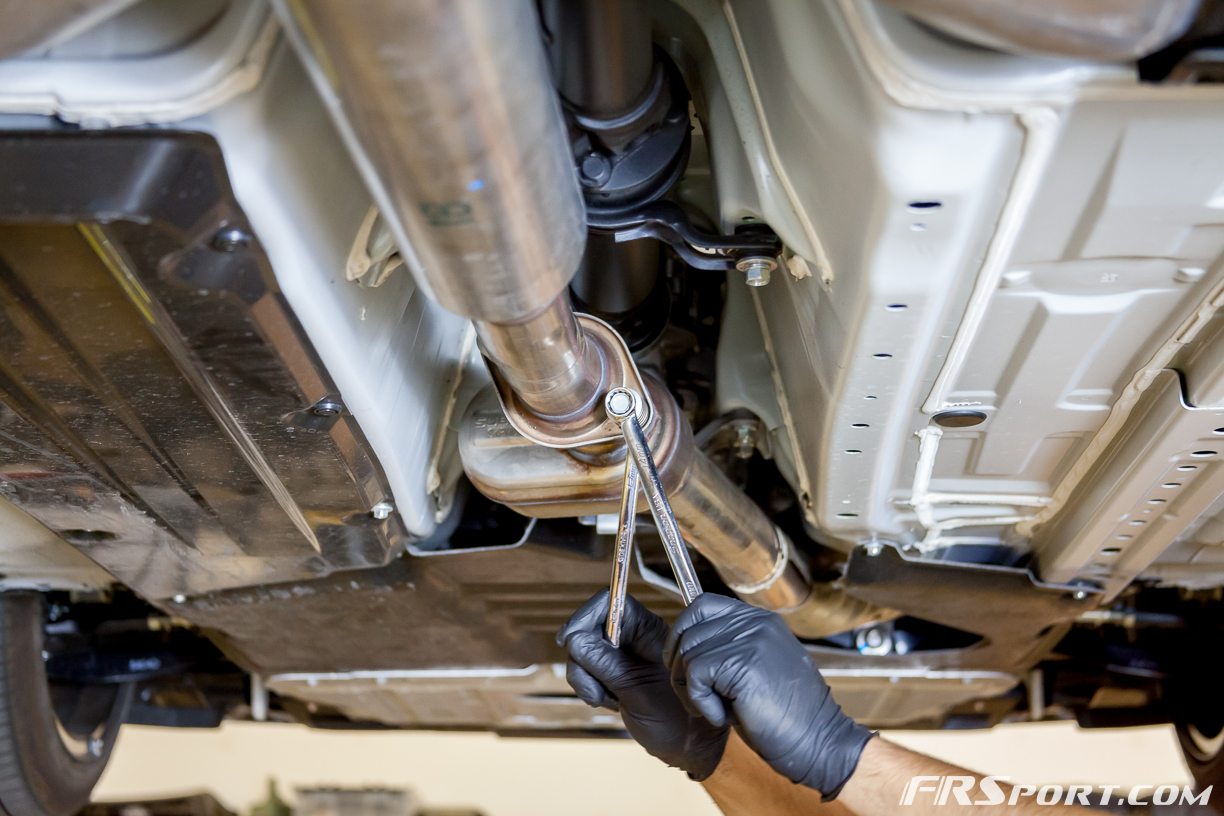
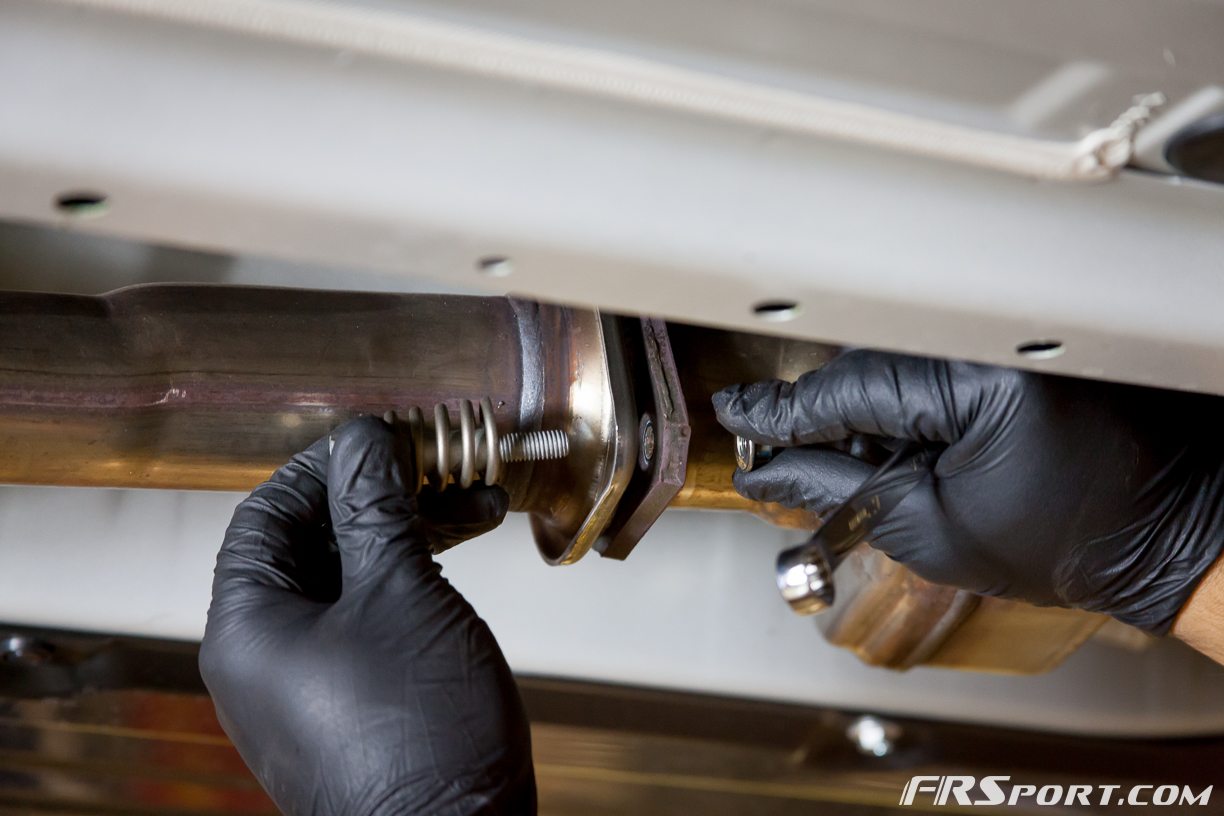
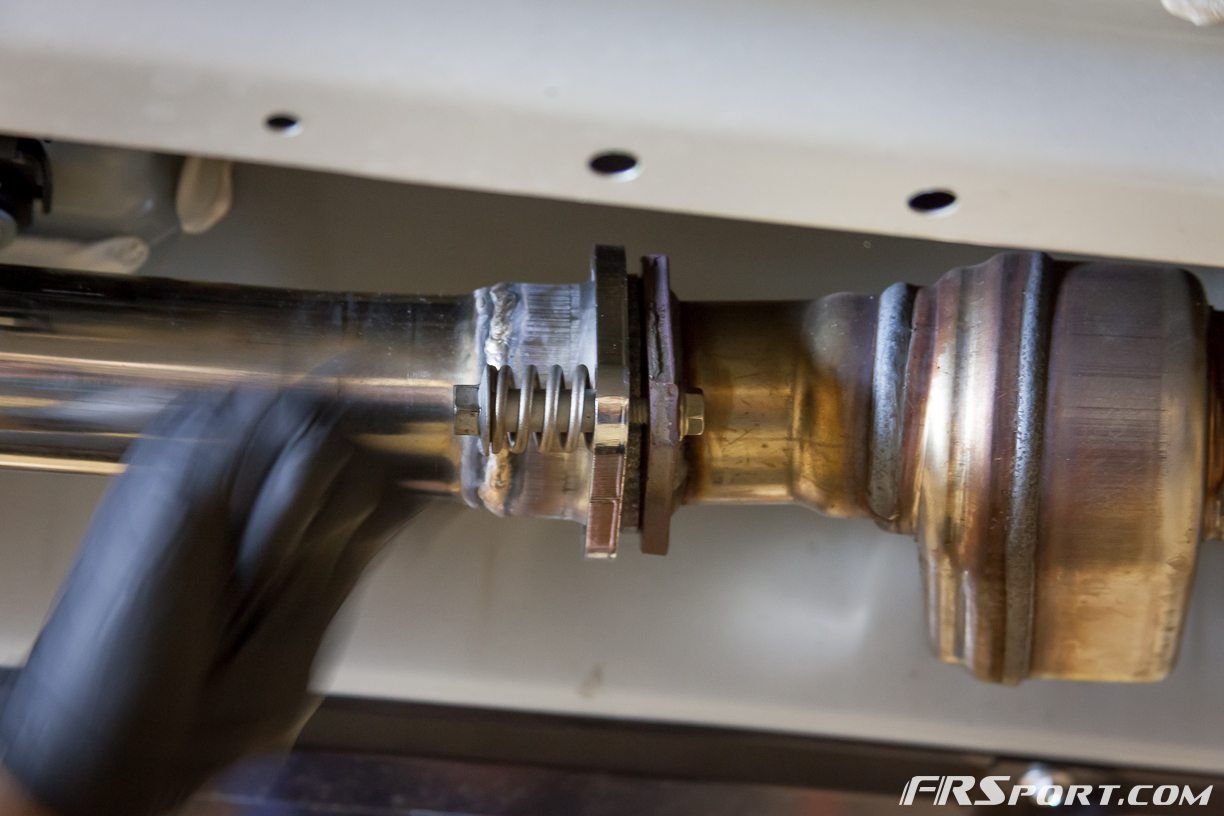
Using 14mm and a 12mm wrenches begin by removing the center section of the exhaust or what is the longest portion of the system. Make sure to use the 14mm wrench toward the rear on the spring side of the nut while the 12mm wrench is placed more towards the front of the car. Go on to turn the 12mm wrench until the nut is off while the 14mm stays in place.
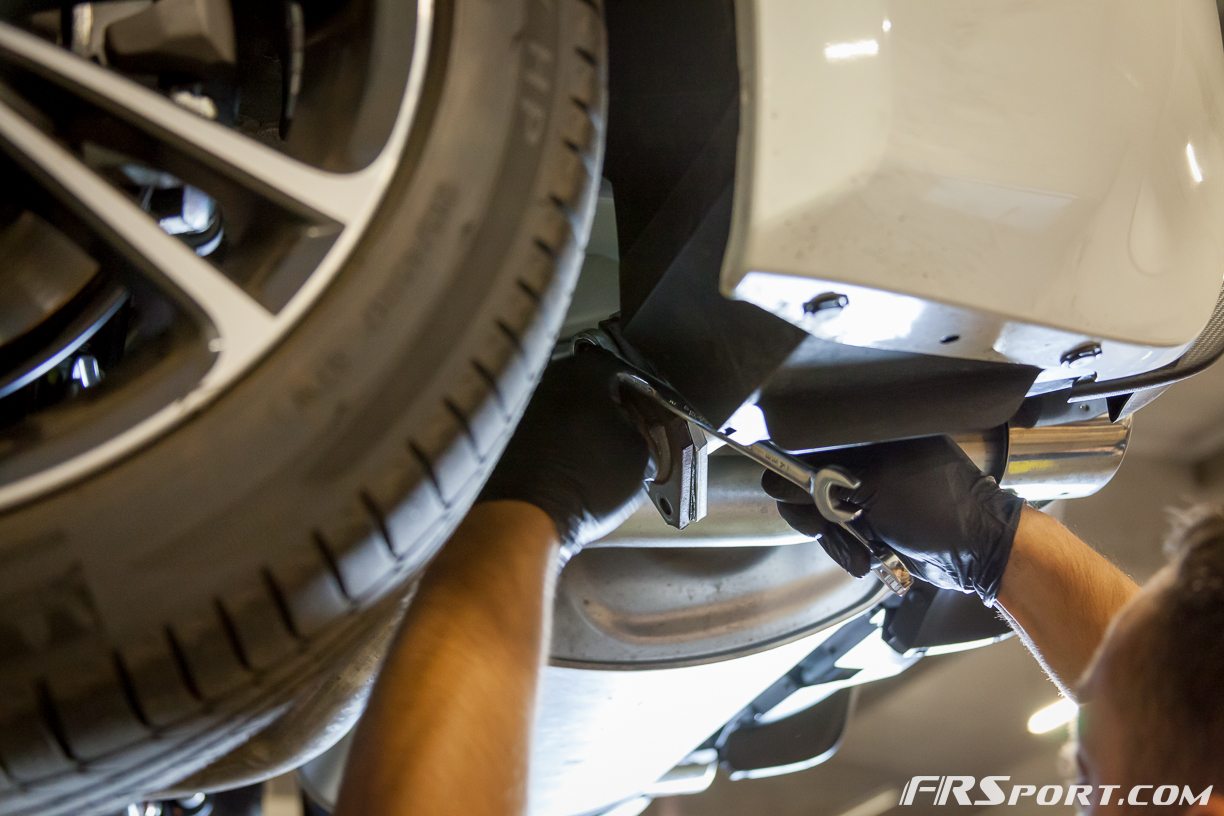
Once both of those nuts are loose move on to the rear of the car. Behind the rear wheel you will find the bolts connecting the longer segment of the exhaust to the muffler. Here we used one 14mm wrench and one 14mm ratchet in order to remove the final bolts from the center section and dislodge it from beneath the car.
Because Blitz provides new hardware for the exhaust we ended up not having to use the older hardware for the new install. If you do not happen to get new hardware with any other exhaust system, it’s always a good idea just to swap it out and prevent future headaches.
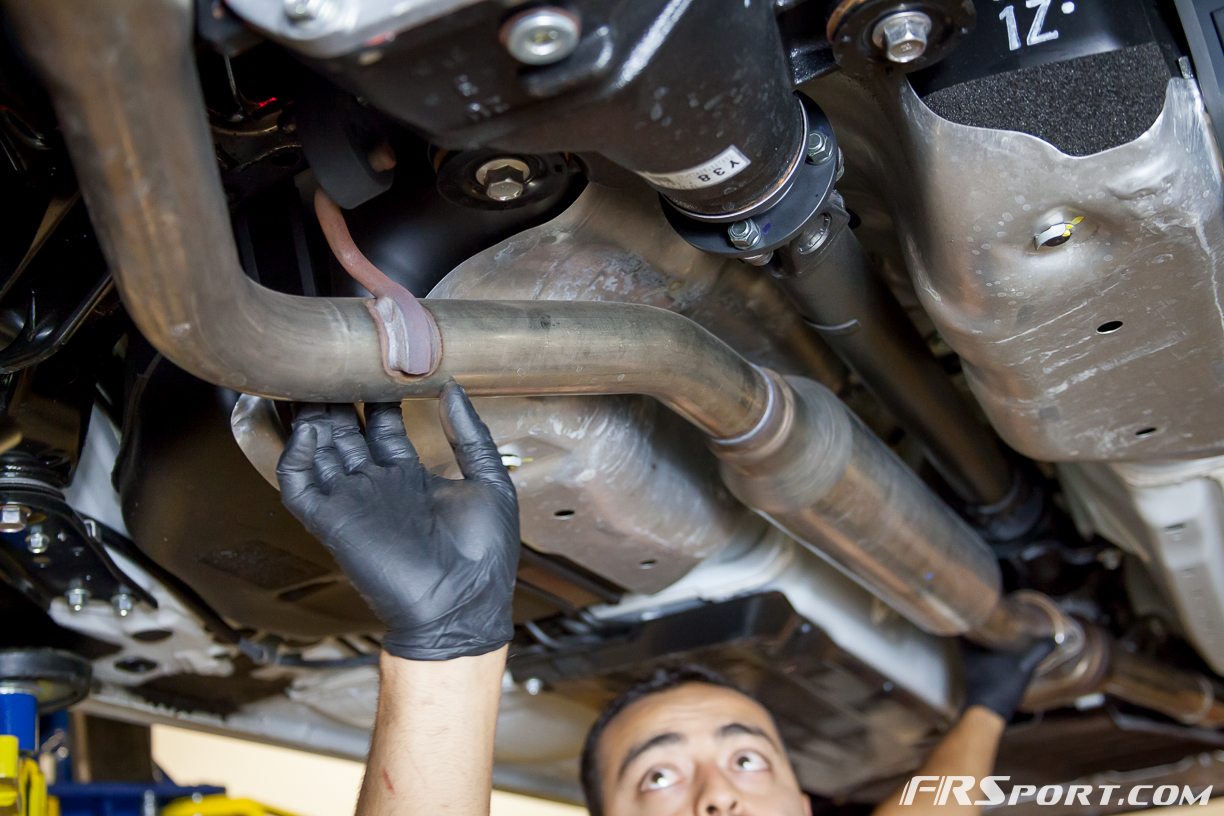
While supporting the front of the longer exhaust segment remove the exhaust component from the factory bushings. The bushings should let go of the hinges very quickly, however if you need a little assistance some WD-40 can help you dislodge the exhaust hangers. Having an extra hand here can be a lot more helpful.
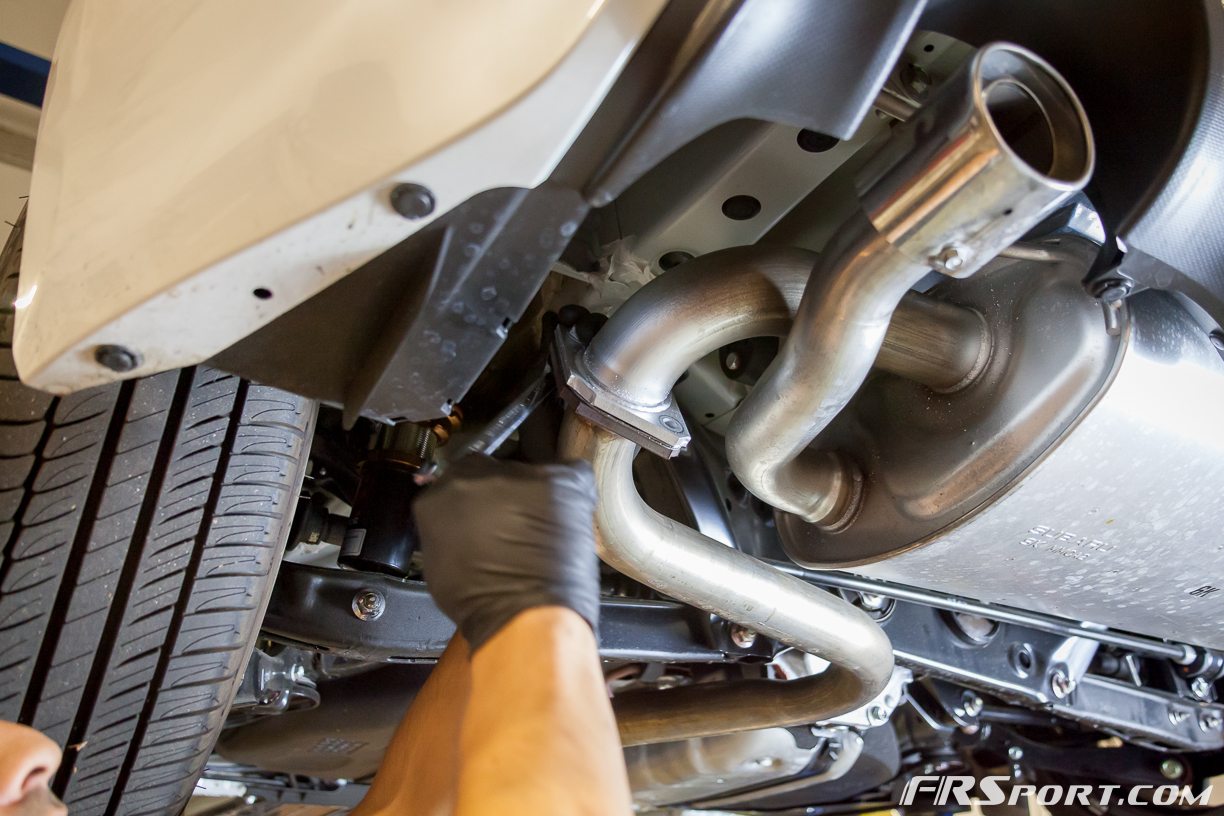
Next, we began to remove the rear section of the factory BRZ exhaust which surprisingly is only hung up by exhaust hangers. By removing the bolts from the front and rear of the center exhaust section we essentially unbolted all the bolts in contention.

We removed the two exhaust bushing closest to the rear of the car first so the exhaust tips wouldn’t swing up and hit our bumper. Also, if you are working on jack stands be sure to put some cardboard on the ground below your exhaust so you don’t scratch the exhaust when it swings down, one never knows when they will need the oe exhaust again. Again lubricant spray will assist in separating the bushing from the support.
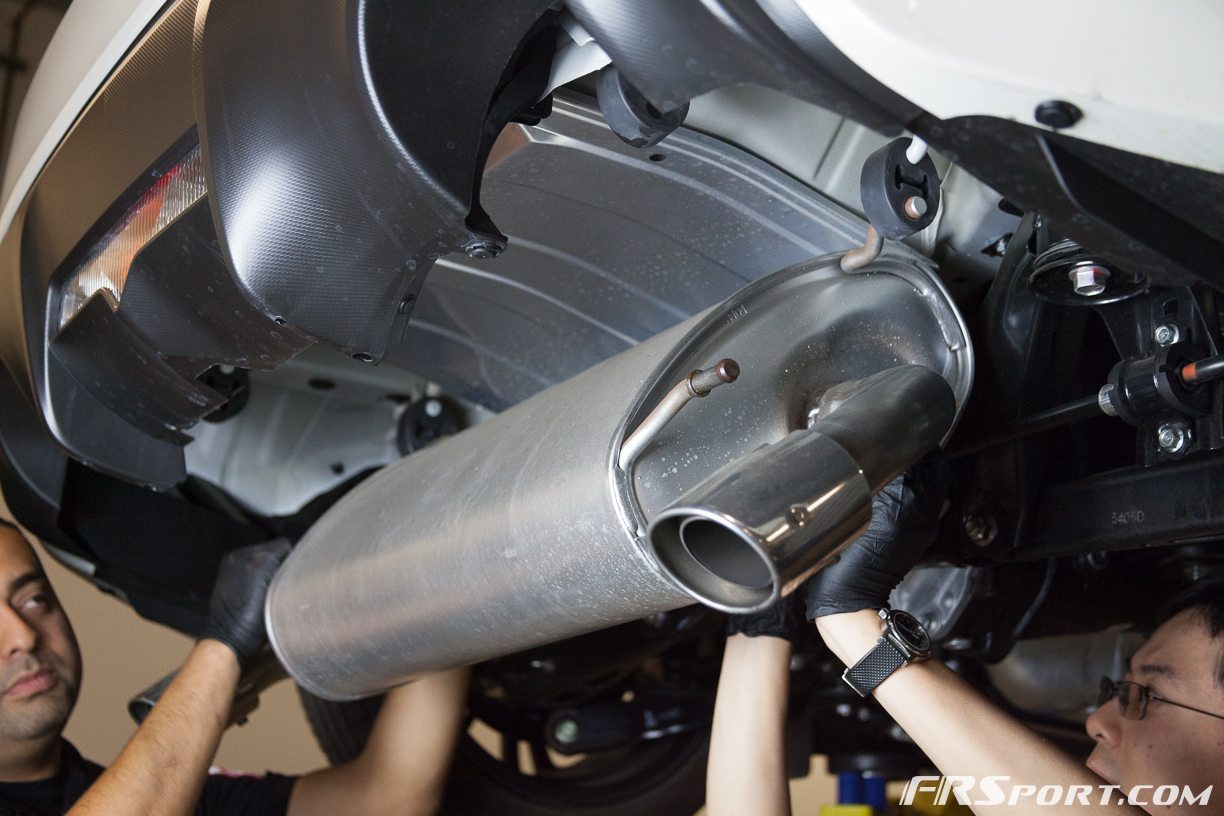
Make sure to have a another person support the exhaust and proceed to remove the other 2 exhaust bushings on the back of the muffler or towards the front of the car . Once this muffler section was removed we succeeded in taking off the stock exhaust system.

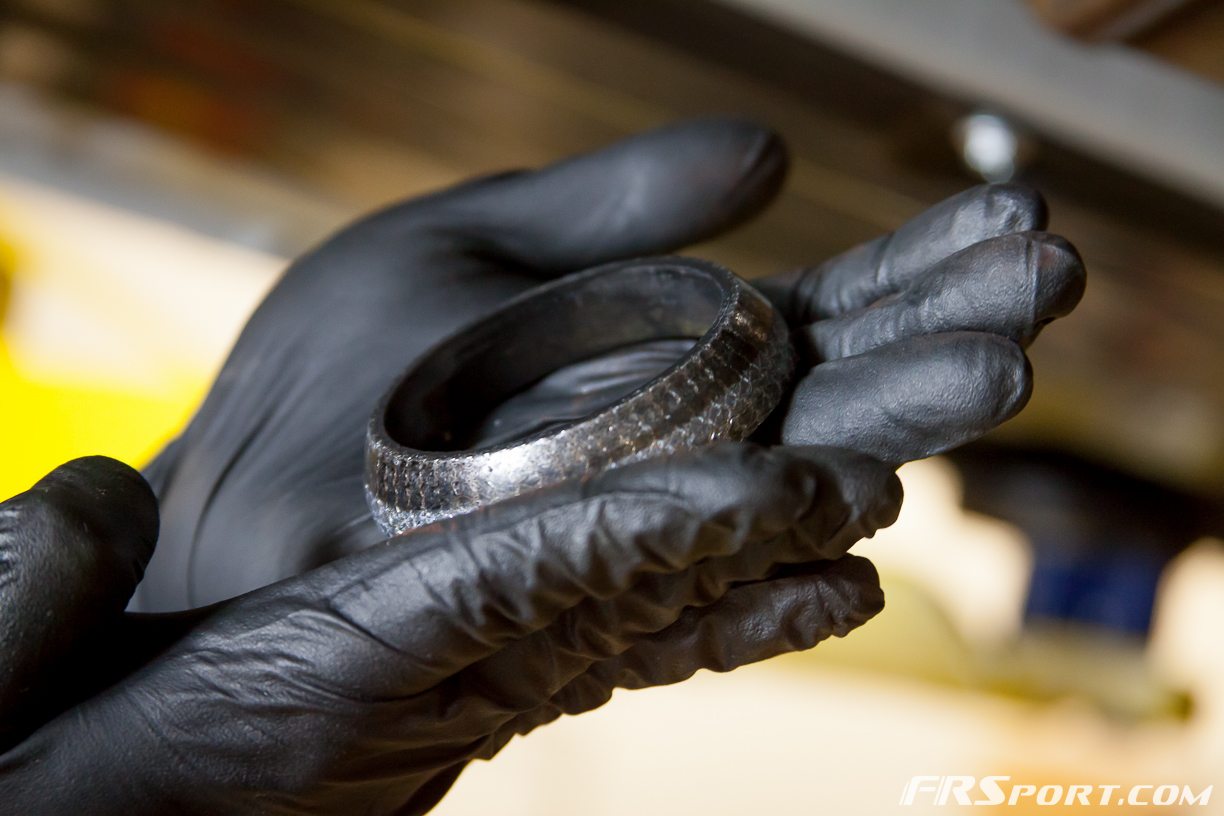
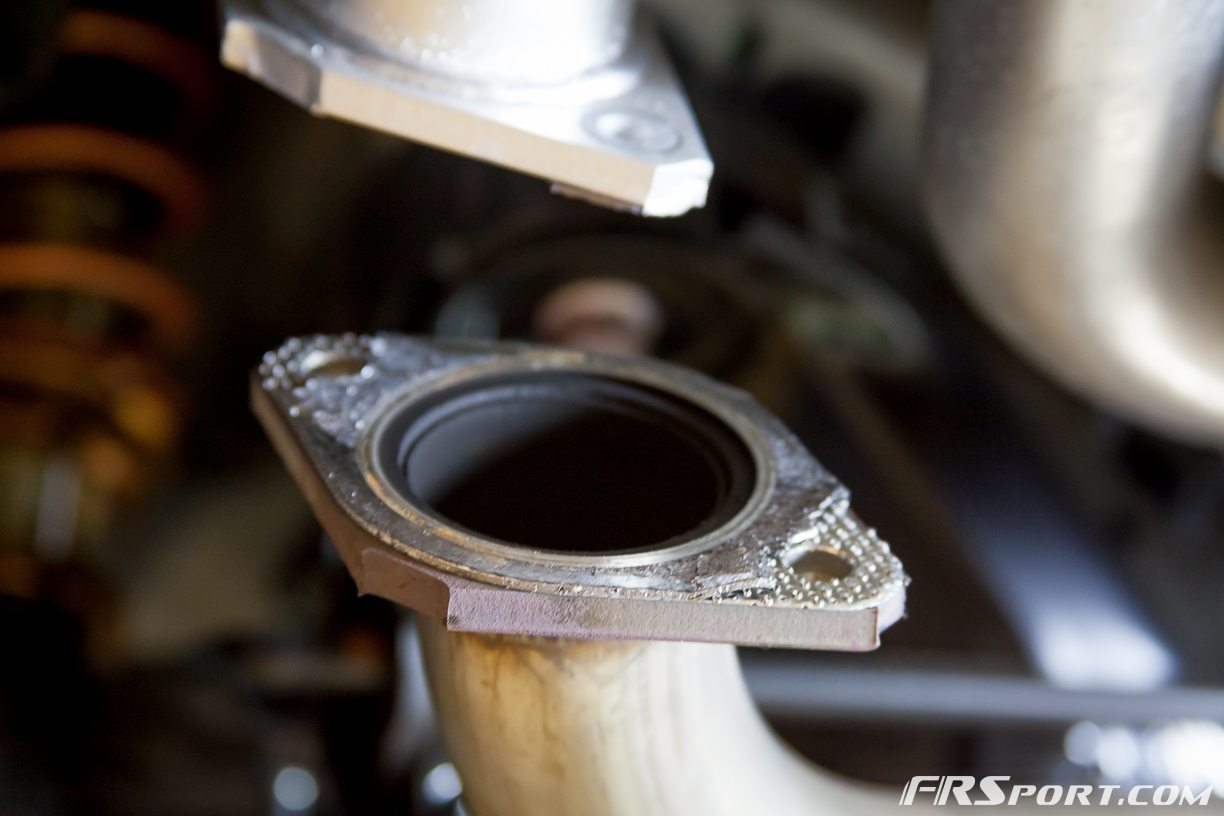
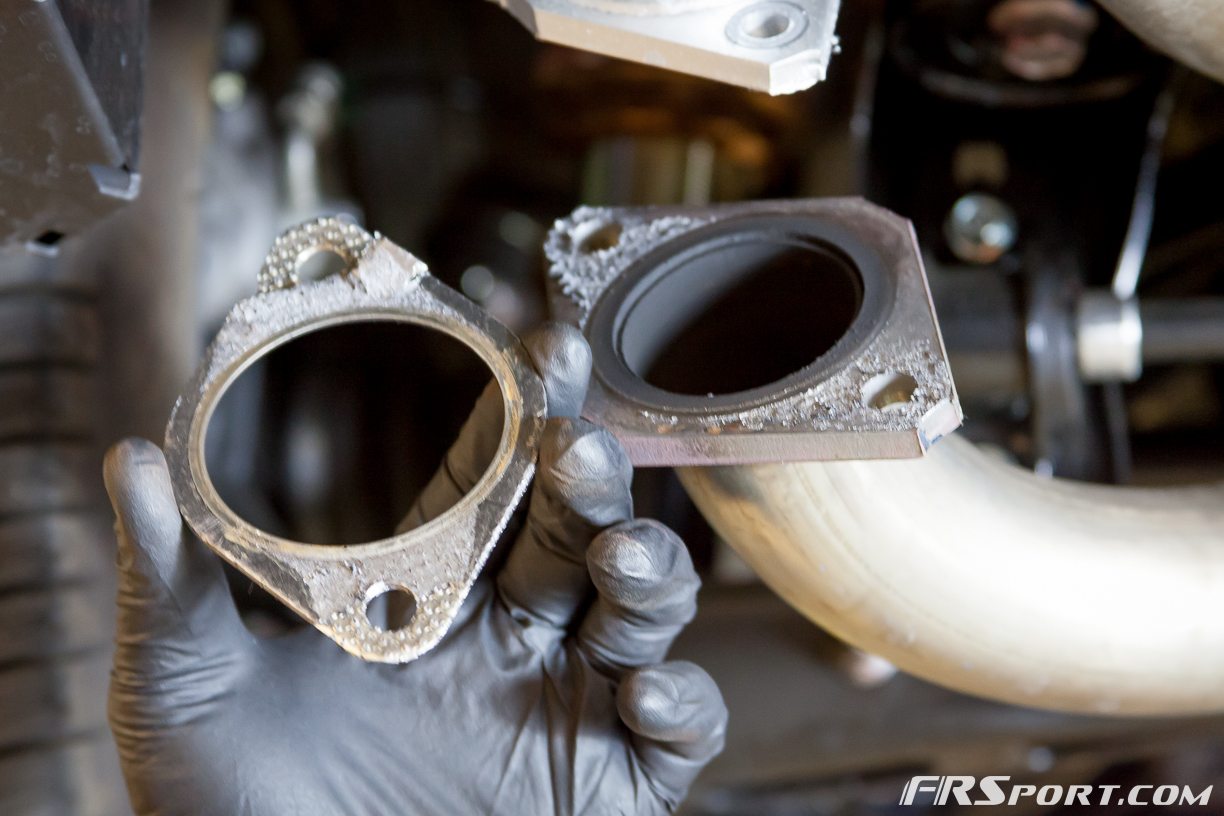
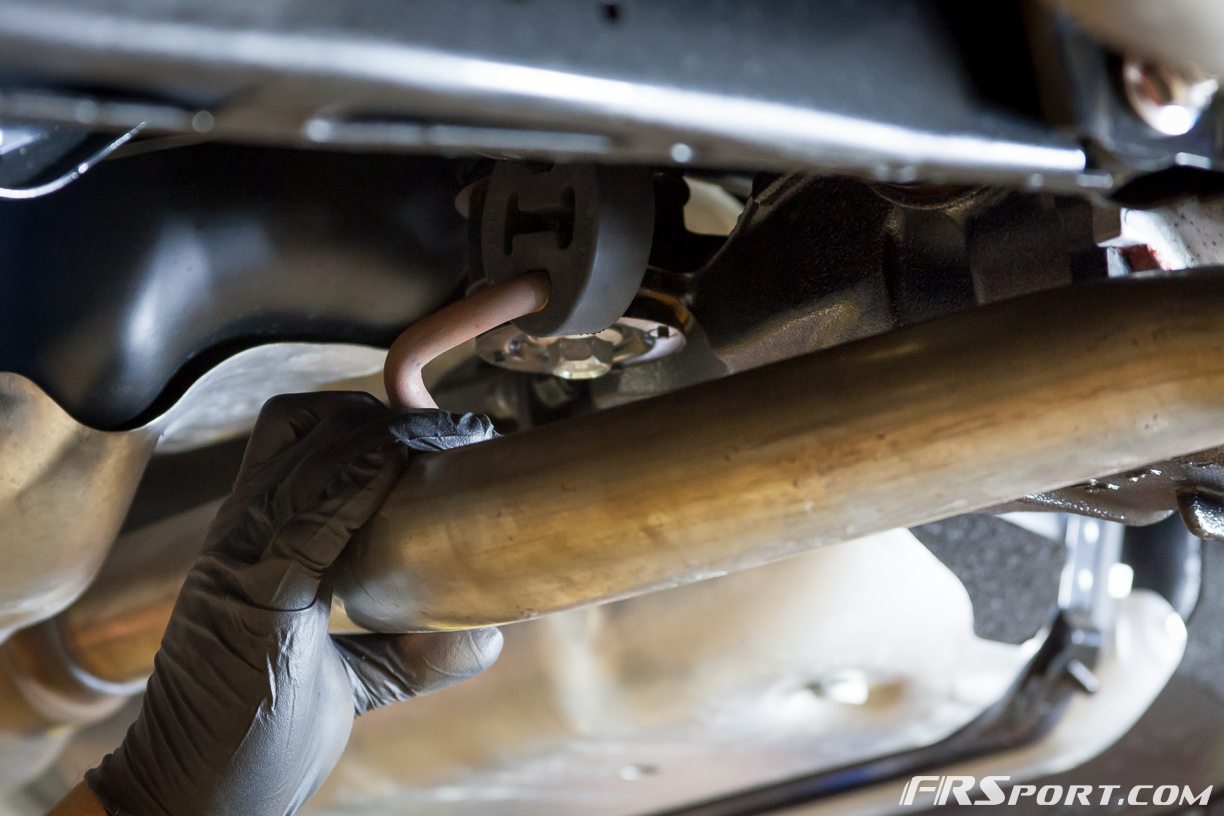
Before we began installing our new exhaust, we checked the front exhaust pipe sealant bushing for damage; reason being that we had to reuse it. They felt extremely fragile so when you are removing these or working around them be very careful.
Upon installation and while supporting the front of the longer exhaust pipe, insert the front hangers (closest to the front of the car) onto their respective bushings first. Re-use the hardware (bolts with springs) that came with the factory exhaust and install these bolts. Only install or thread all hardware halfway, the reasoning behind this is to promote proper fitment and tightening has been put together.
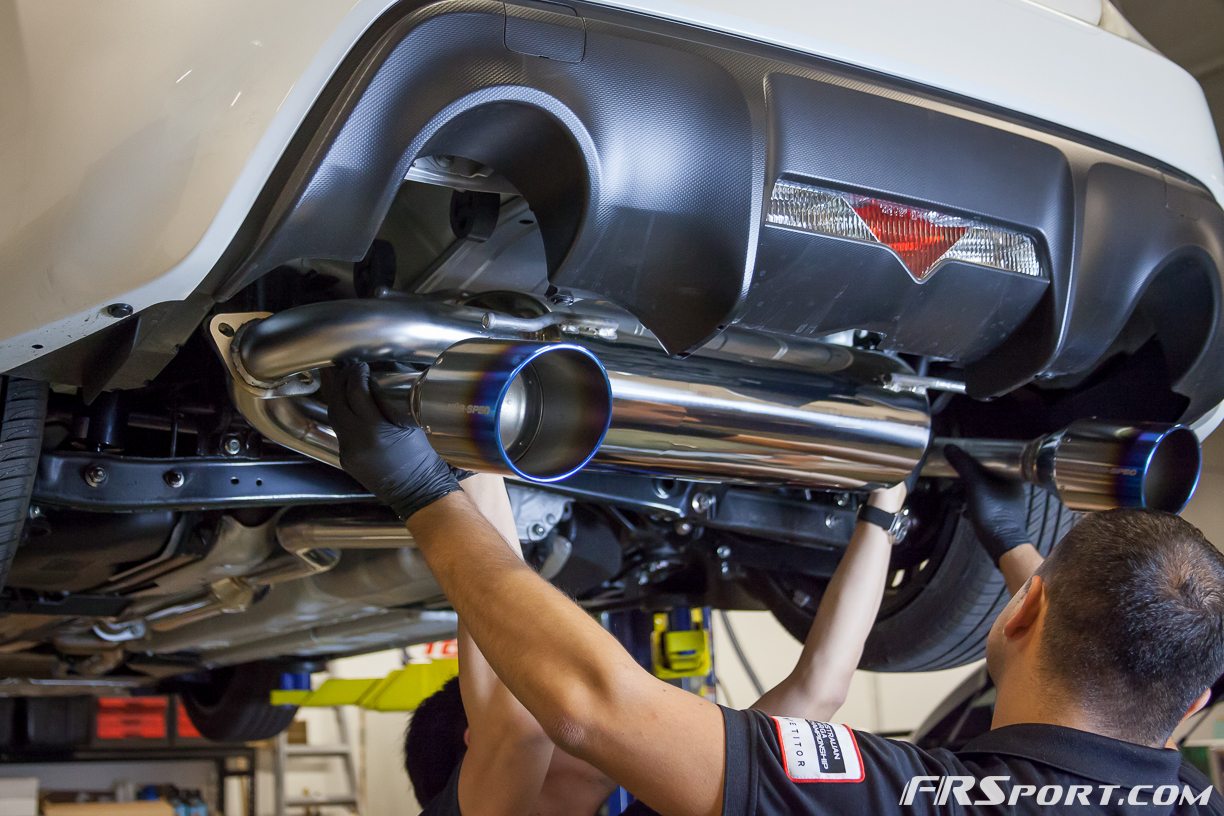
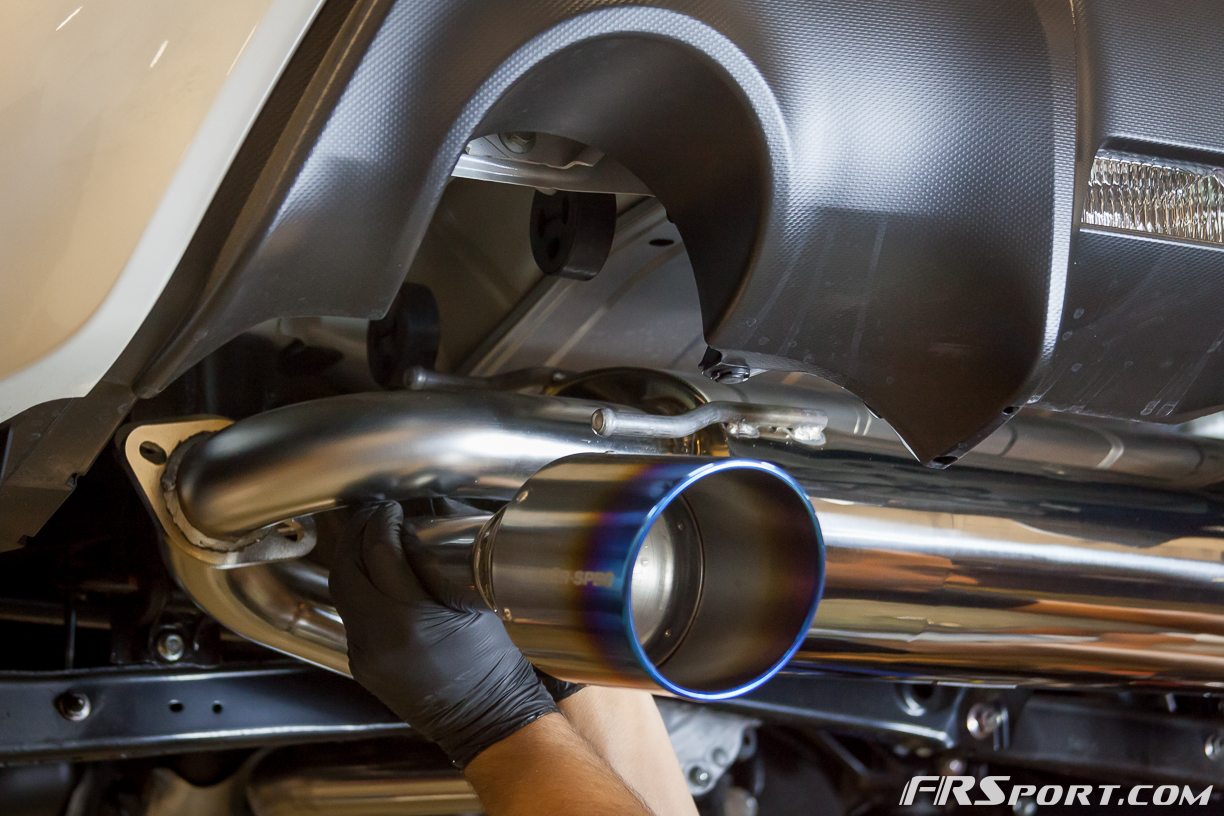
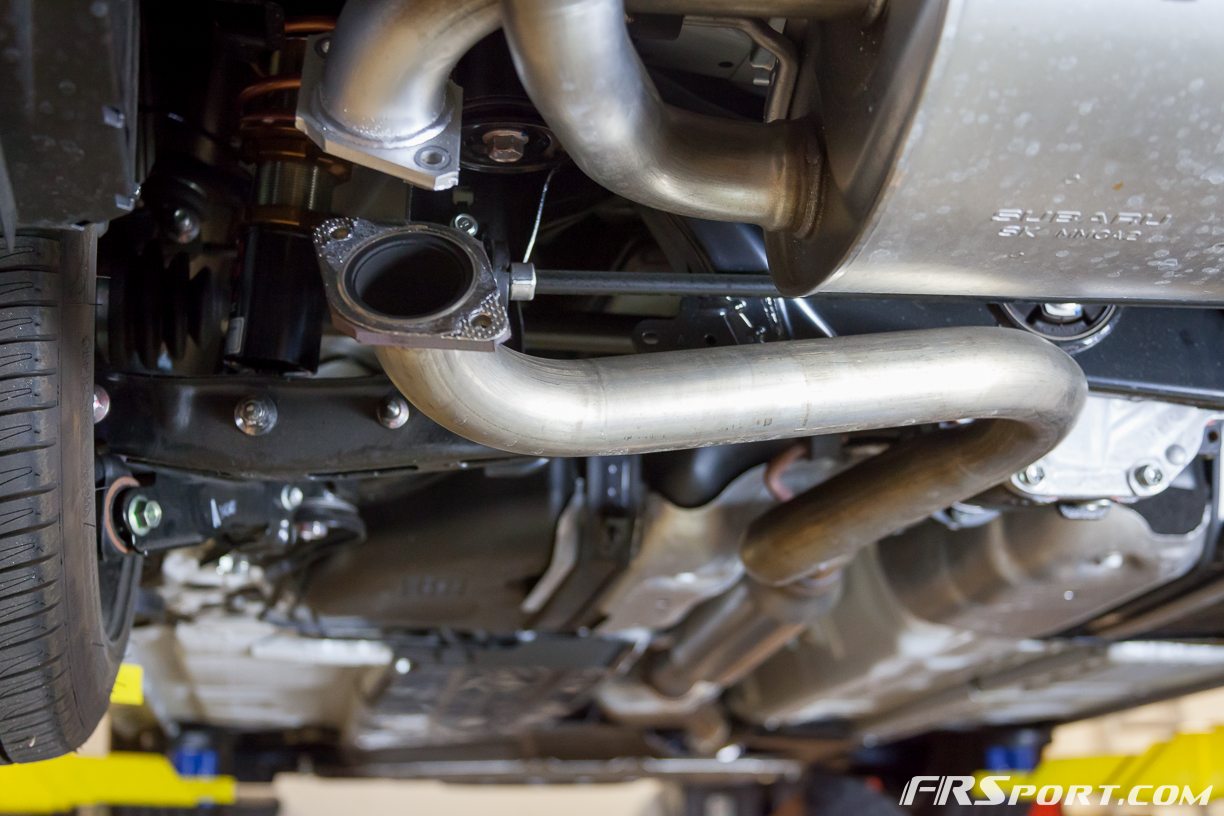
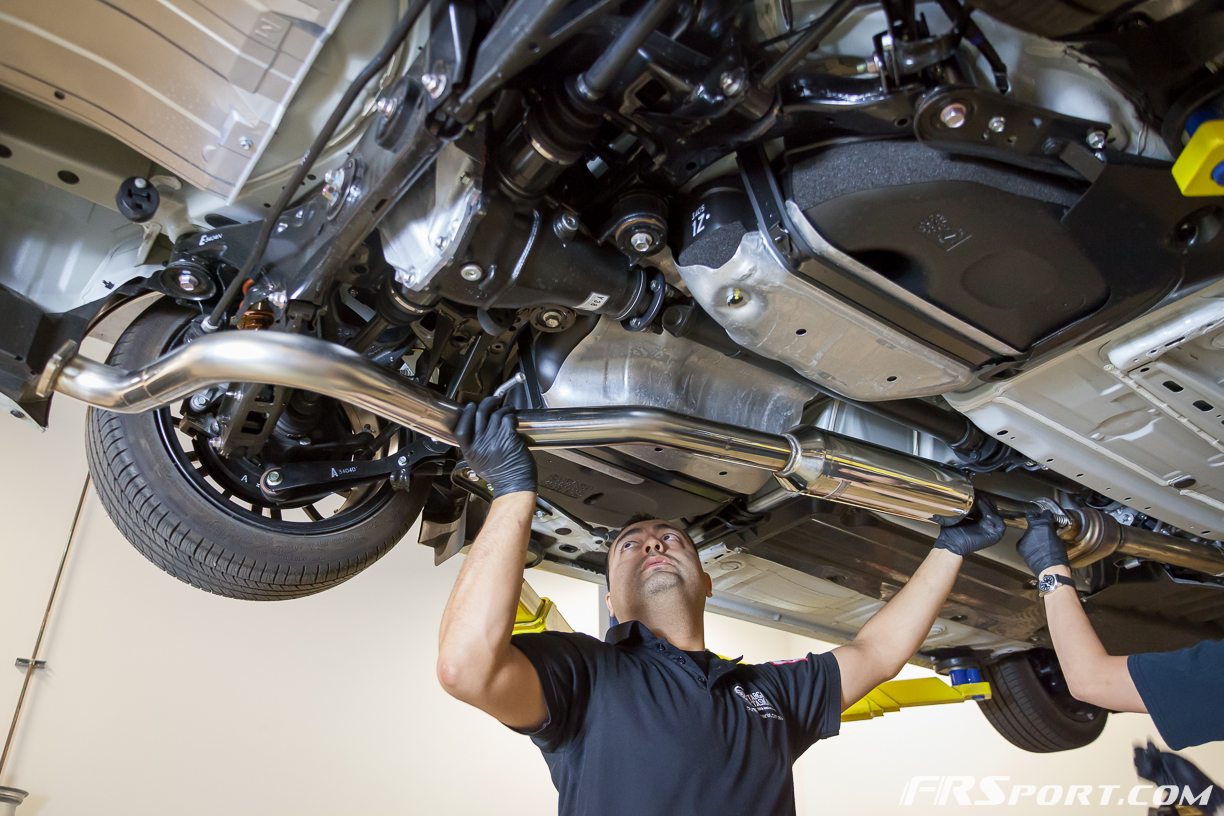
Next we moved on to install the Blitz muffler portion of the cat-back system. While supporting the rear most section of the exhaust (or the part closest to the back of the car) insert the front exhaust hangers onto the bushings. Next, install the rear hangers onto the rear bushings. If you used some sort of lubricant in the removal process there should be some residue left and install of these should be a breeze.
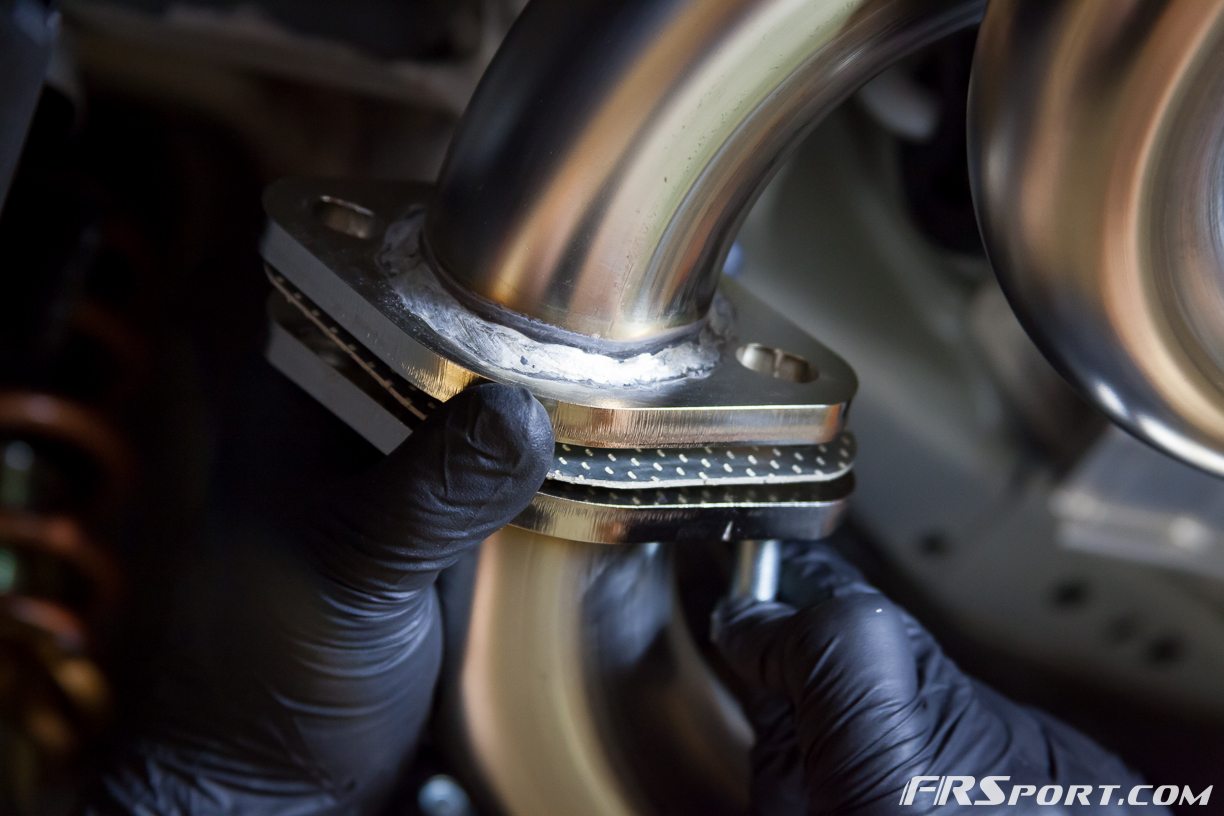
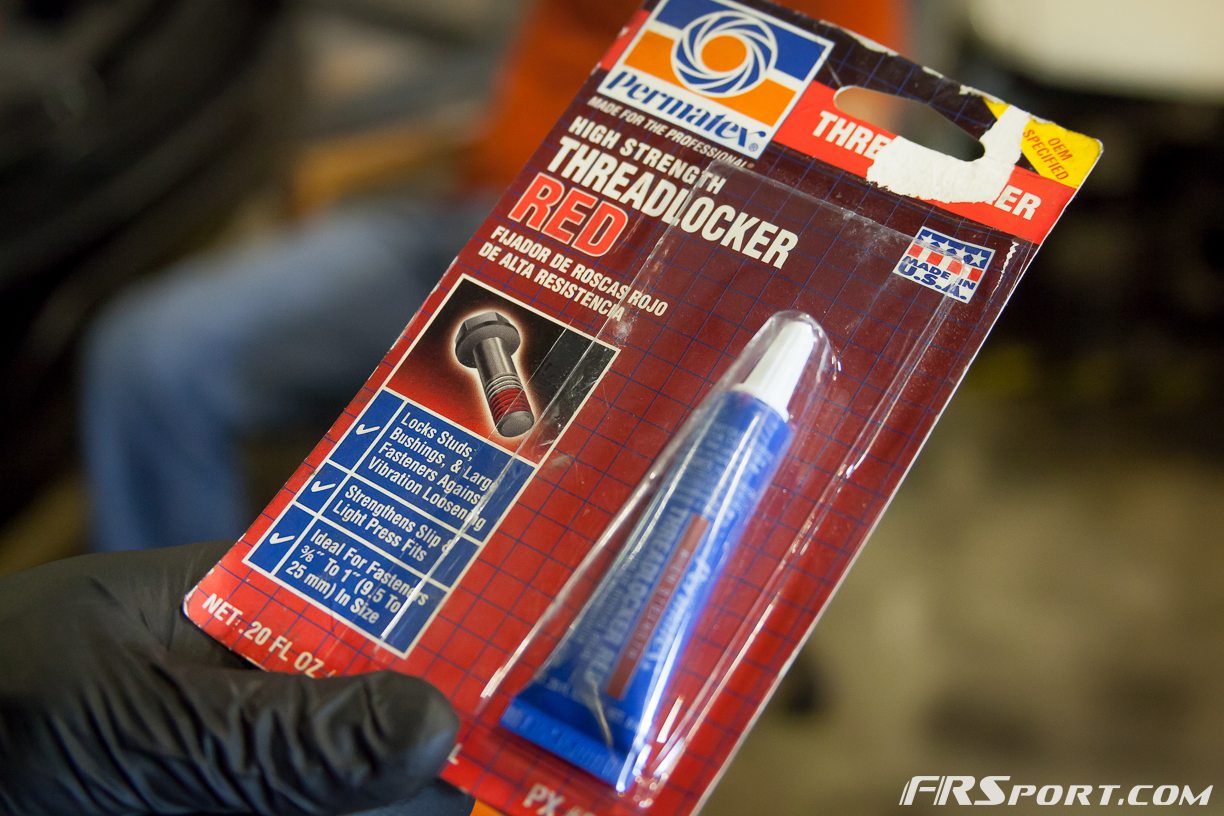
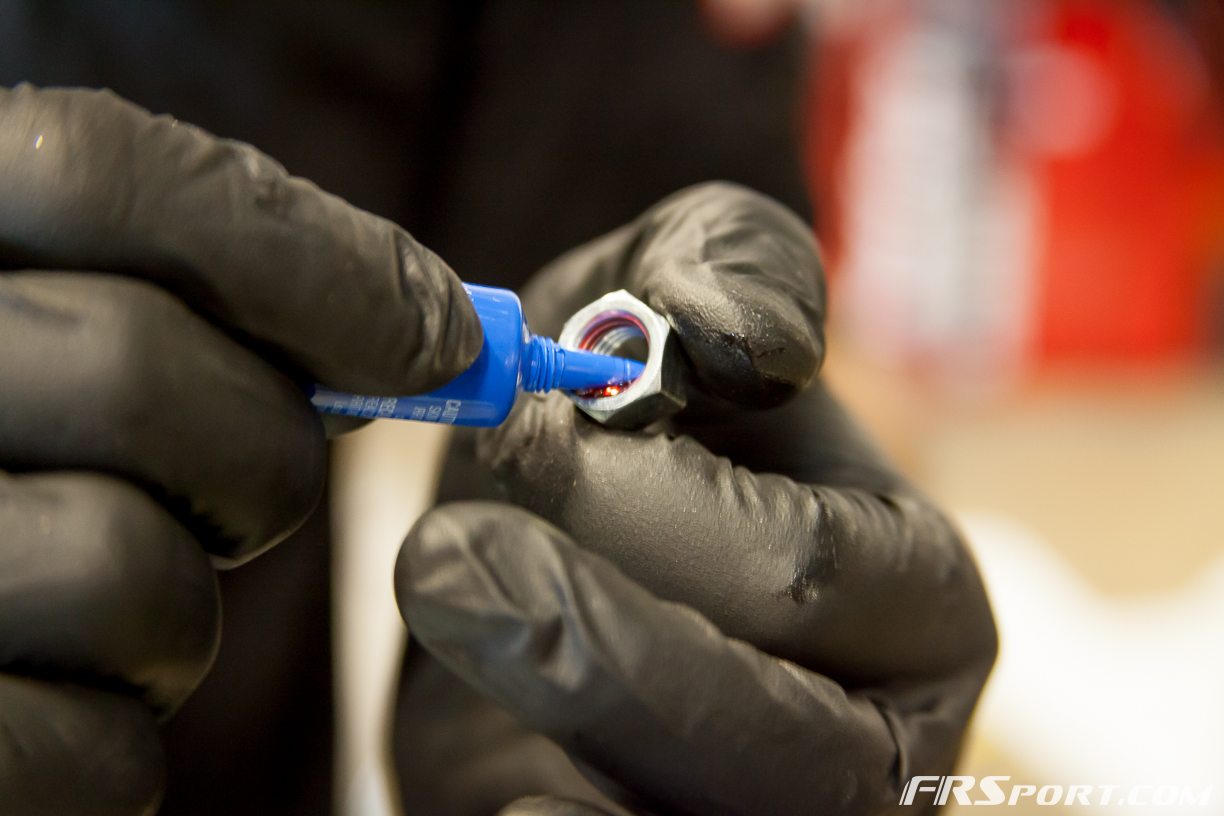
Using the Blitz provided hardware (2 bolts, 2 nuts and 1 gasket), bolt up the two exhaust sections together; the longer exhaust pipe and the muffler section. Install the bolt with its head toward the rear of the car. The reason we did this was because in the future it would be easier to take out . We also used Red Loctite to secure the nuts and bolts, this is a step we strongly recommend in order to prolong the connections in our exhaust.
Once we had everything bolted halfway we checked clearances and had everything bolted all the way. Whether you are installing this exhaust or a different one we strongly recommend to check torque specs to prevent from threading portions of your exhausts or breaking bolts.
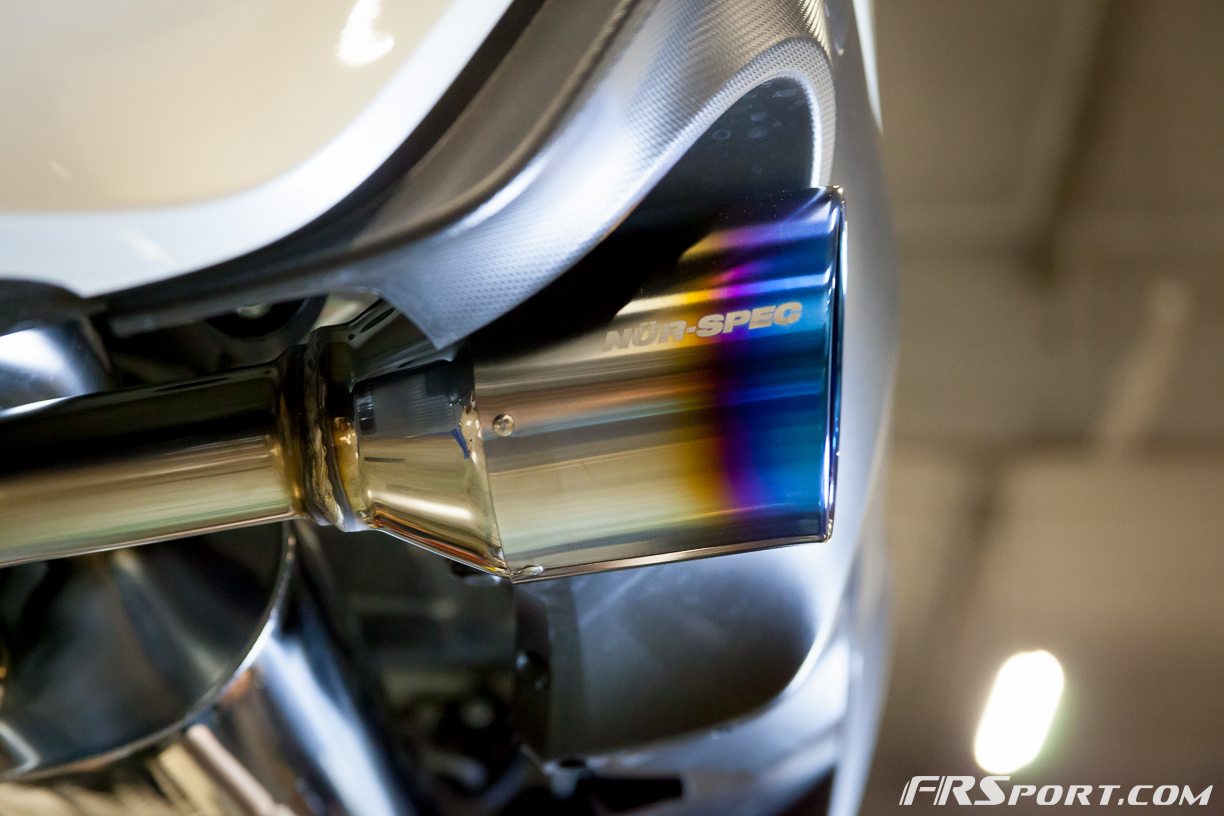
And that is it. Our install of the Blitz Nur Spec C-Ti was complete. Now we drive the car a little more spiritedly and it’s nice to hear it growl a little bit more wholesomely.